I've got a really nice old laptop that I can't bare to sell, mainly because of the sticker collection on the back. There's no point it collecting dust though, so I've been using it as a home server.
Unfortunately the other day I managed to accidentally corrupt the drive on my home server. Luckily though, all the important stuff was on a second drive and it's a good opportunity to start again.
In this post I'm hoping to give you a bit of inspiration and go through the initial setup of mine, including a Plex media server with external drive and how to remotely access it from anywhere in the world.
These same steps can be used on anything else you have laying around. In fact, I used to have a Raspberry Pi server until I was having trouble transcoding videos with Plex (which is why I switched to my slightly more beefy old laptop).
Operating System
One of the important choices is choosing an operating system. This is mostly dictated by how much effort you want to put in and how much knowledge you have with Linux. Here are some popular options:
- TrueNAS - although I've not tried it, this seems to be a great option with what looks like all the setup done through a web browser (after first installation). You can go with CORE or SCALE, the latter offering Docker container support (which I'm going to talk about a lot in this post).
- Flatcar - again, I've never used this but it looks like a great option for running only container workloads.
- Ubuntu/Fedora Server - the standard option is using one of these. They both have great support and Fedora Server has a lovely web dashboard.
- Proxmox - if you want to run VM workloads this is an awesome option, you can separate any projects you may have into separate VMs.
In my case, I'm going with Ubuntu Server. One of my limitations is having to use a Wi-Fi connection and Ubuntu/Fedora server has the best support for that (but do use Ethernet if you can, I have run into so many problems). TrueNAS was my second option, but it has to be installed on an entire drive and none of the storage on the install drive can be used for media & files (unless you want to deal with moving around partitions and things which makes it quite a bit of effort to get initially setup).
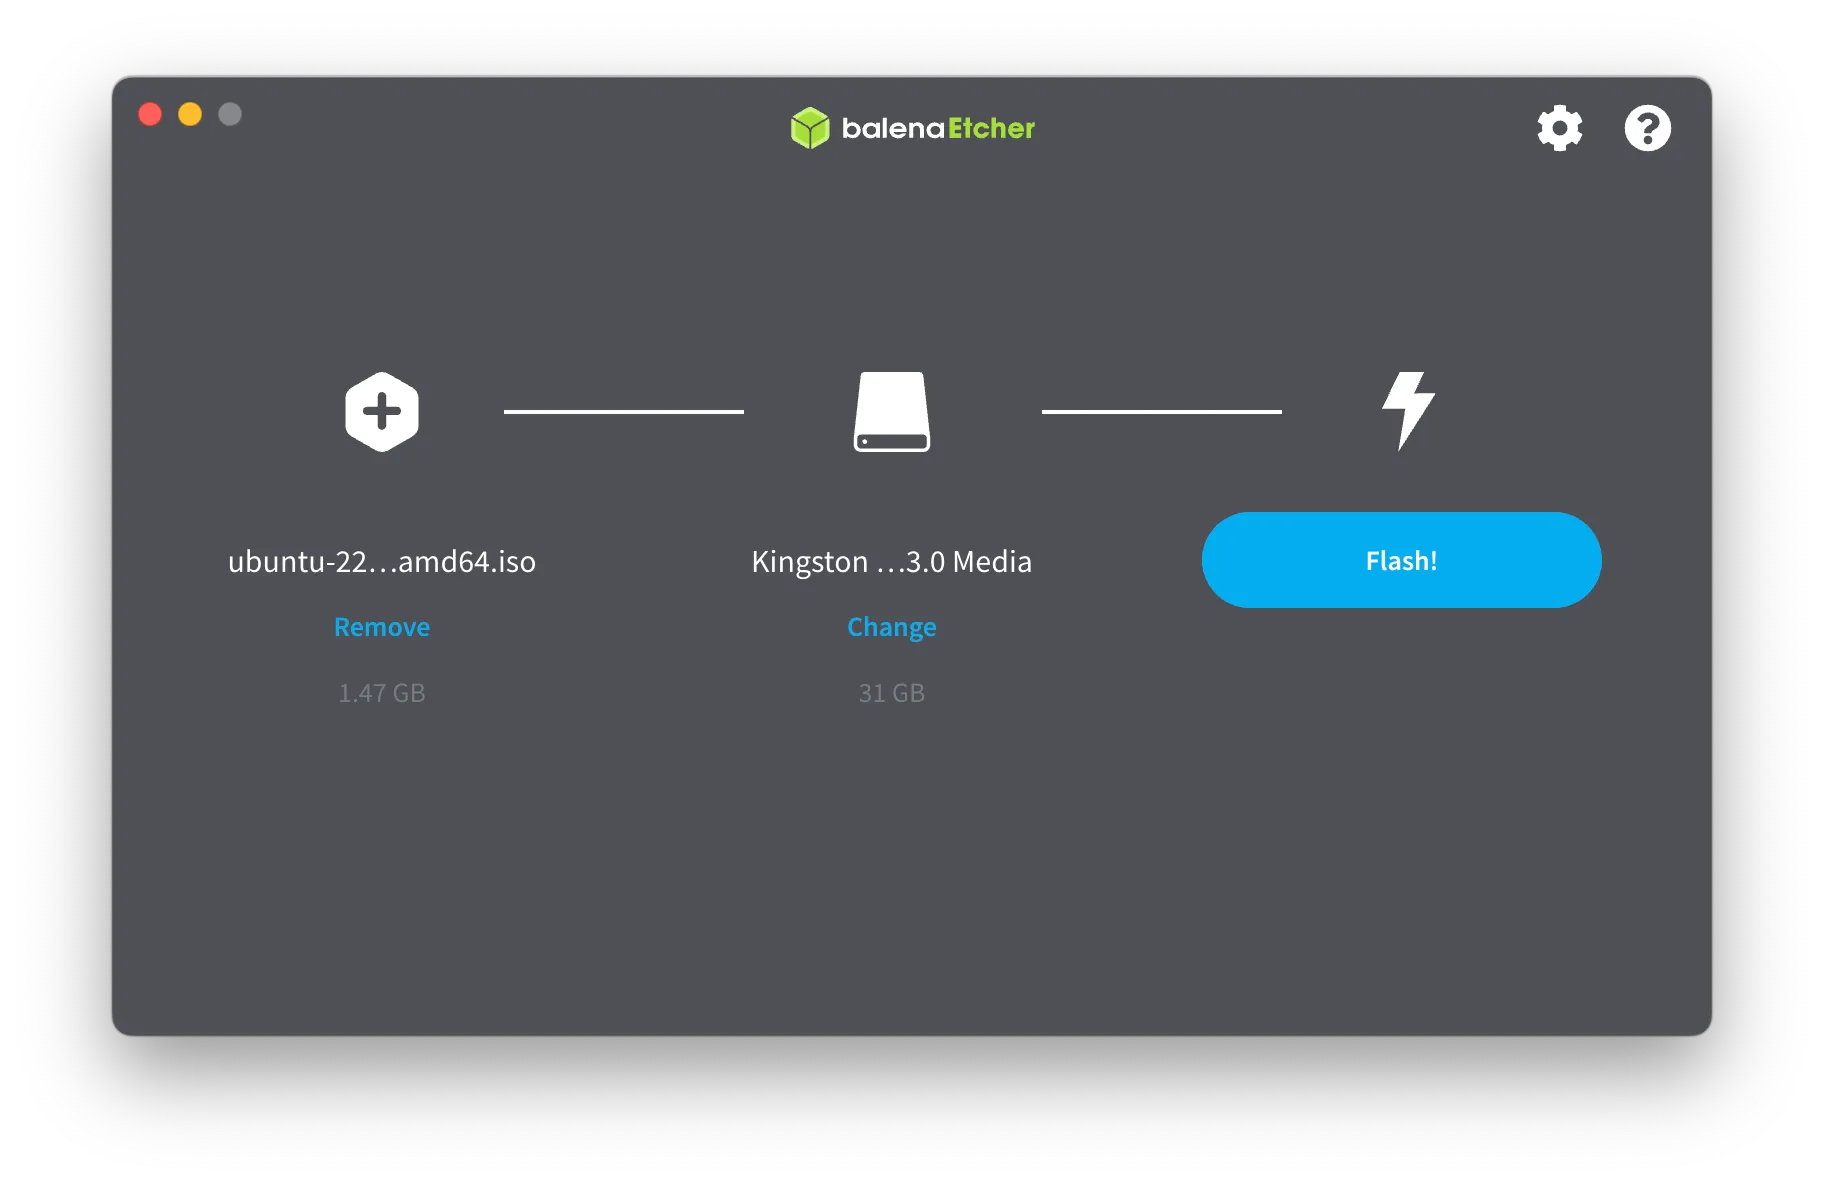
Install whichever OS as normal, there are plenty of great guides elsewhere on installing if you get stuck.
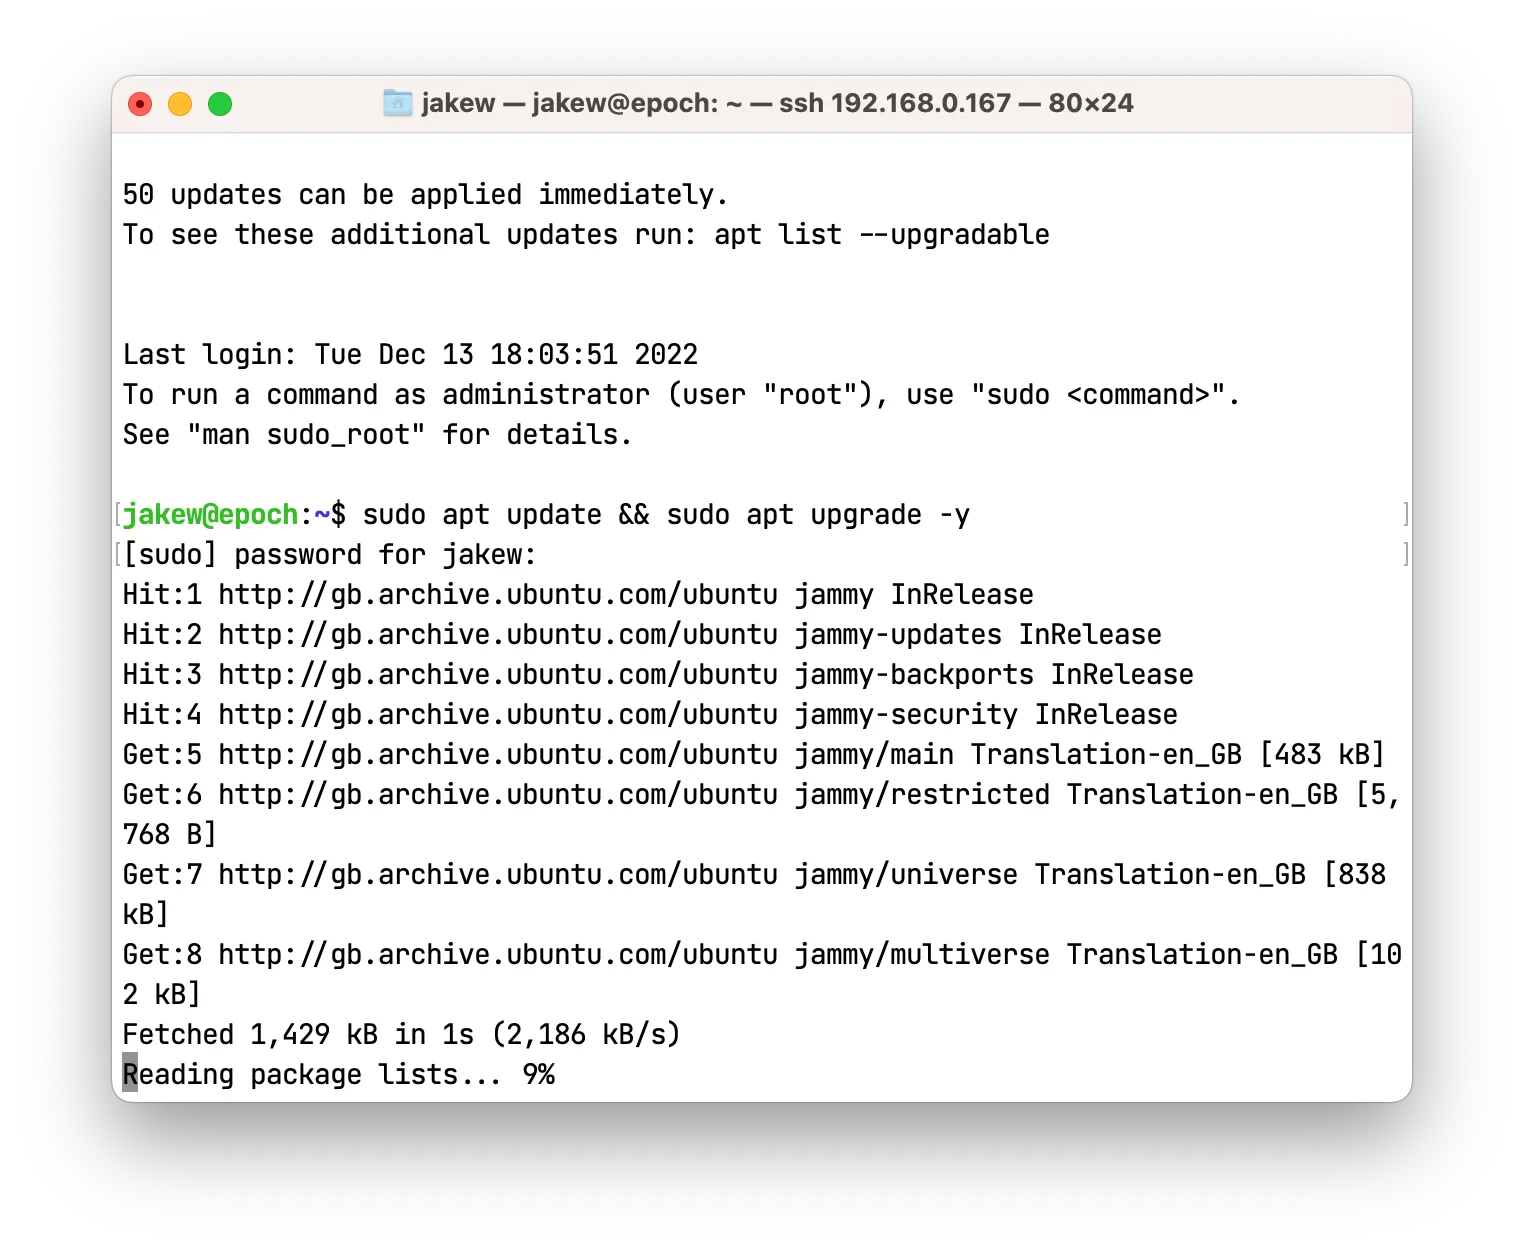
Once you've got it installed, I'd recommend setting up SSH (which I was able to do during setup on Ubuntu Server) so you can get access for the rest of the setup from another computer. You should also give it an ol' update.
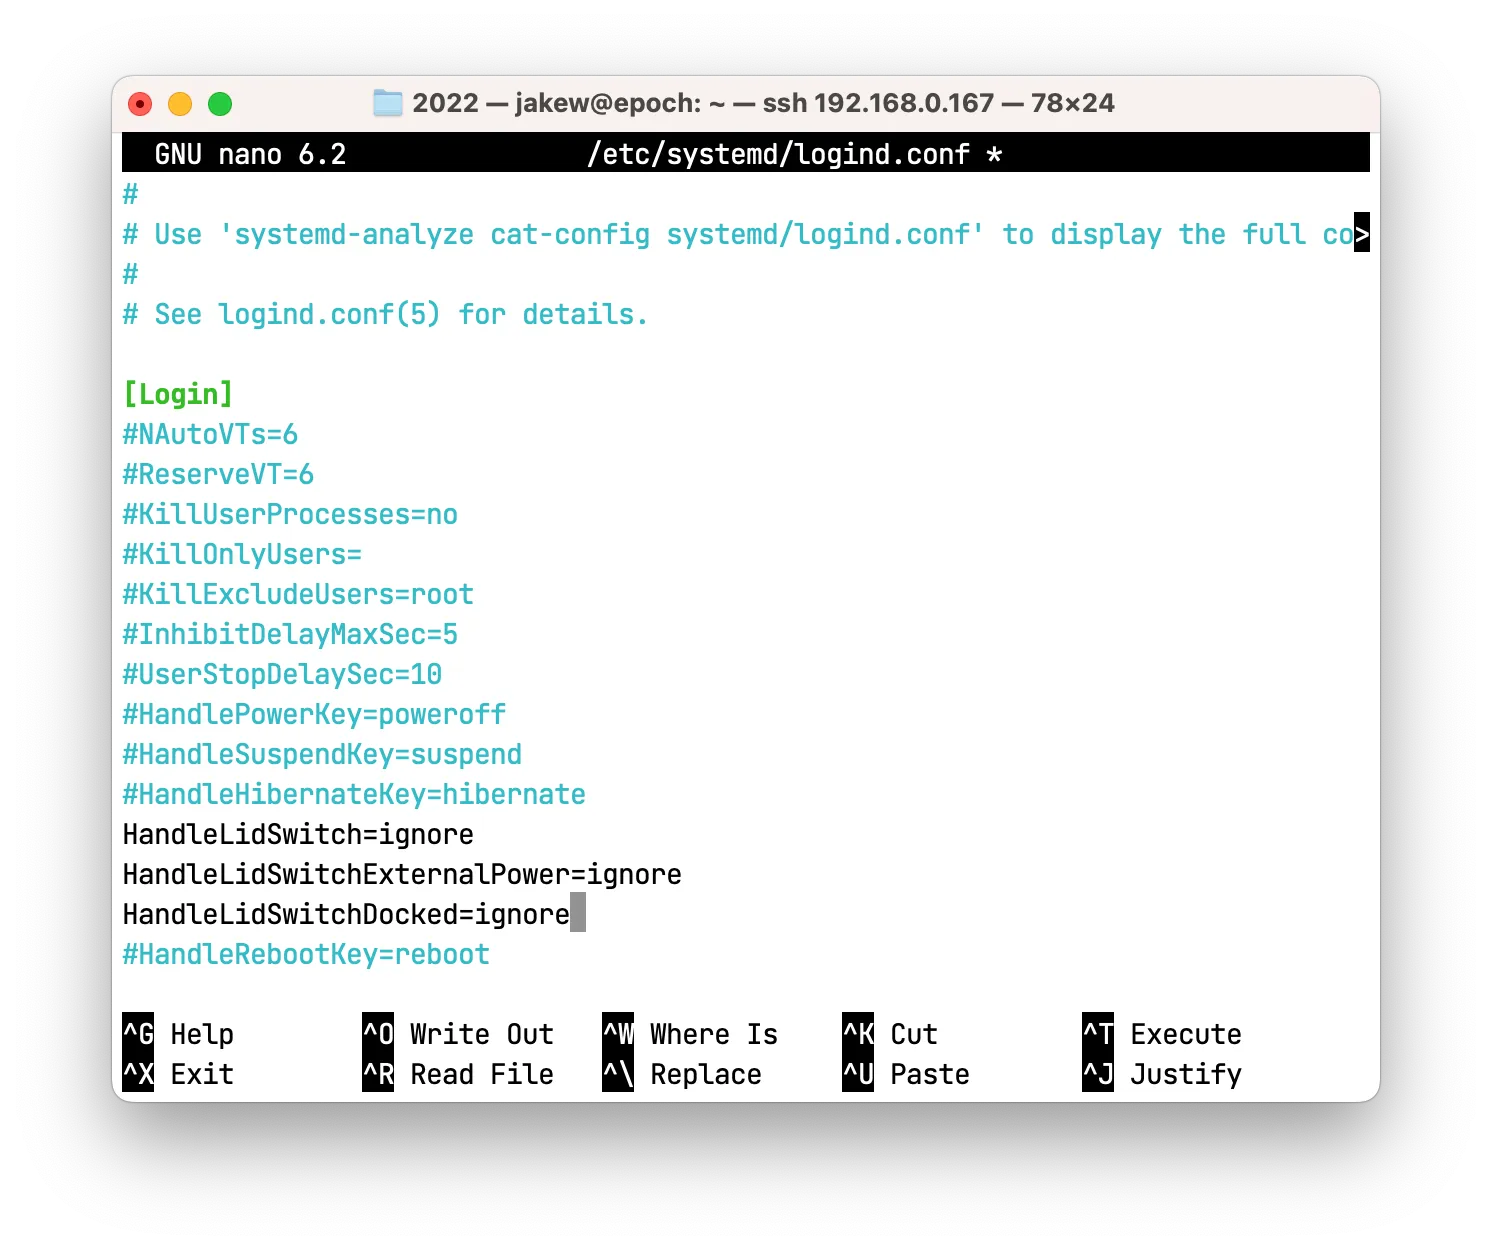
You can ignore this part if using a desktop, but for a laptop it's important to disable the lid switch to prevent the system from sleeping or powering off when shut. To do that, edit /etc/systemd/logind.conf and edit the three lines shown below:
Setting up Docker
Docker makes it super easy to deploy and update any applications you might want to run. Getting started is easy and the following command sets up everything you need on any operating system:
curl -fsSL https://get.docker.com | sh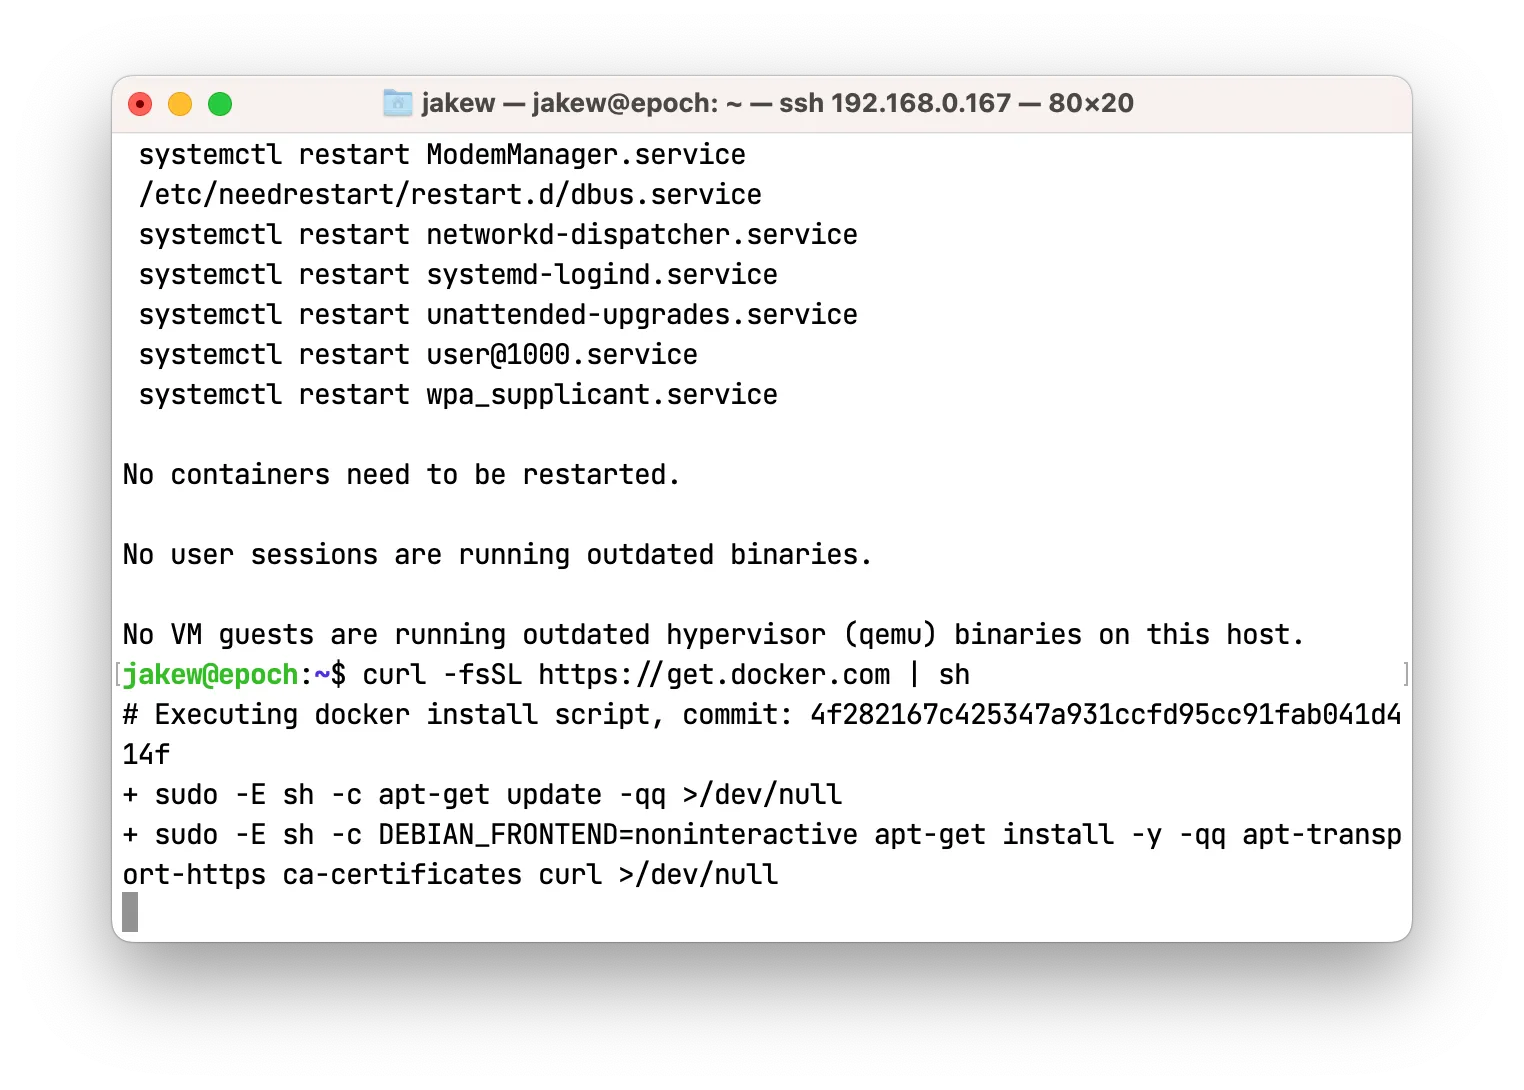
Once that's complete, you will want to give your current user permission to use Docker with the following command, then log out and back in for it to take effect. Also, we would like Docker compose for later.
sudo usermod -aG docker ${USER}
sudo apt install docker-compose -y
That's it, Docker is now installed and ready to go.
Installing Plex on Docker
One of my main reasons for running a home server is for Plex. This allows you to dump all your music, movies, photos and TV shows onto a hard drive and be able to watch them easily on your TV, phone, laptop and whatever else.
A very cool additional feature of Plex is that you can set up a TV tuner and record TV shows to watch later.
Mounting an External Drive
Although not necessary, I have all my media on an external drive, this is just so I have more storage on the main drive for Docker images and other stuff.
First up, run lsblk -f to find the drive that looks correct and note down it's UUID. In my case, the drive I'm using is 1TB, so sdb1 is the one that I want.
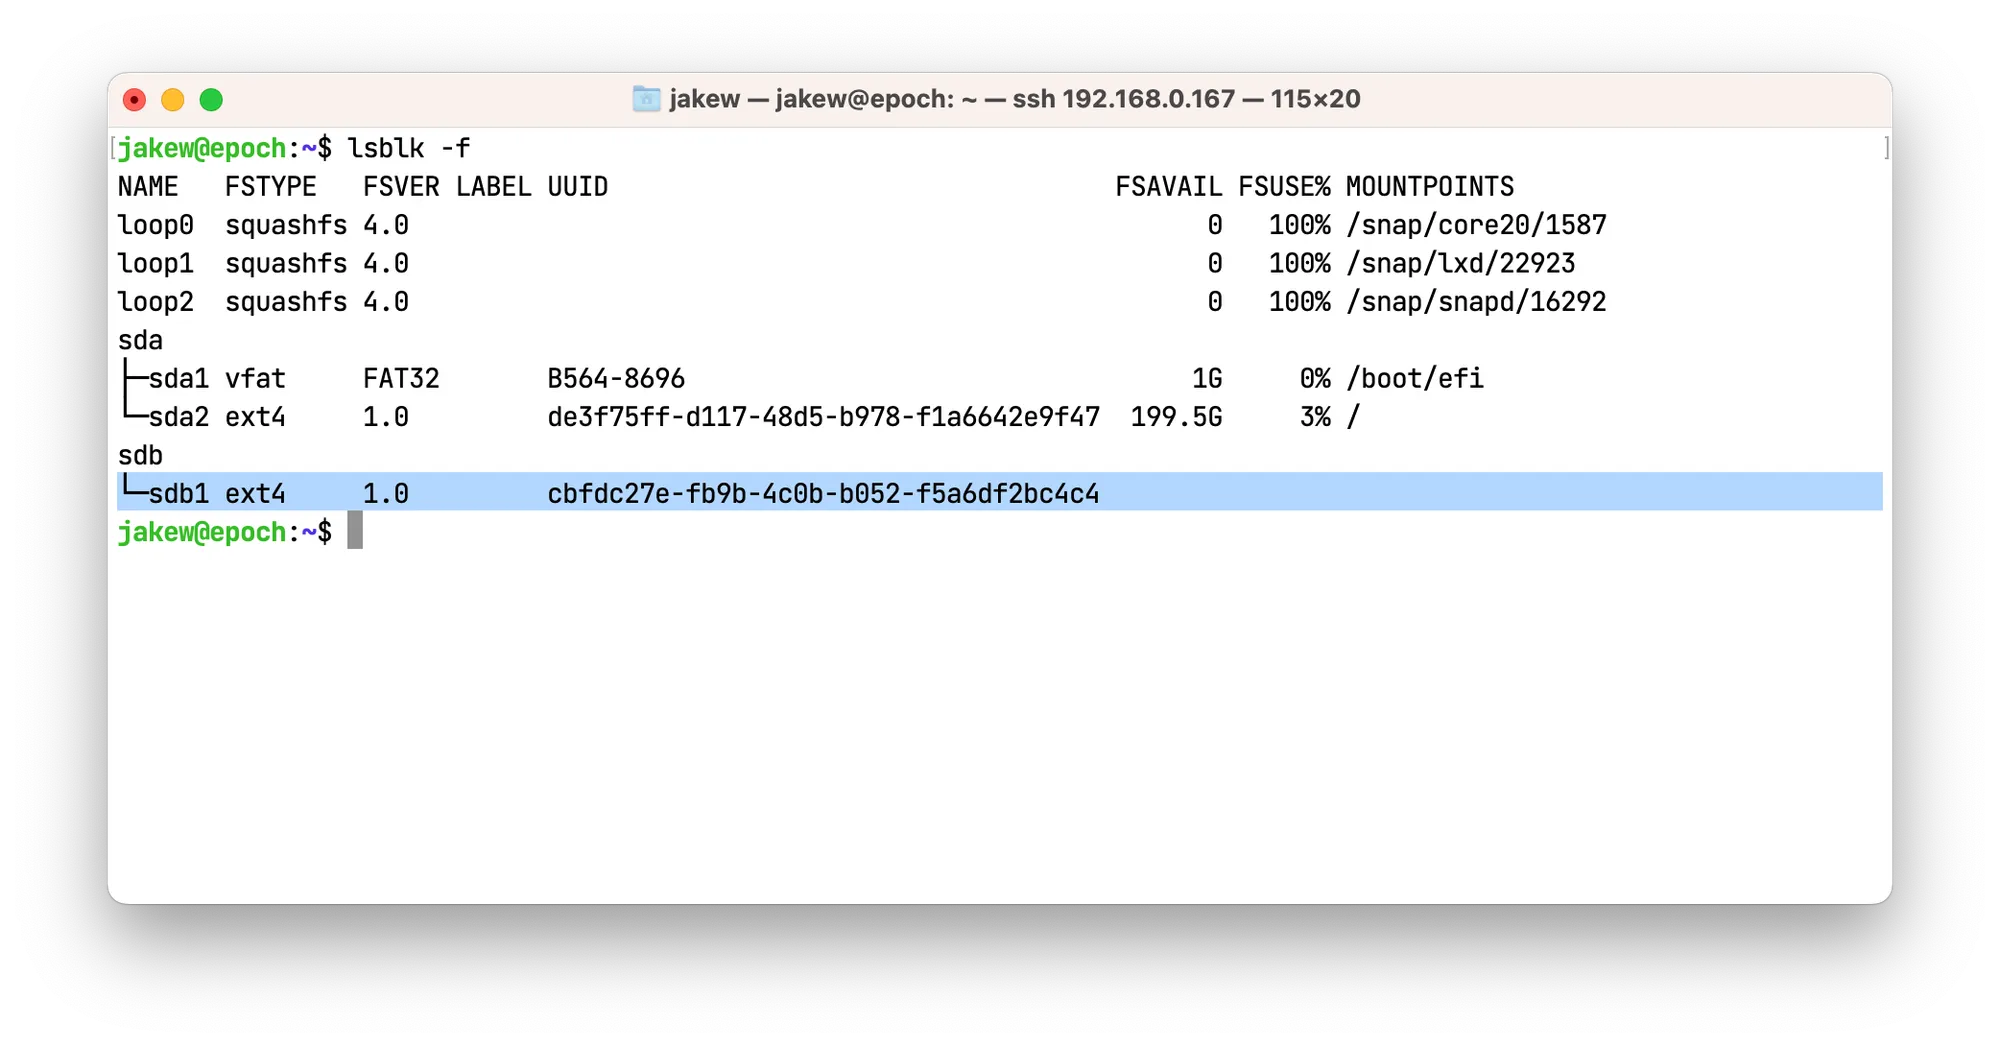
Should you want to reformat the drive, run sudo mkfs -t ext4 /dev/sdXX (editing to the correct device). Then check with the lsblk -f command to make sure the UUID hasn't changed.
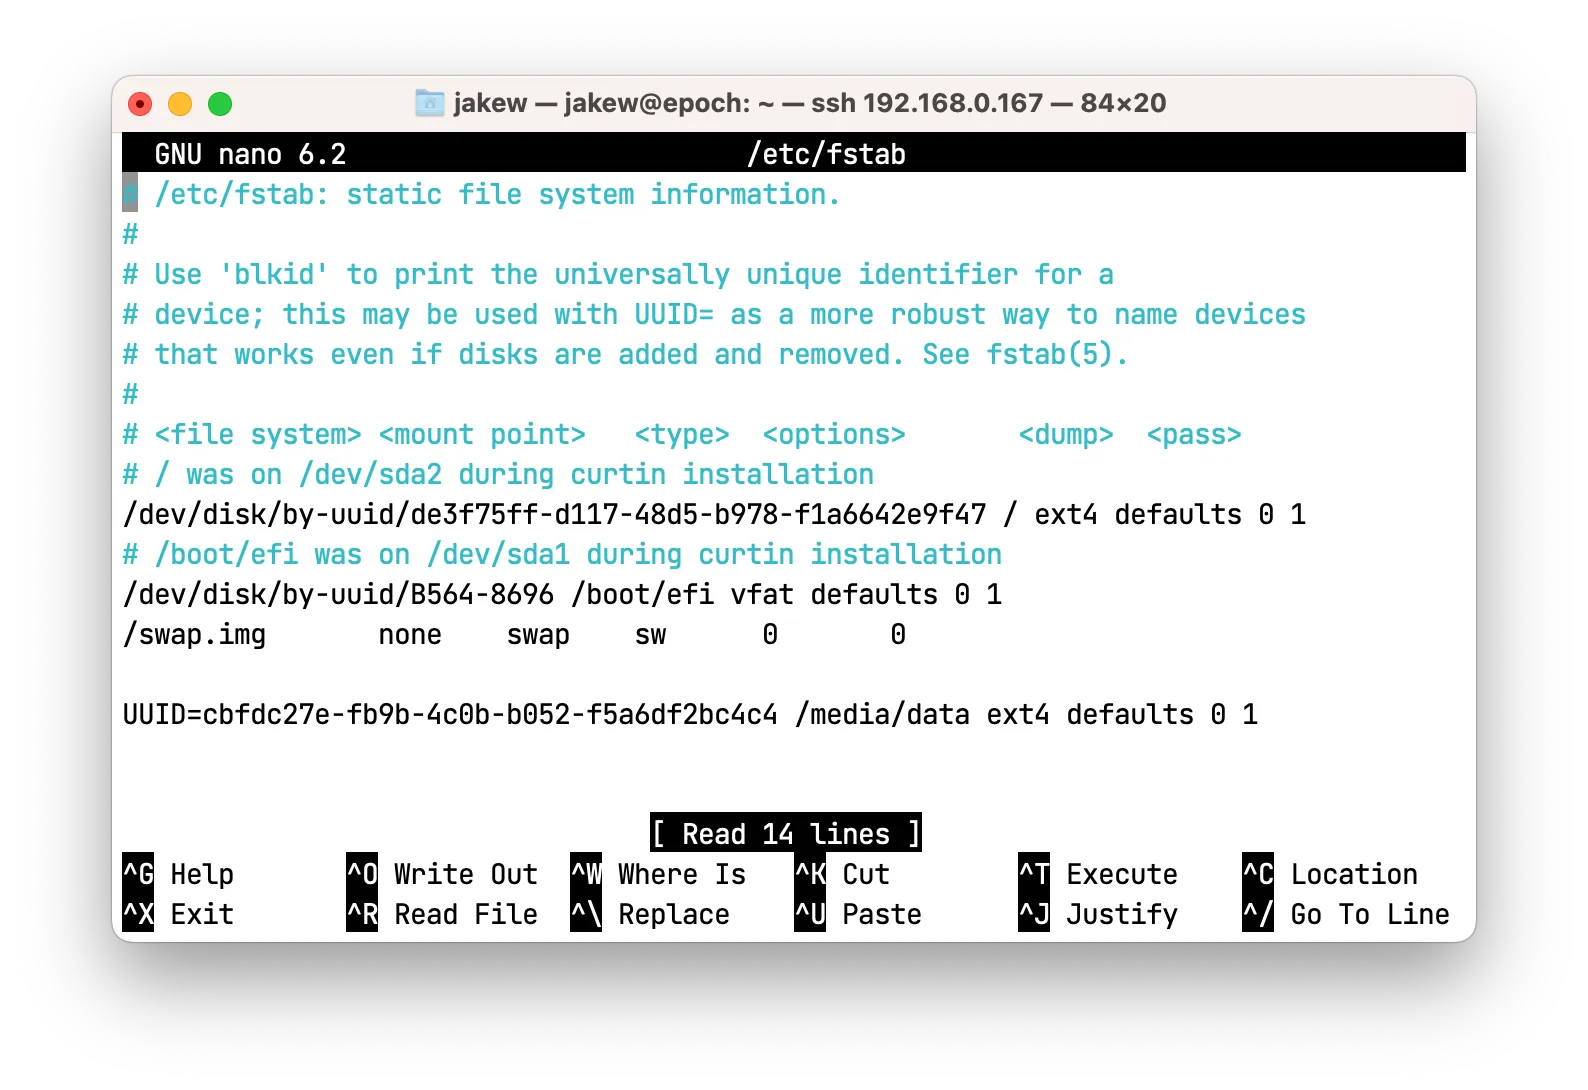
Next up, create a folder to mount the drive into (this can be anywhere you like): sudo mkdir -p /media/data. Then run sudo nano /etc/fstab to edit the config for the permanent drive mounts. Create a new line at the bottom with the following content (remembering to replace your drive's UUID):
UUID=XXXX /media/data ext4 defaults 0 1For any additional drives, create separate folders for mounting and add more lines to this file. Here is mine below as an example.
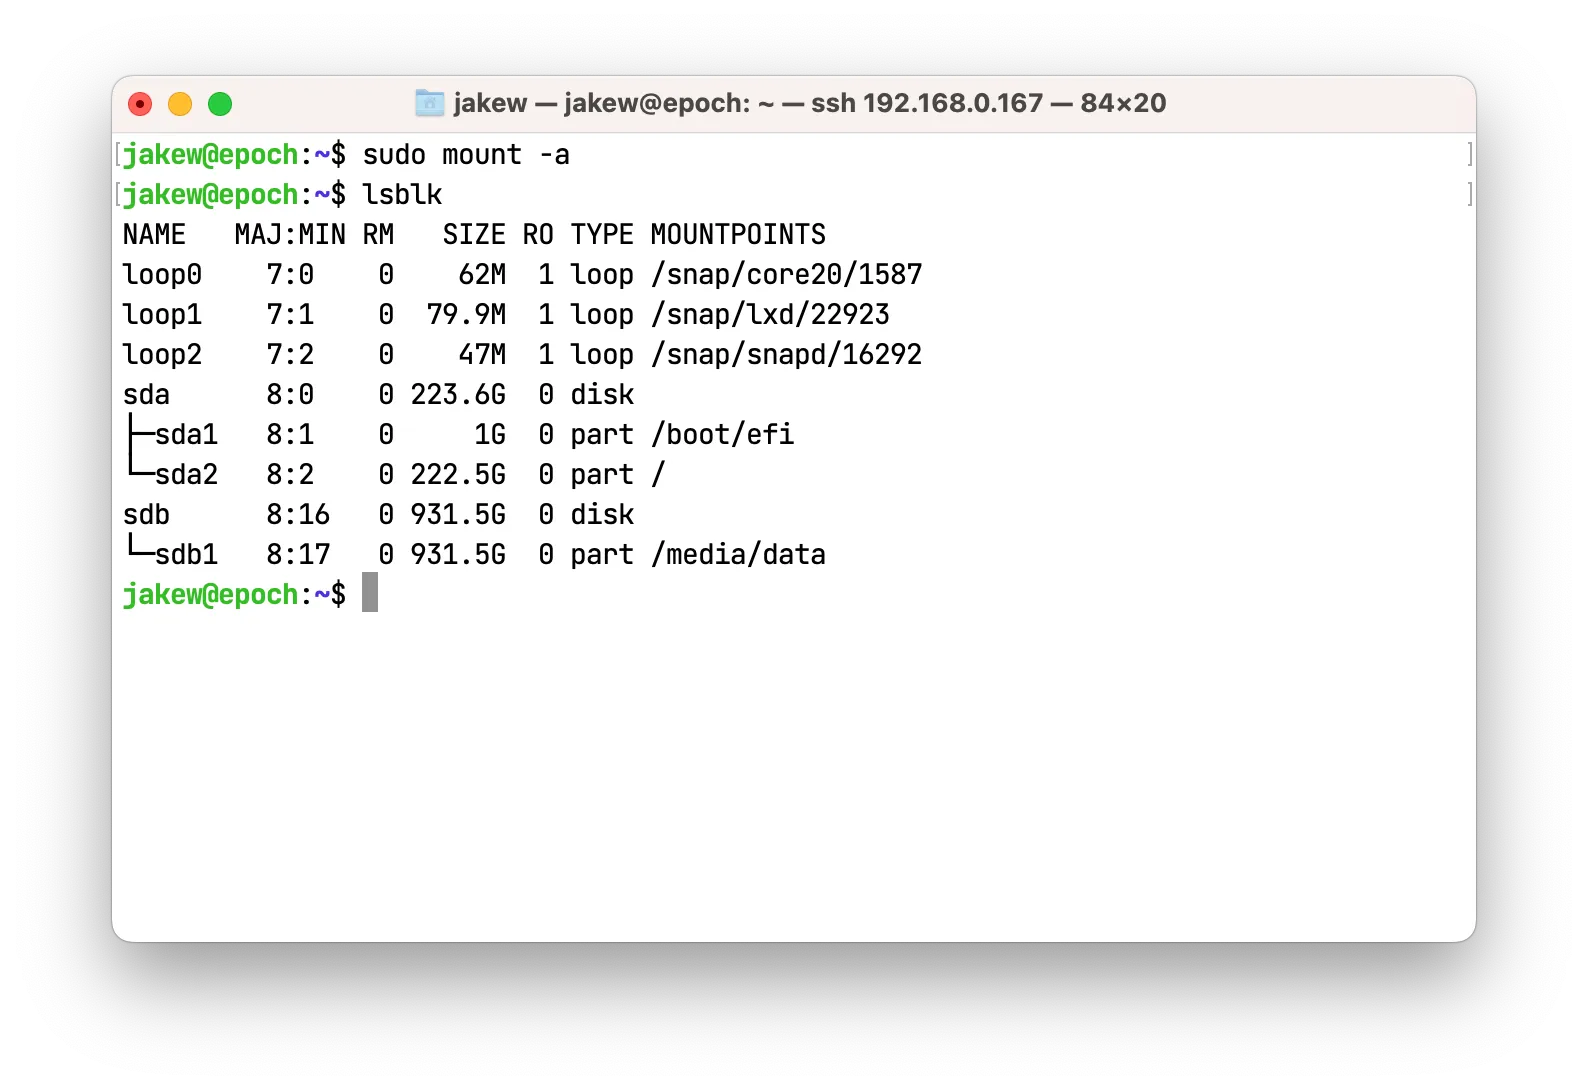
Save and exit by pressing Control-X then Y. Finally, run sudo mount -a for the changes to take affect, mounting the drive you added. You can run lsblk to check the mount point of the drive is expected.
Installing Plex
To install Plex, I'll use a Docker compose file. A compose file is a bit like a recipe for creating one or more Docker containers, as well as networks and volumes. This makes it super easy to configure and upgrade in the future rather than remembering long commands.
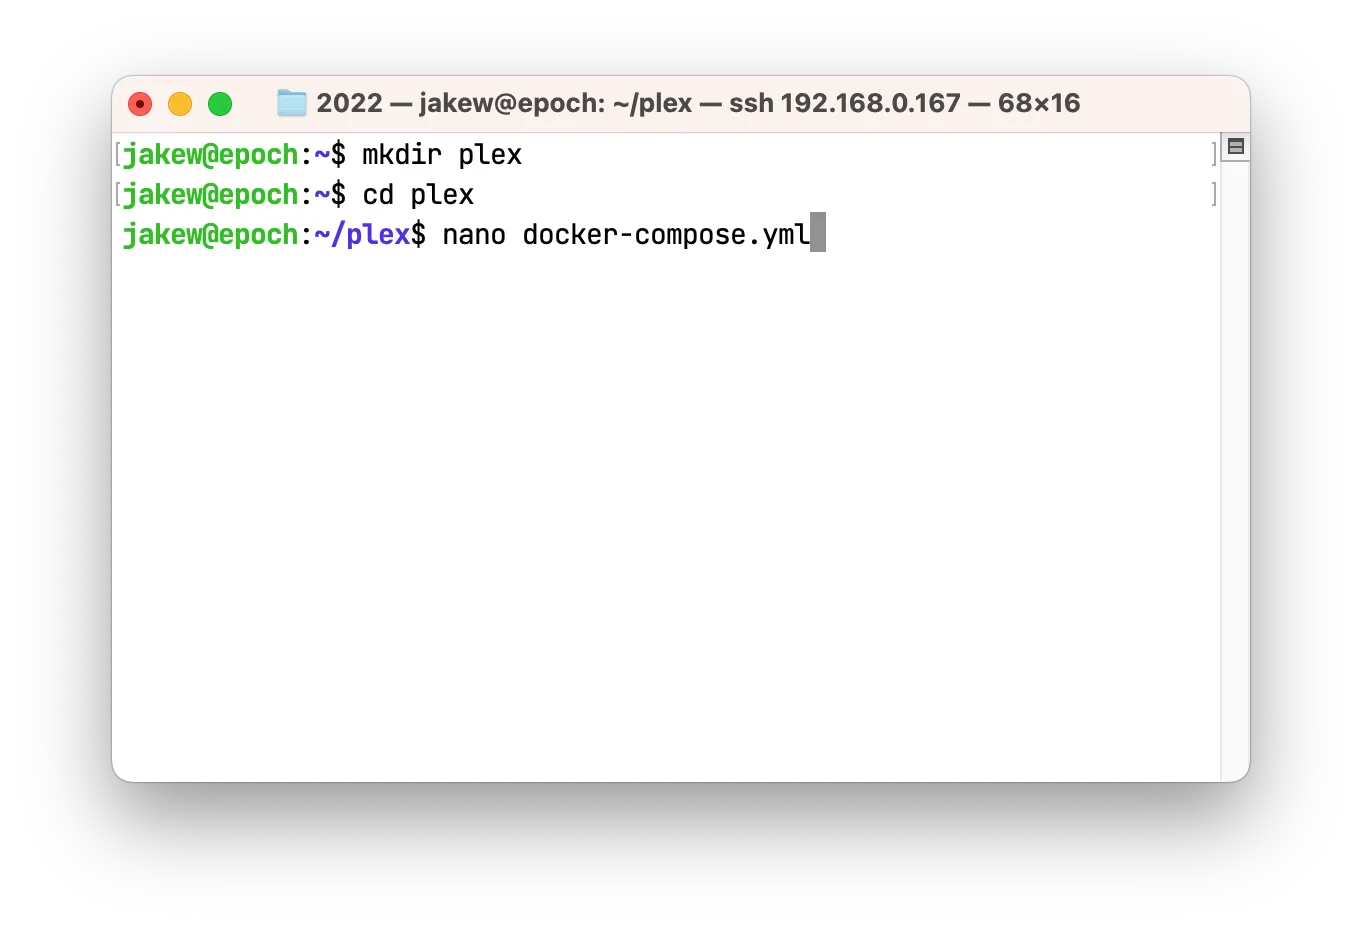
To get started, make a new folder anywhere called plex or something similar with mkdir plex. This folder will contain the Docker compose file and any folders that we want on this drive. Then open the folder with cd plex and run nano docker-compose.yml to create the compose file.
Then copy the following content into the file:
version: "3.4"
services:
  plex:
    container_name: plex
    image: lscr.io/linuxserver/plex:latest
    restart: unless-stopped
    network_mode: host
    environment:
      - PUID=1000
      - PGID=1000
      - VERSION=docker
    volumes:
      - /media/data/tv:/tv
      - /media/data/movies:/movies
      - /media/data/music:/music
    devices:
      - /dev/dri:/dev/dri
Note: remove the devices section if you receive errors later on - this is for using Intel hardware acceleration. If you have an NVIDIA GPU see here to get it working with Plex. Also with devices and volumes, the left side is the host and right side is the container.
Then, run docker-compose up -d to start Plex. It will take a few moments to download the image and it will launch Plex.
Other useful commands
- Logs:
docker-compose logs --follow --tail 10- get the last 10 lines of container logs and any future lines. Press Control-C to exit. - Stop:
docker-compose down- stop the container. - Update:
docker-compose pull && docker-compose up -d- pull the latest container image and recreate the container with the new image.
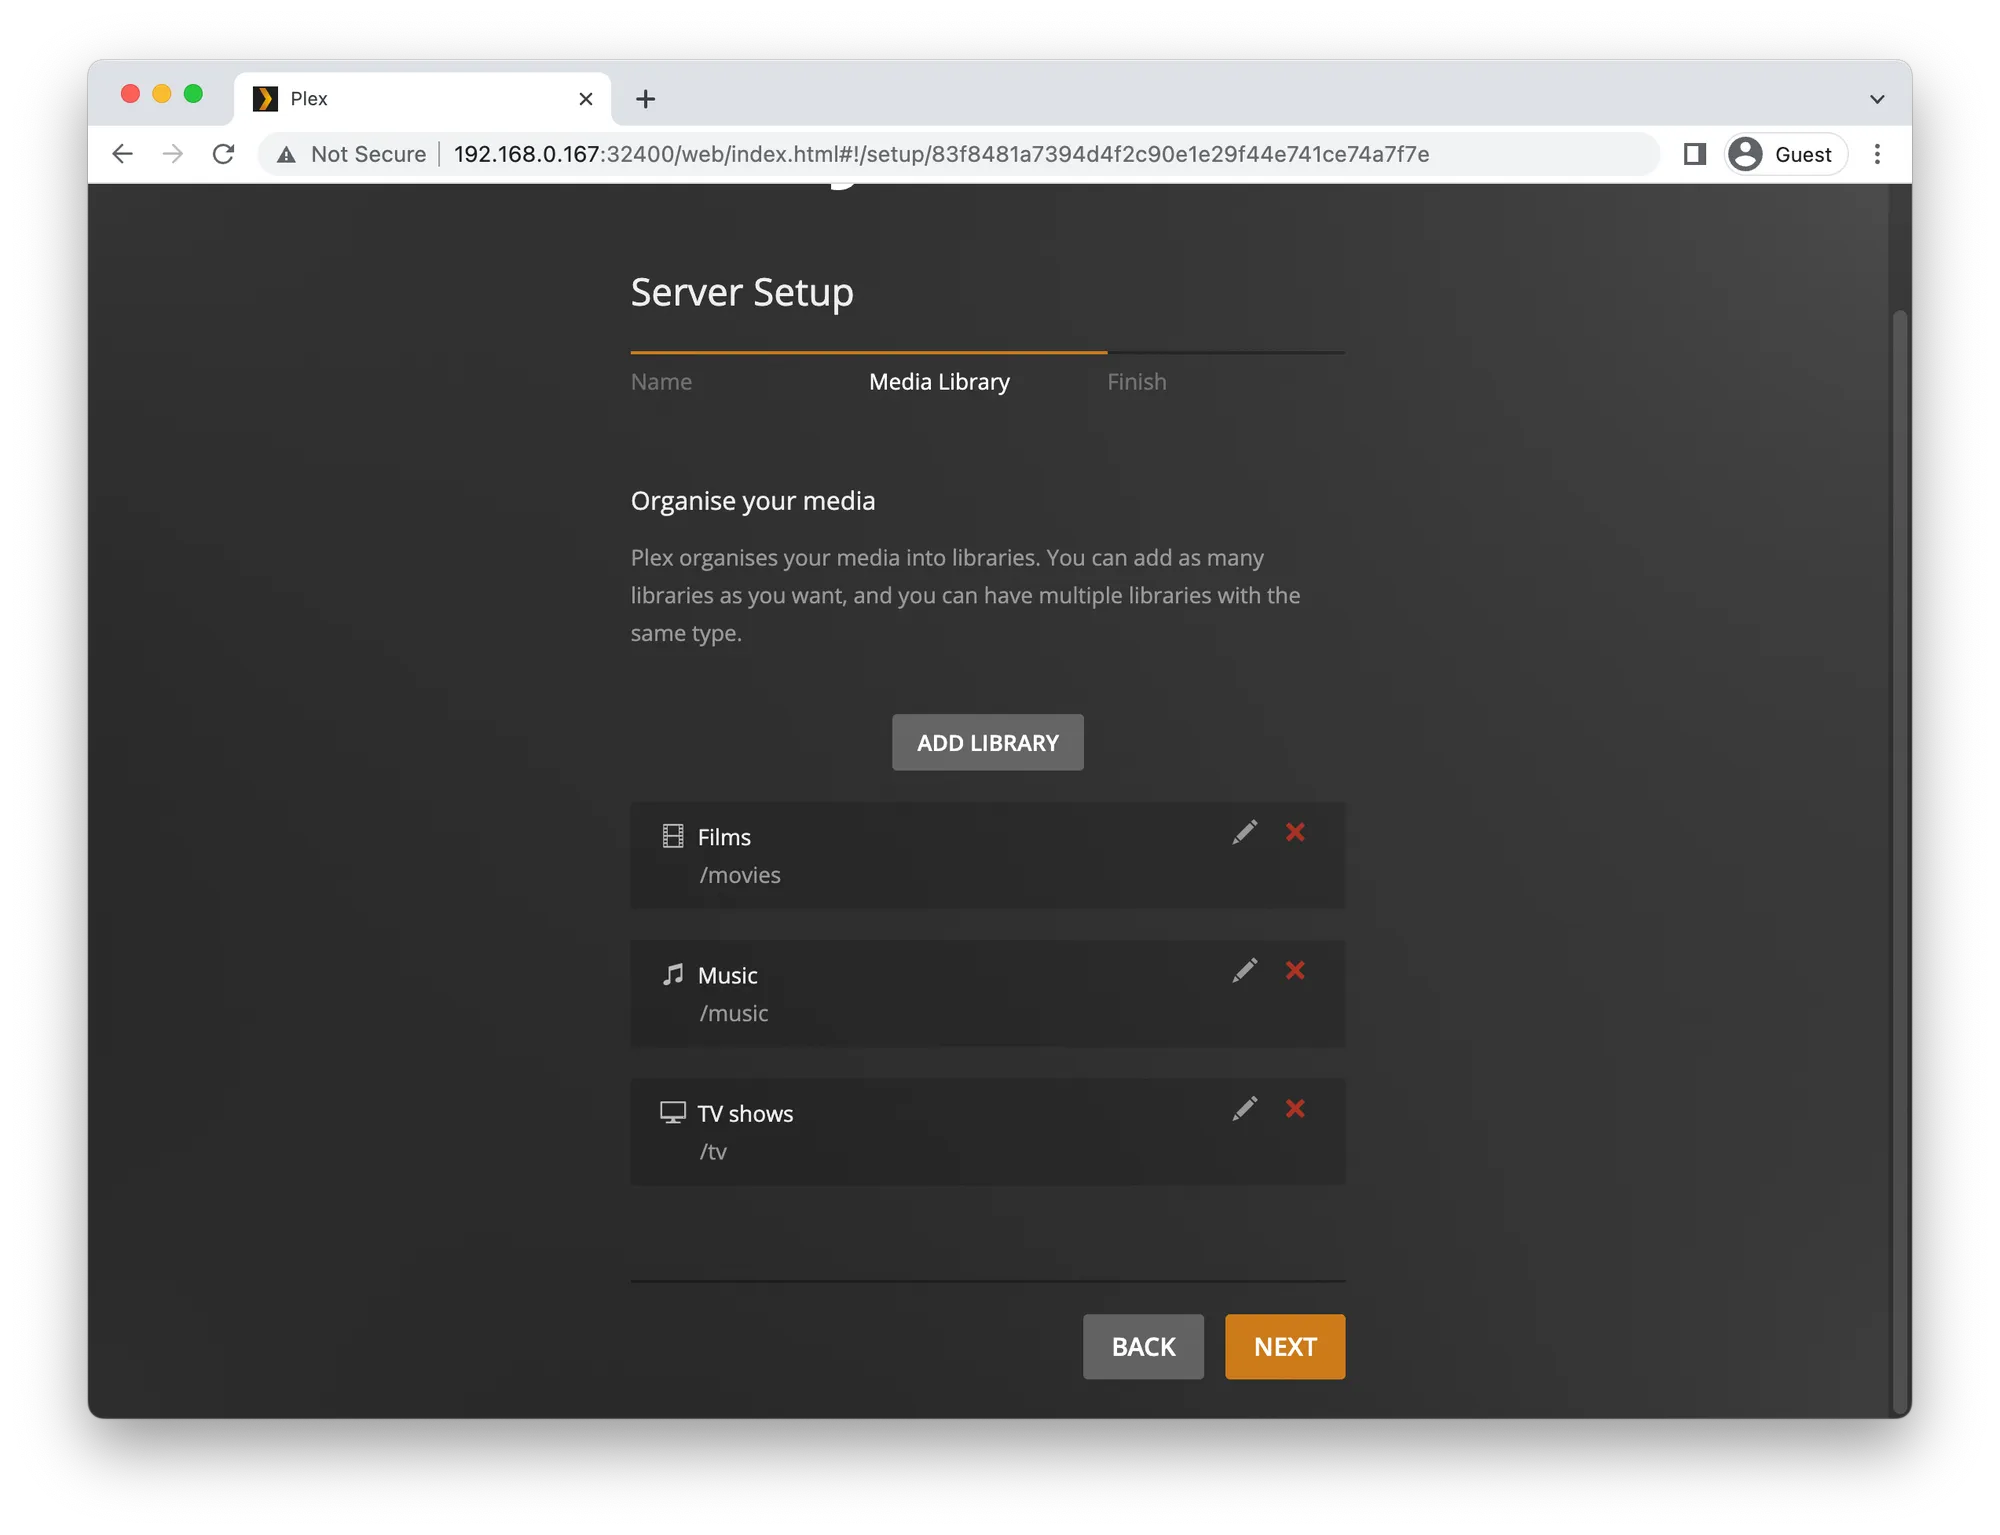
Once running, give it a few moments to warm up, then go to the IP address of your server with port 32400. Make sure to add /web to the path if you get an XML response. You will be taken to a page where you can sign in, then you will get a setup wizard like this:
Remote Access
For remote access, I like to use Tailscale. It creates a peer-to-peer, private WireGuard VPN and has great apps for any computer or mobile device for connecting remotely. It's free for up to 20 devices and it's much better than opening ports on your router. To get started, sign up on their website then run the following comamnd to install Tailscale.
curl -fsSL https://tailscale.com/install.sh | sh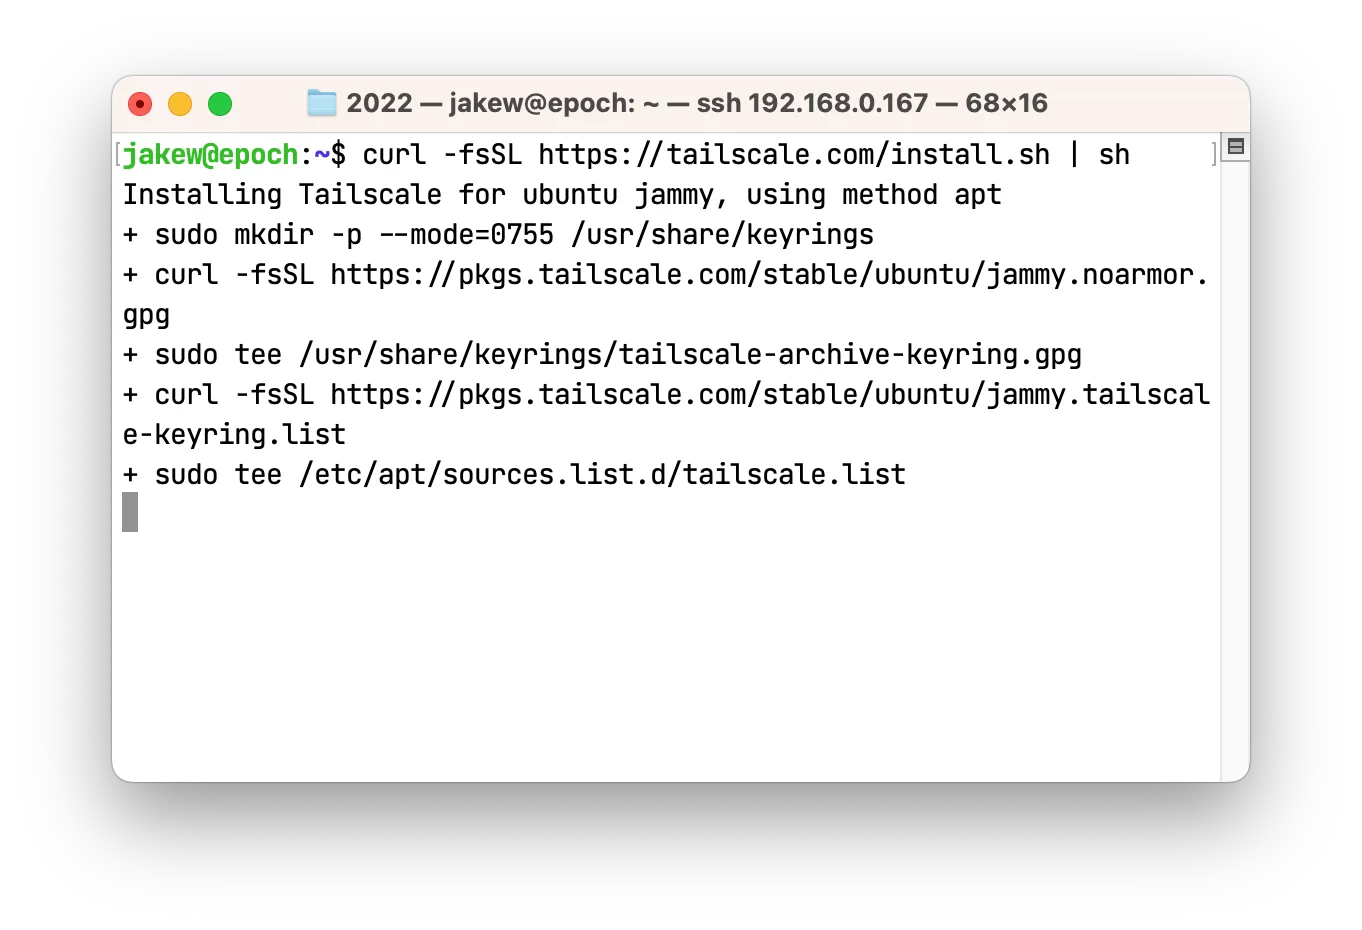
Once complete, run sudo tailscale up and log in with your account. Once logged in, you can go back to your terminal and run ip a to see a new tailscale0 device has been added with an IP address starting with 100. Your new device will also show up in the Tailscale dashboard:
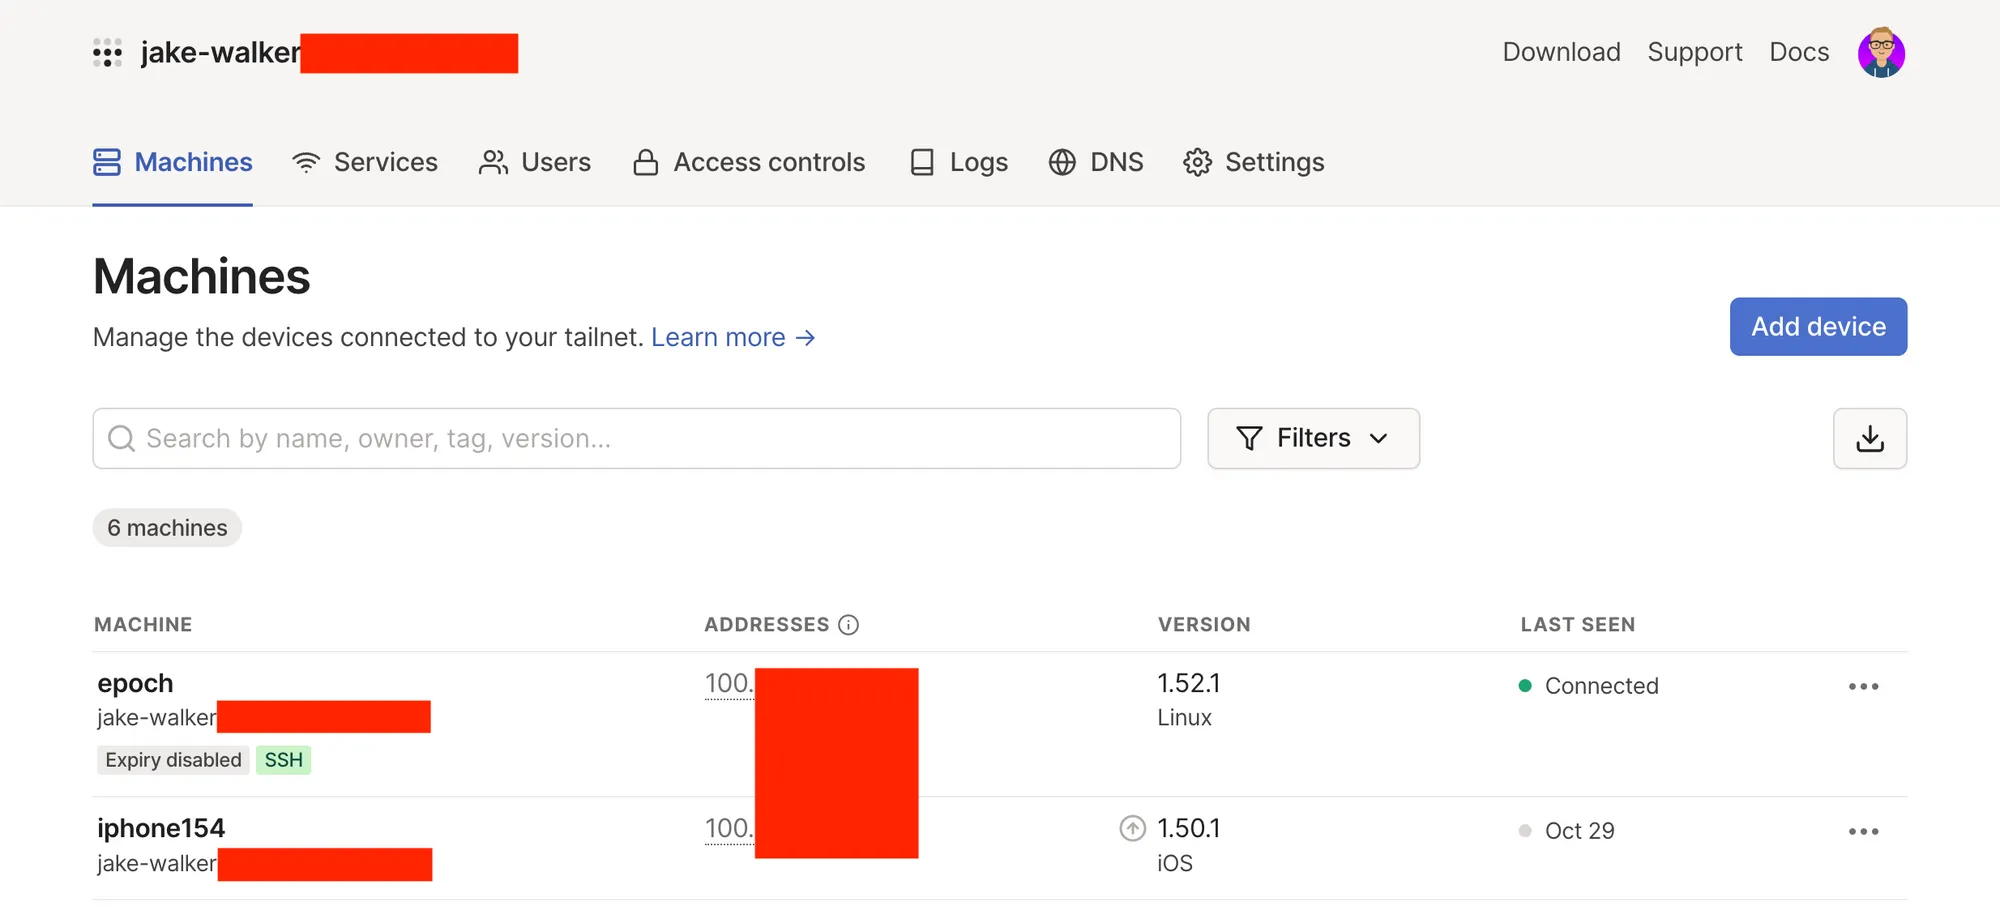
You'll notice my server has 'expiry disabled' this means that I won't have to reauthenticate on the server every now and again. To do this, click on the dropdown at the end of the server and select 'disable key expiry'.
Fin
That's it, a simple home server setup with Plex installed as an example. If you want any other apps, there's a list of suggestions below, the process for setting them up with Docker will be similar to the above with Plex.
Having a home server makes a great way to share files between your own devices or family, it also gives you more control over your data, especially when you opt to self-host an application yourself rather than going to an online app run by a company.
Other services to setup
- Home Assistant - Smart Home
- NextCloud - File Storage (similar to OneDrive, Google Drive or iCloud)
- WireGuard VPN
- See awesome-selfhosted for more apps sorted into categories