I was recently testing out some software called Grocy which lets you keep track of food in your kitchen. I've previously had difficulty adding getting started for various reasons, and on Reddit, someone mentioned a barcode scanner made using Grocy easier and more satisfying.
I kept an eye out on eBay for a cheap wireless barcode scanner and eventually got lucky. Unfortunately, when it arrived and I tested it, it didn't work at all unless it was plugged in. I tried troubleshooting quickly by measuring the battery voltage and found it was at 0 volts. For reference the lowest a Lithium Polymer (LiPo) battery can go is 3.2 volts before potentially becoming damaged, so 0 volts is as bad as it gets and would need replacing. I contacted the seller and we worked out a partial refund, then I got to work replacing the battery.
This post is designed to talk about the process of replacing a battery in something quite generally so it should be applicable to anything with a dead rechargeable battery in.
The first step was disassembling the barcode scanner to get to the battery itself.
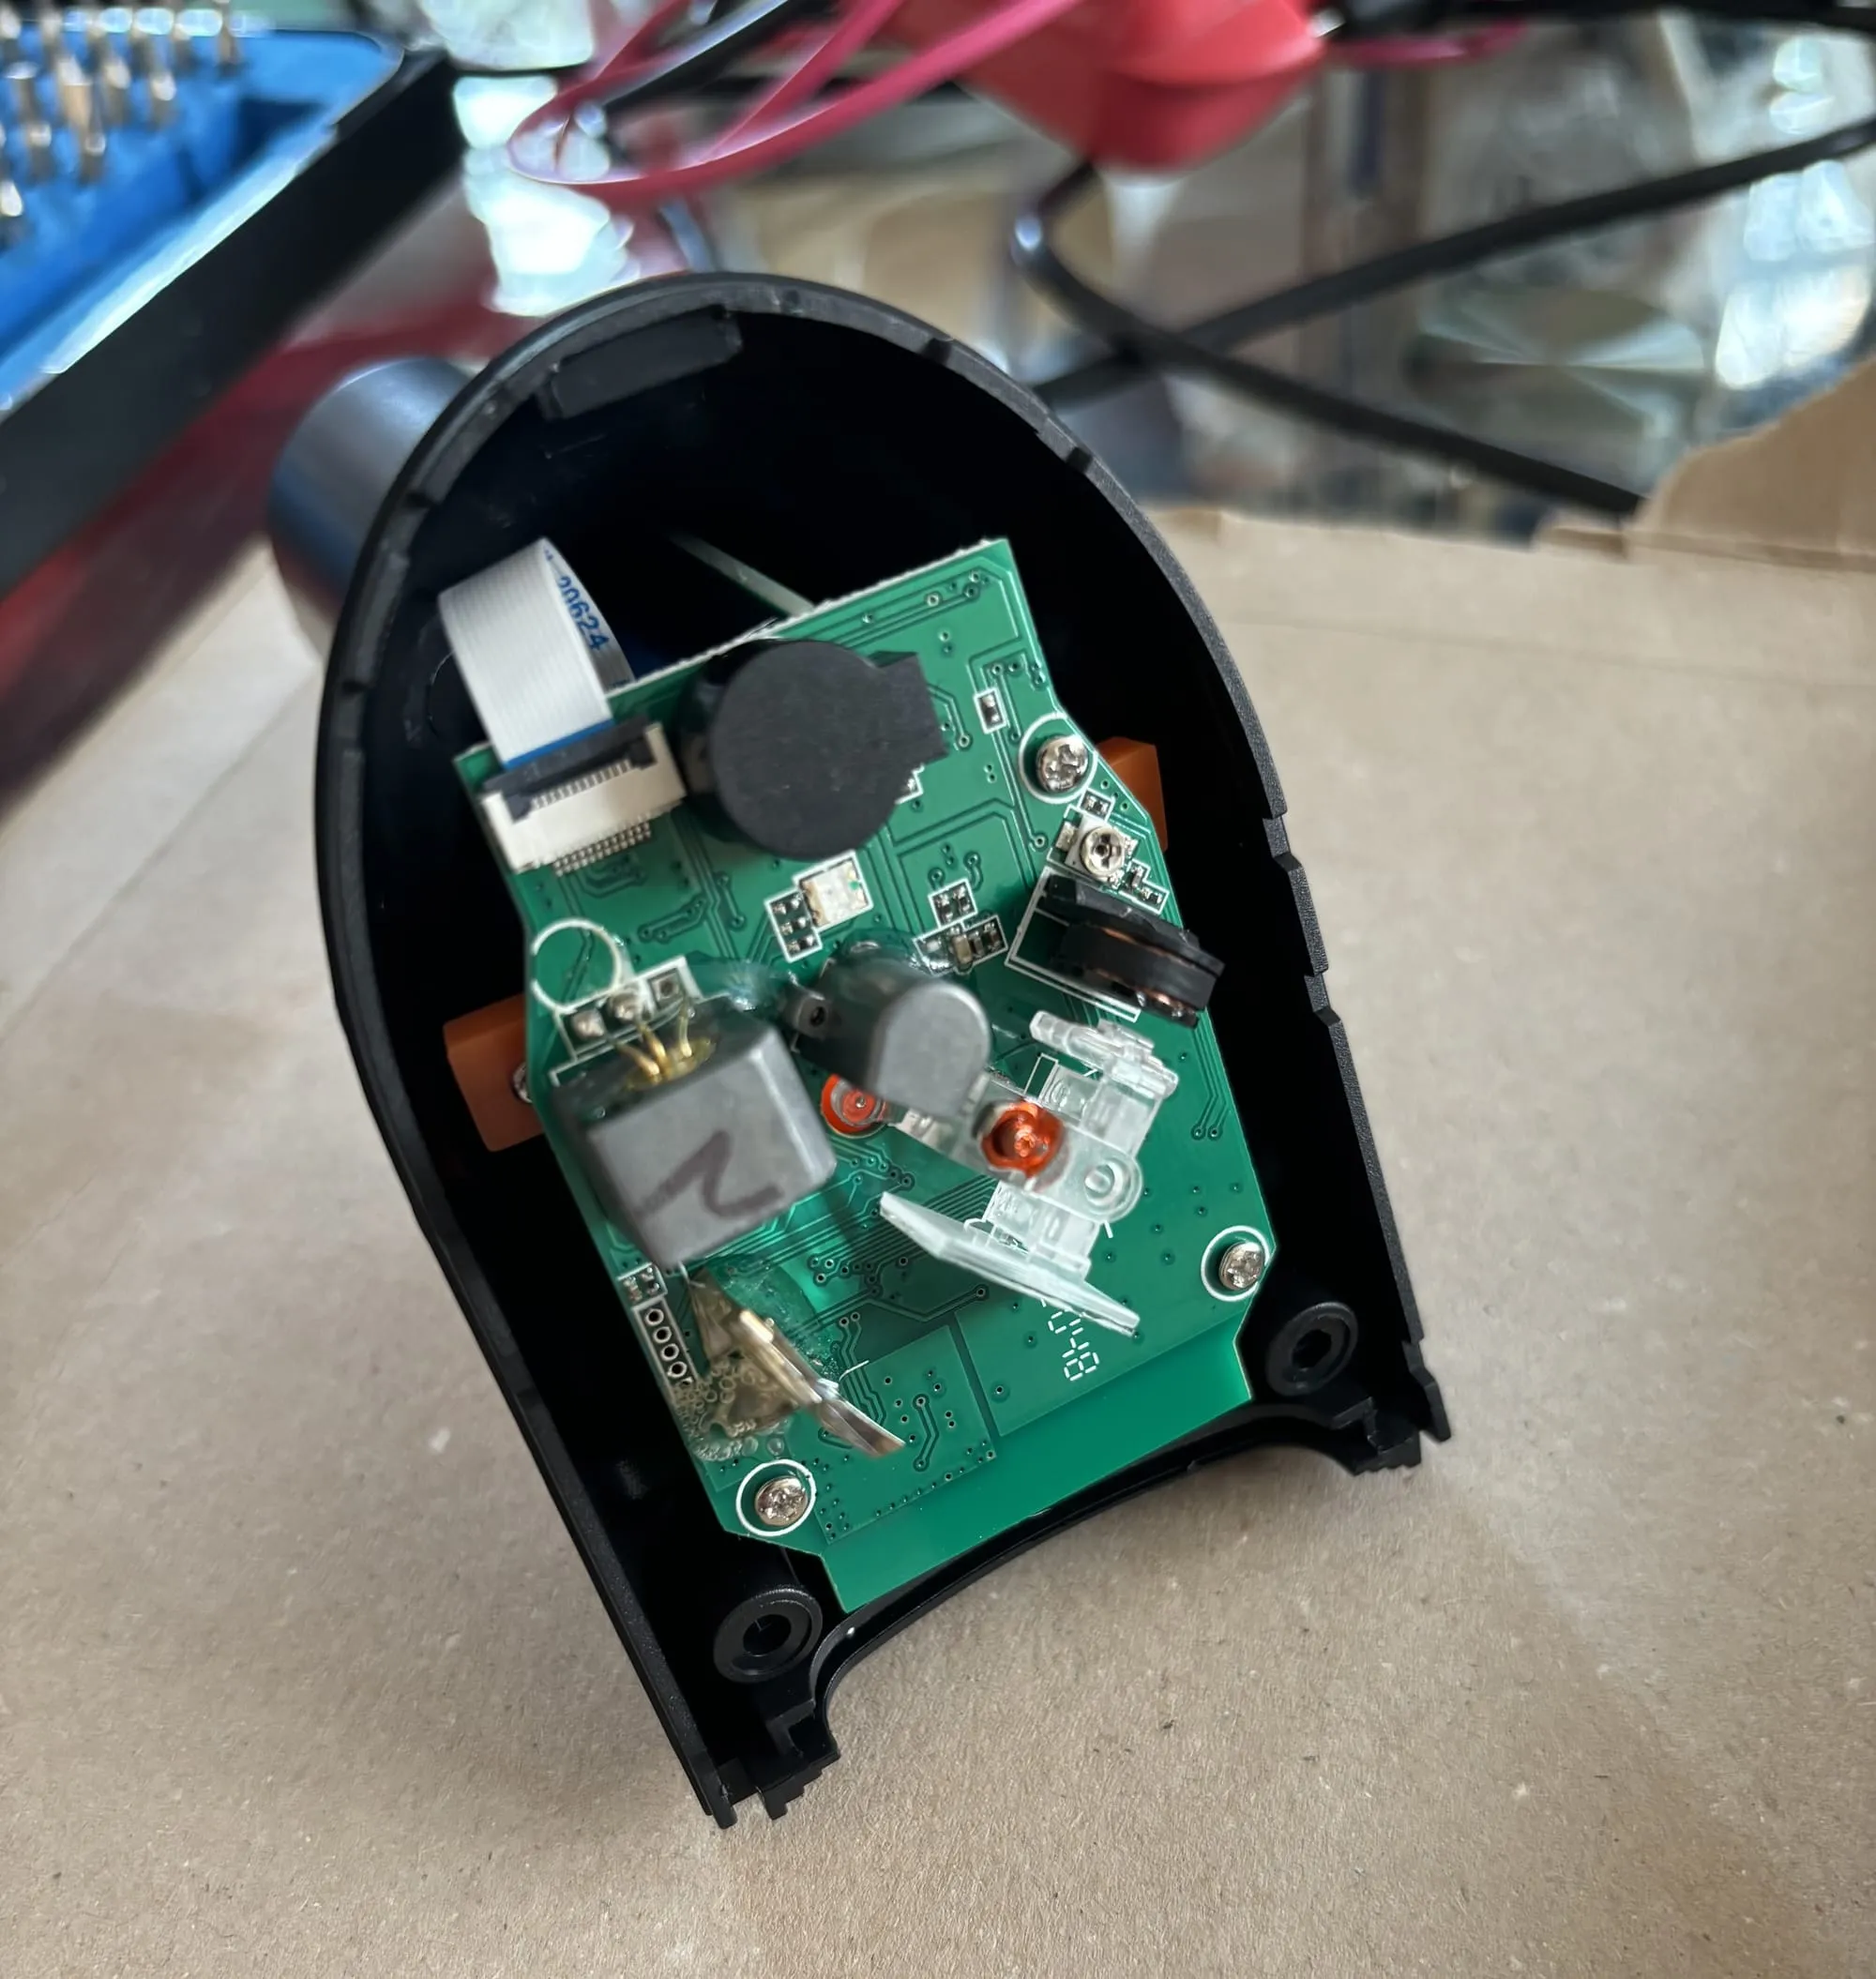
I had to take the scanner apart completely to get to the battery. The board here on the right has all the electronics on, and the board on the left has the battery, a button and a connector for the charging dock.
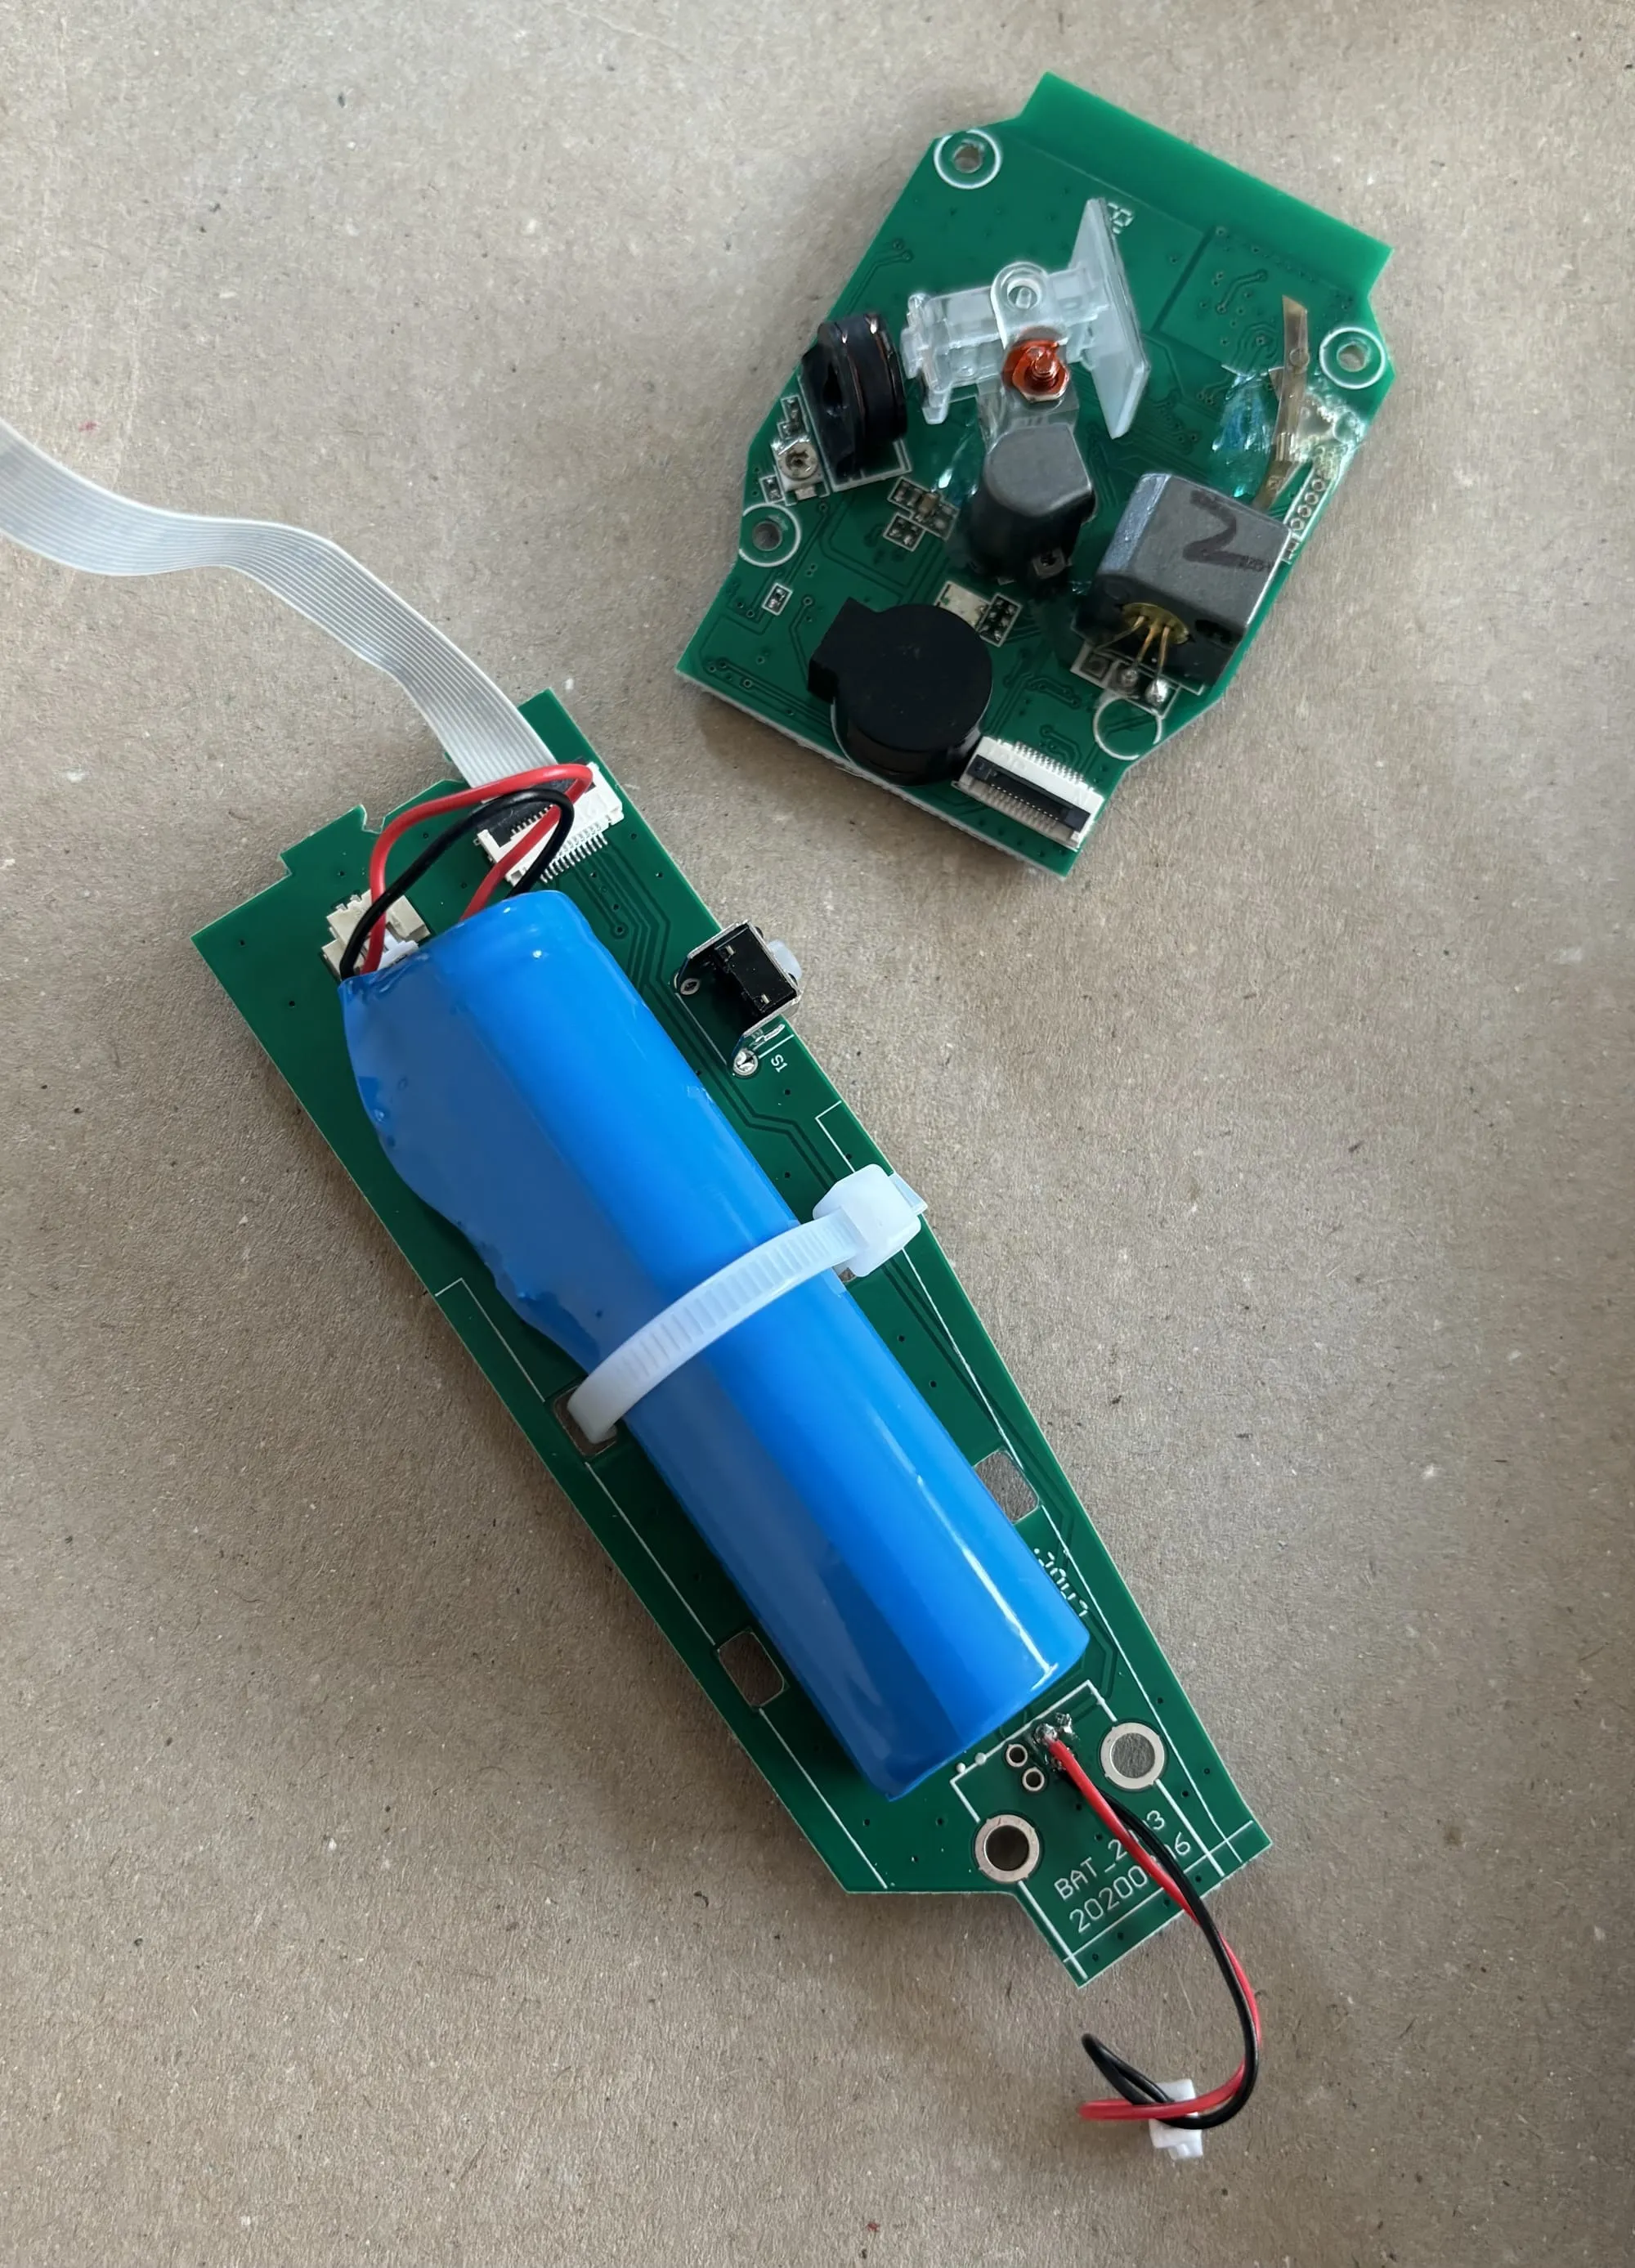
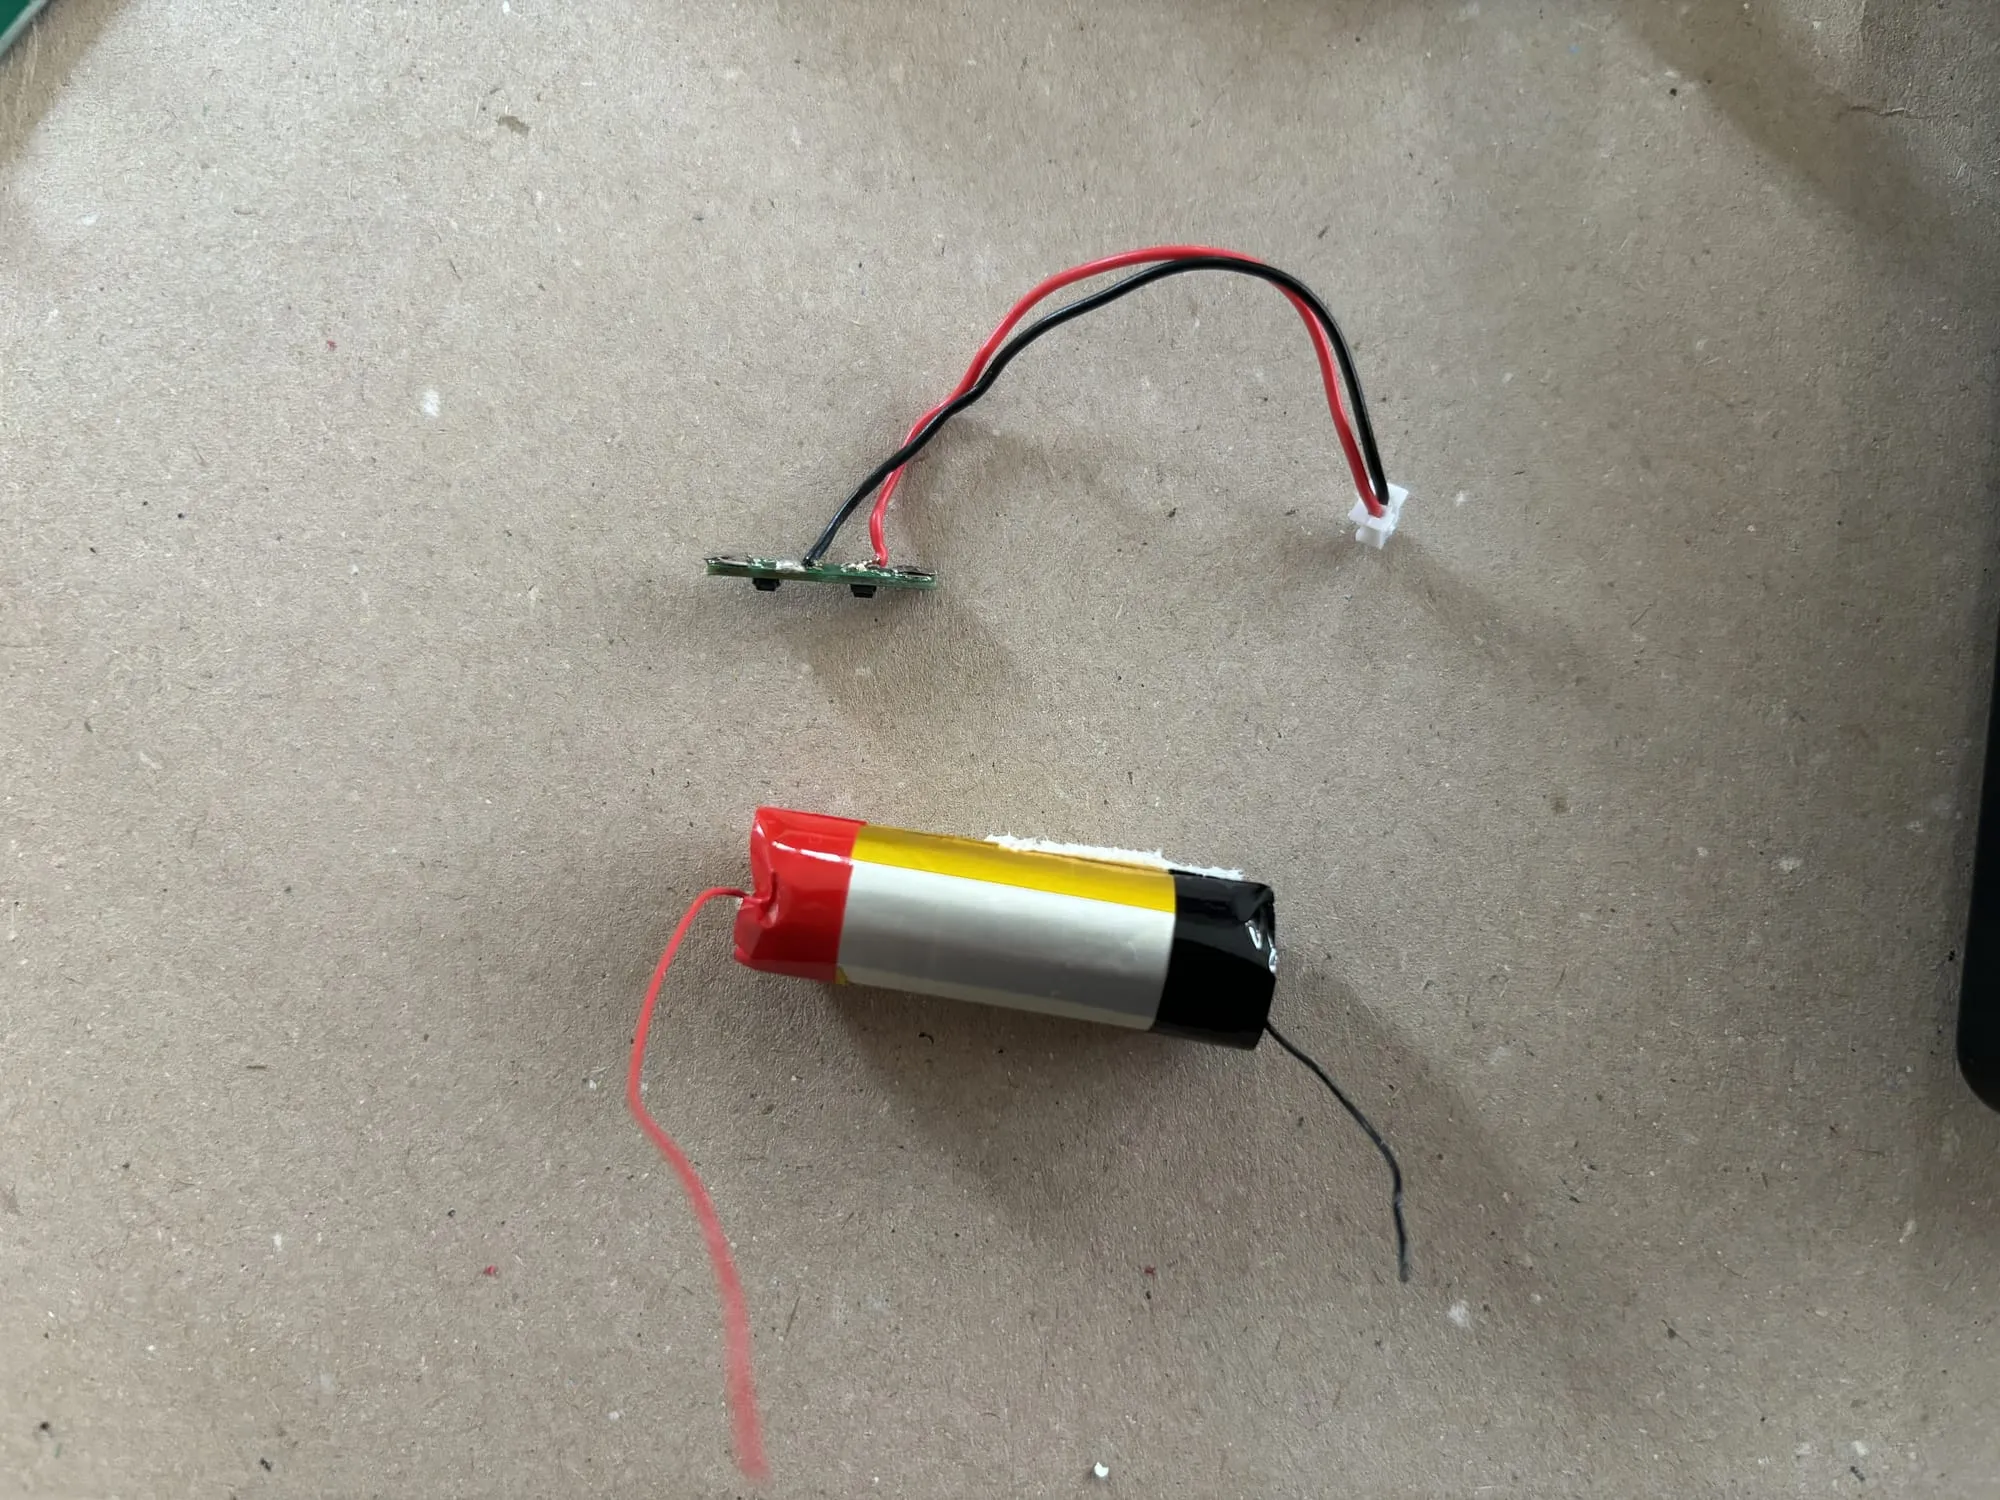
Next, I removed the battery. The one here is an 18650 battery, which are super common in battery banks and other consumer electronics.
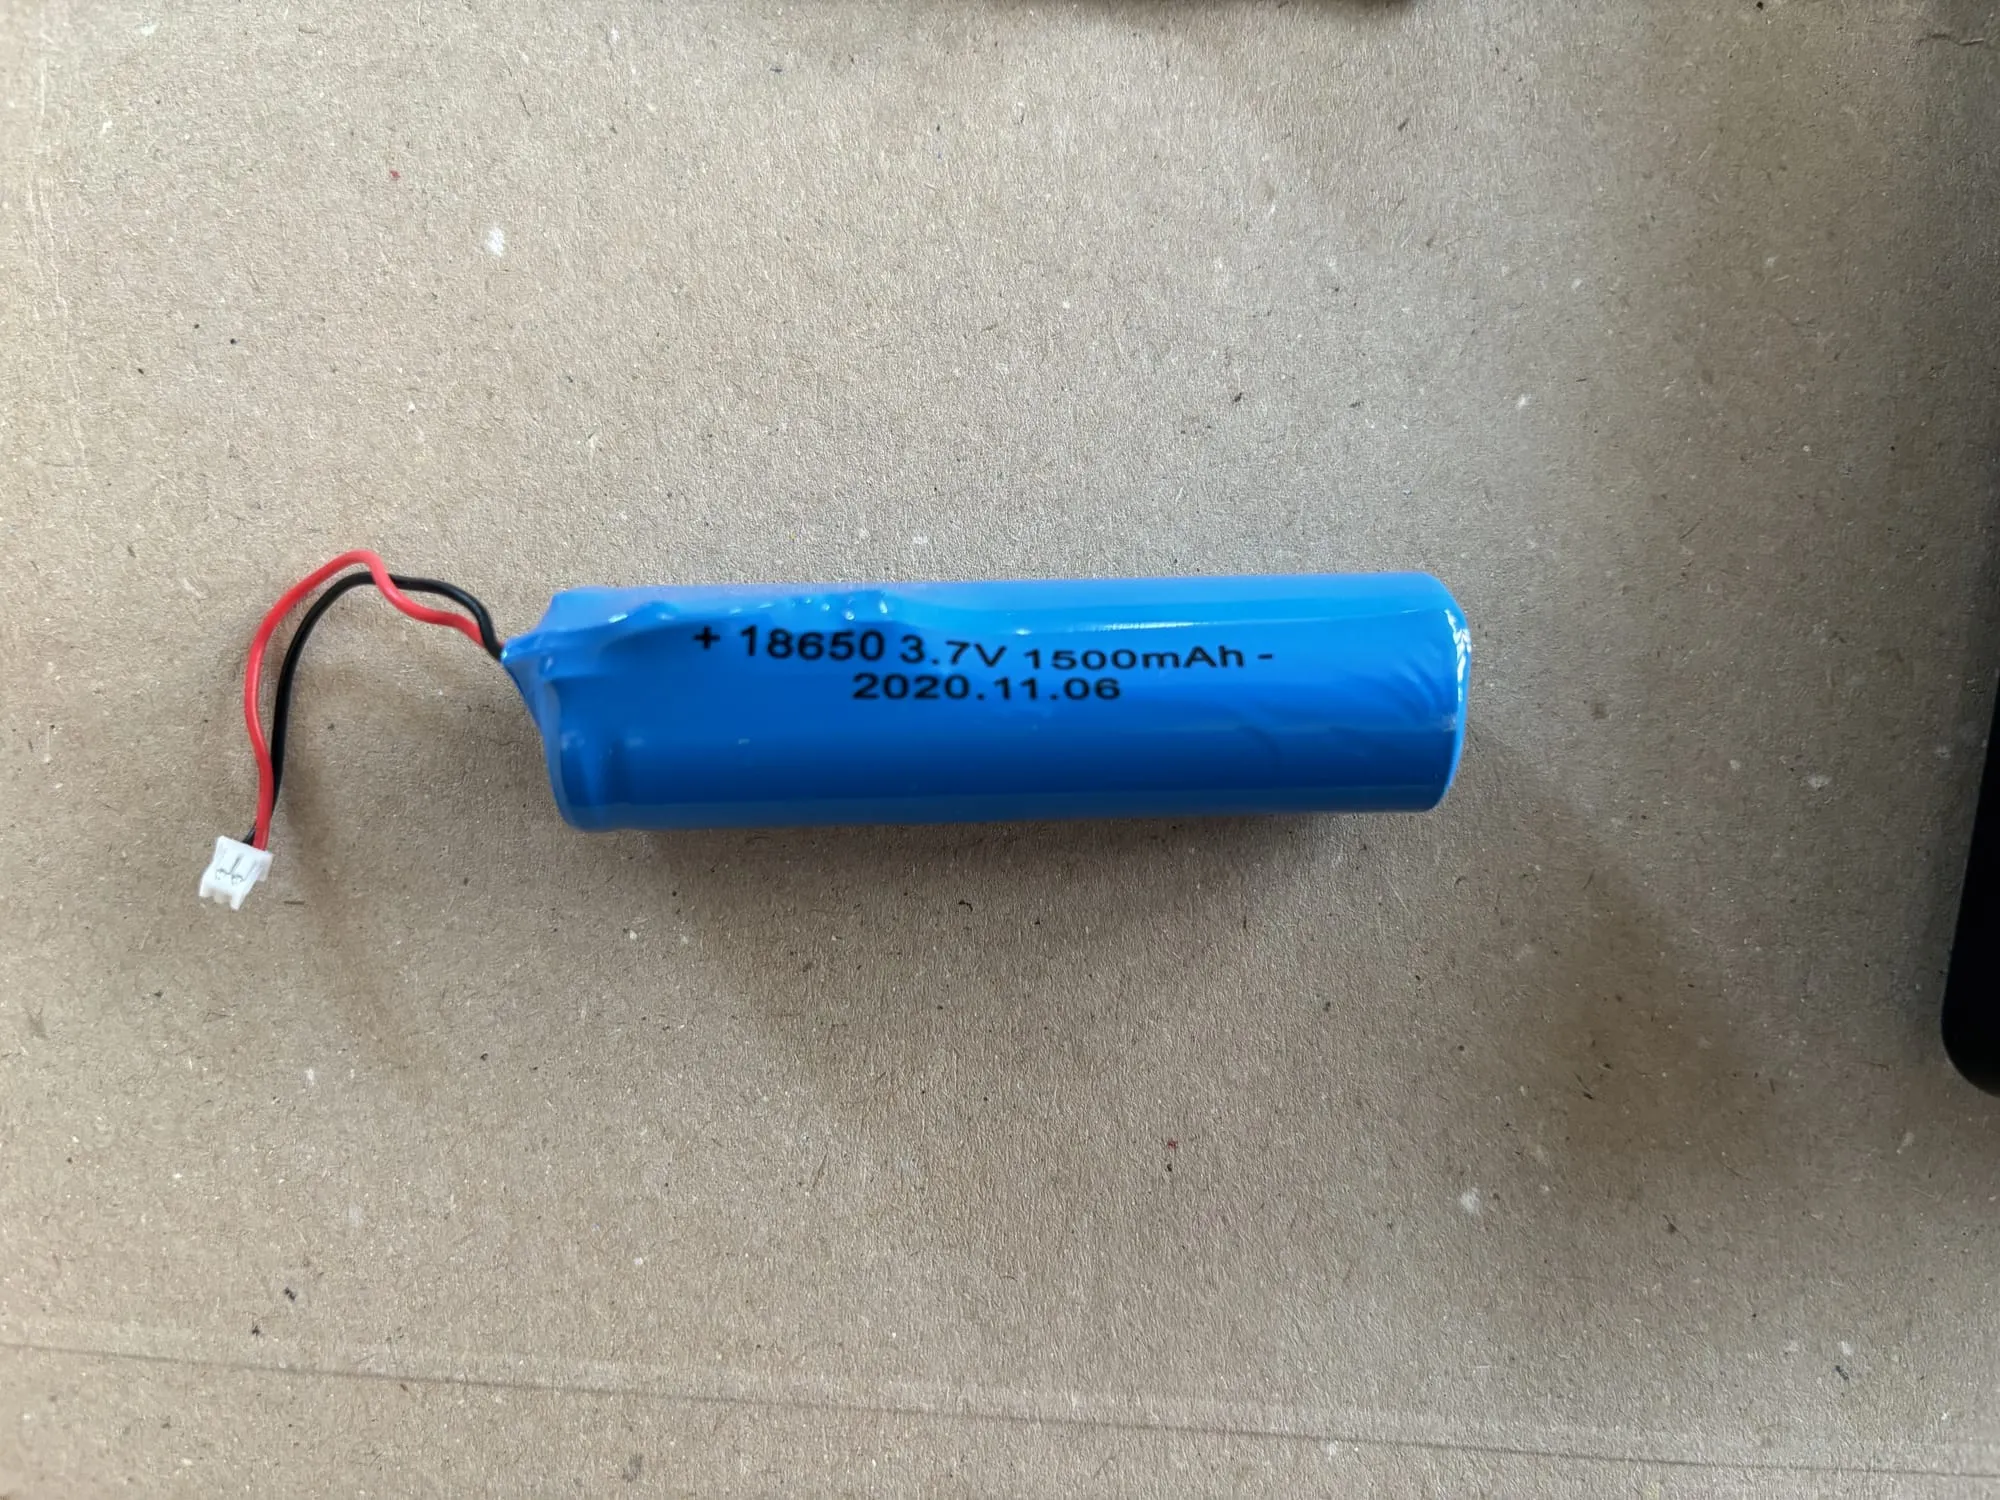
The blue plastic is just a cover, so removing it gets me access to the battery terminals as well as a battery protection circuit.
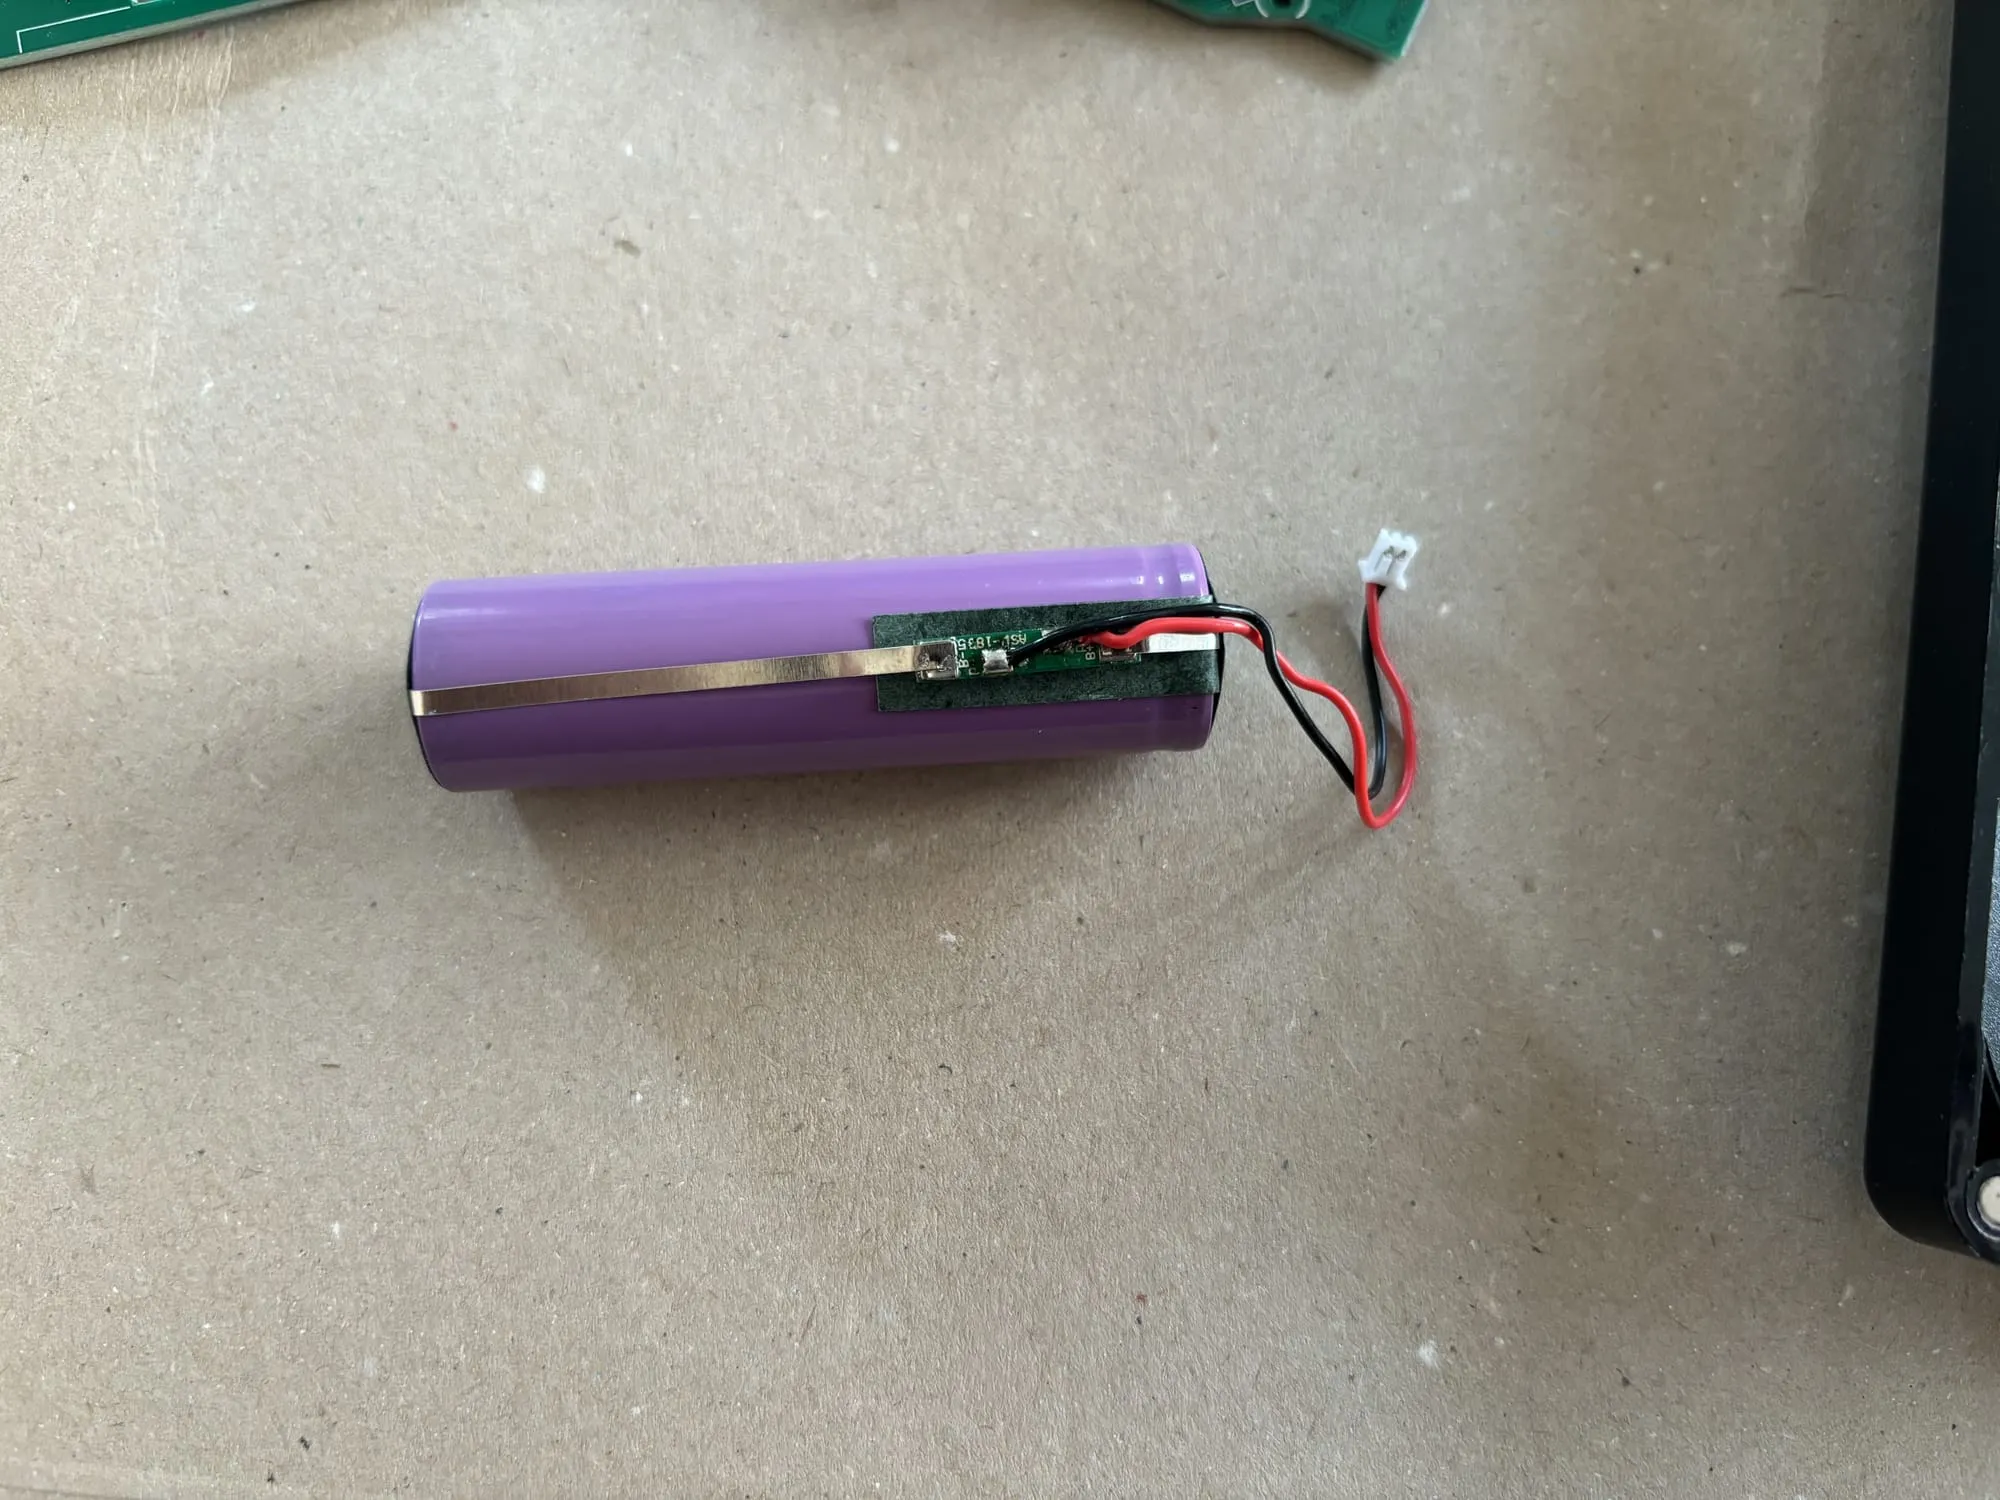
The battery protection circuit here is a really good salvage. I can simply attach this to a battery which doesn't have one to make it much safer. These little circuits make sure the battery doesn't get too much current, and doesn't get charged or discharged too much.
I removed the battery protection circuit and found a spare LiPo battery. It's worth pointing out the battery I'm using here is quite a lot smaller than the original at around a quarter of the capacity. That's okay for me as I'm not using this for short periods of time. If you're doing the same, you should check that the device your putting it into has an appropriate charging current. I managed to find this in the manual for the scanner, but you may need to crack out a multimeter.
As I mentioned earlier, 18650 batteries are super common, and in the past I've bought really cheap power banks (e.g. from Poundland) to harvest some. This probably gives the best results, but if I can re-use this smaller one it helps the environment at least 🌿.
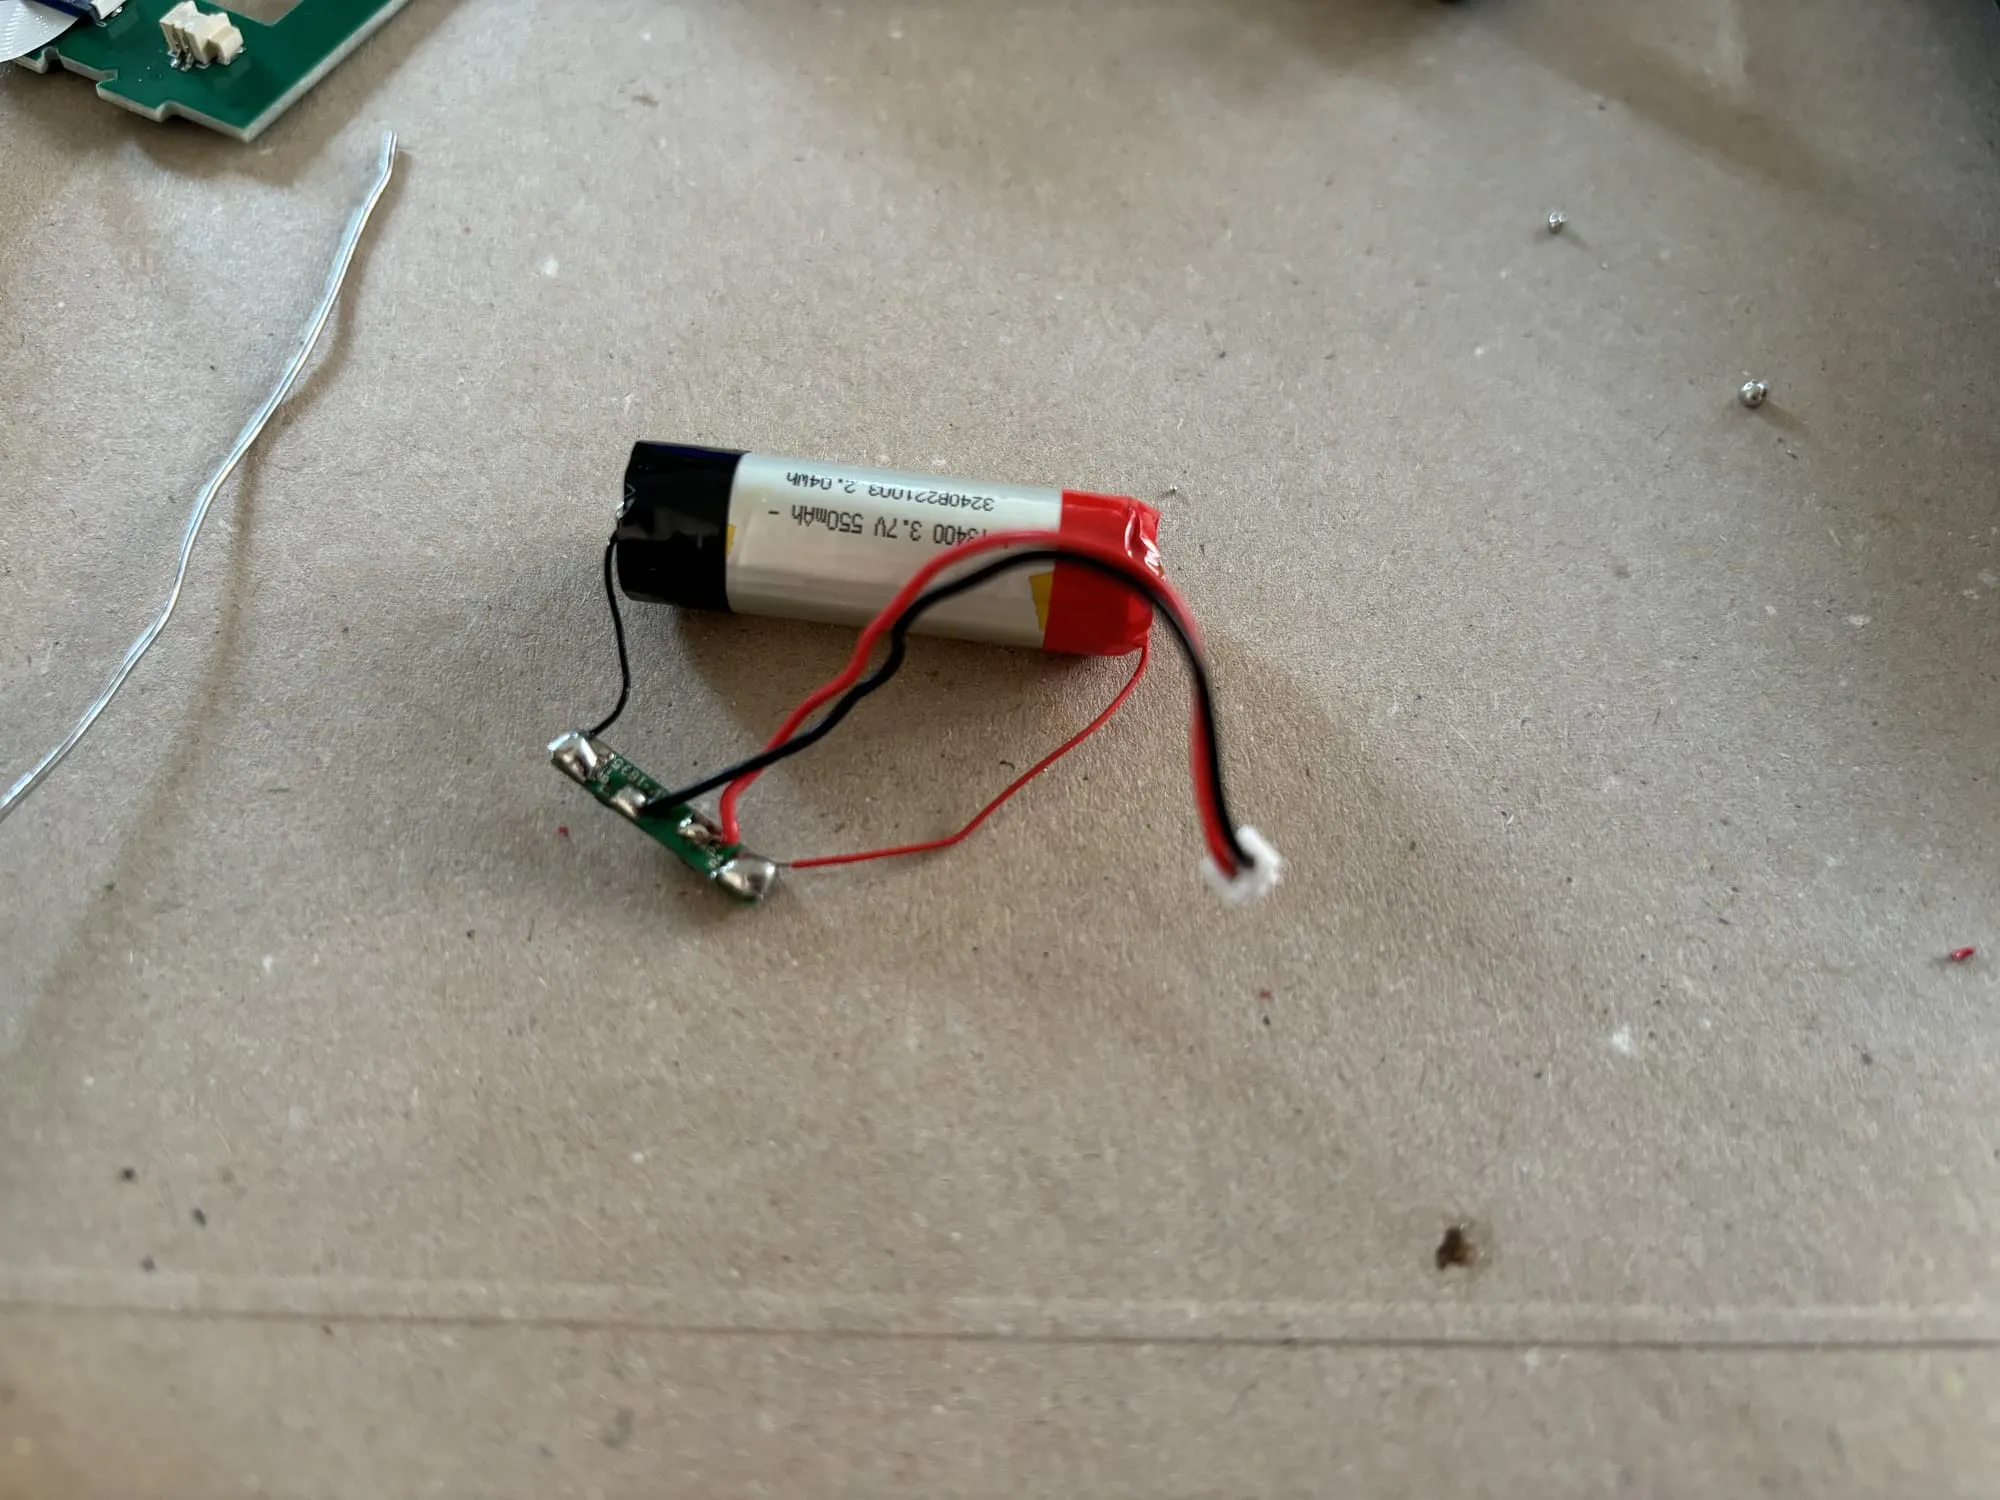
Next, I soldered the battery onto the protection circuit.
Finally, I put the battery back into the scanner and reassembled the scanner. With some very janky electrical tape work to hide the exposed battery connections and to keep everything in place.
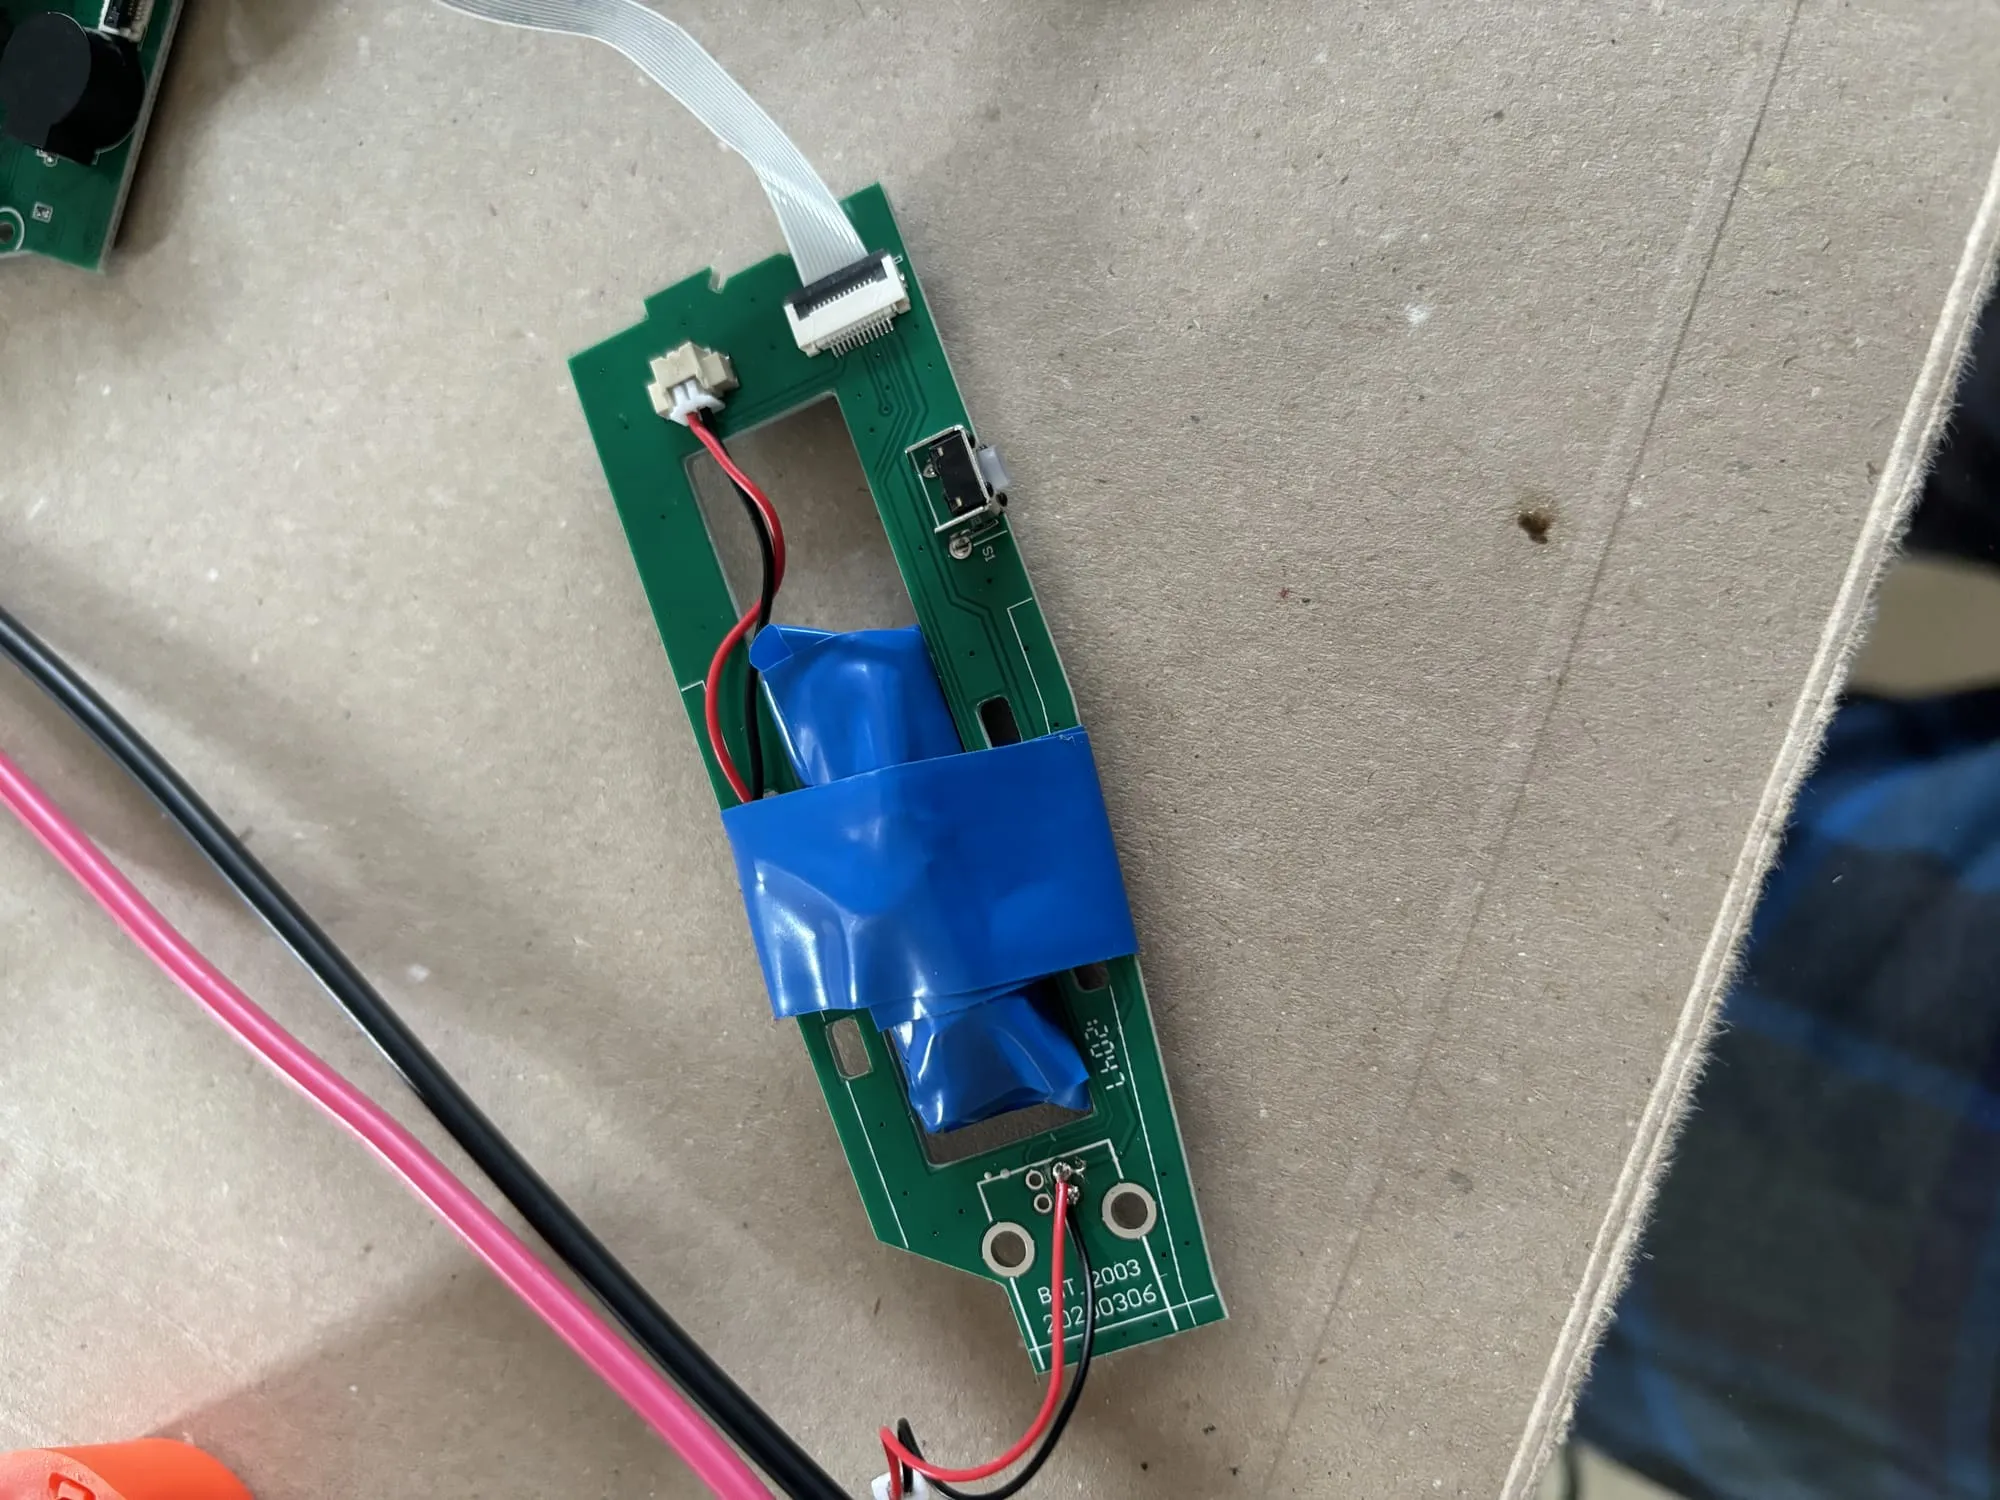
Finally, I reassembled everything and gave it a quick test. Now it works perfectly, and I saved a couple of quid by using stuff I already had.
This is a great example of repairing some broken electronics to keep it ticking still, and hopefully this serves as good inspiration for you!