Recently, I've found myself watching quite a few YouTube videos about various game console repairs and modding. One that stood out to me as a really awesome project was Zac Builds' video on building a "New New Nintendo 3DS". It's a good watch if you have time, and goes over a few mods like installing a bigger battery, Bluetooth audio and so on.
That along with other videos, spurred me on to buy a second hand New 2DS XL with the sole purpose of modding it. I thought it would make a great compact travel game console. I have a Switch 2 and Steam Deck which are both great, but they can both take up a little too much bag space sometimes when traveling.
Having had a DS Lite when I was younger, and an original 3DS in my late teen years, the DS family has quite a bit of nostalgia attached for me, and there's such a big library of games to explore. The nostalgia factor alone was a pretty good reason for me deciding to jump into this mini-project.
From doing a bit of research, I decided I'd install a new battery, swap the shell and install a USB C port.
Choosing a Model
Nintendo released quite a few 2DS & 3DS models over the console's lifetime, so there's quite a few to decide between. I was interested in some light emulation, and better performance, so I set my sights on either a New 2DS or New 3DS. The "new" versions both have slightly better CPUs than the original versions, and I also wanted an XL model for the larger screen.
Had I thought about this a couple of months earlier, I could have picked up a Japan "LL" model on my travels which would have been really cool. Although, from what I've read the system language can't be changed from Japanese, even with custom firmware, however games should still work in English.
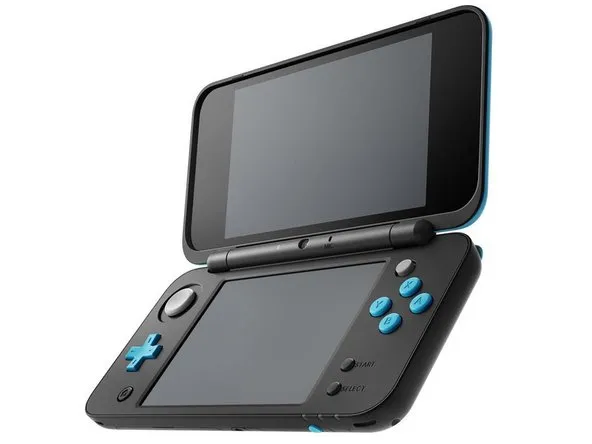
In the end I went for a New 2DS XL. I was close to a New 3DS XL, but it was an extra £100 or so, and I wasn't that interested in the 3D features.
Custom Firmware
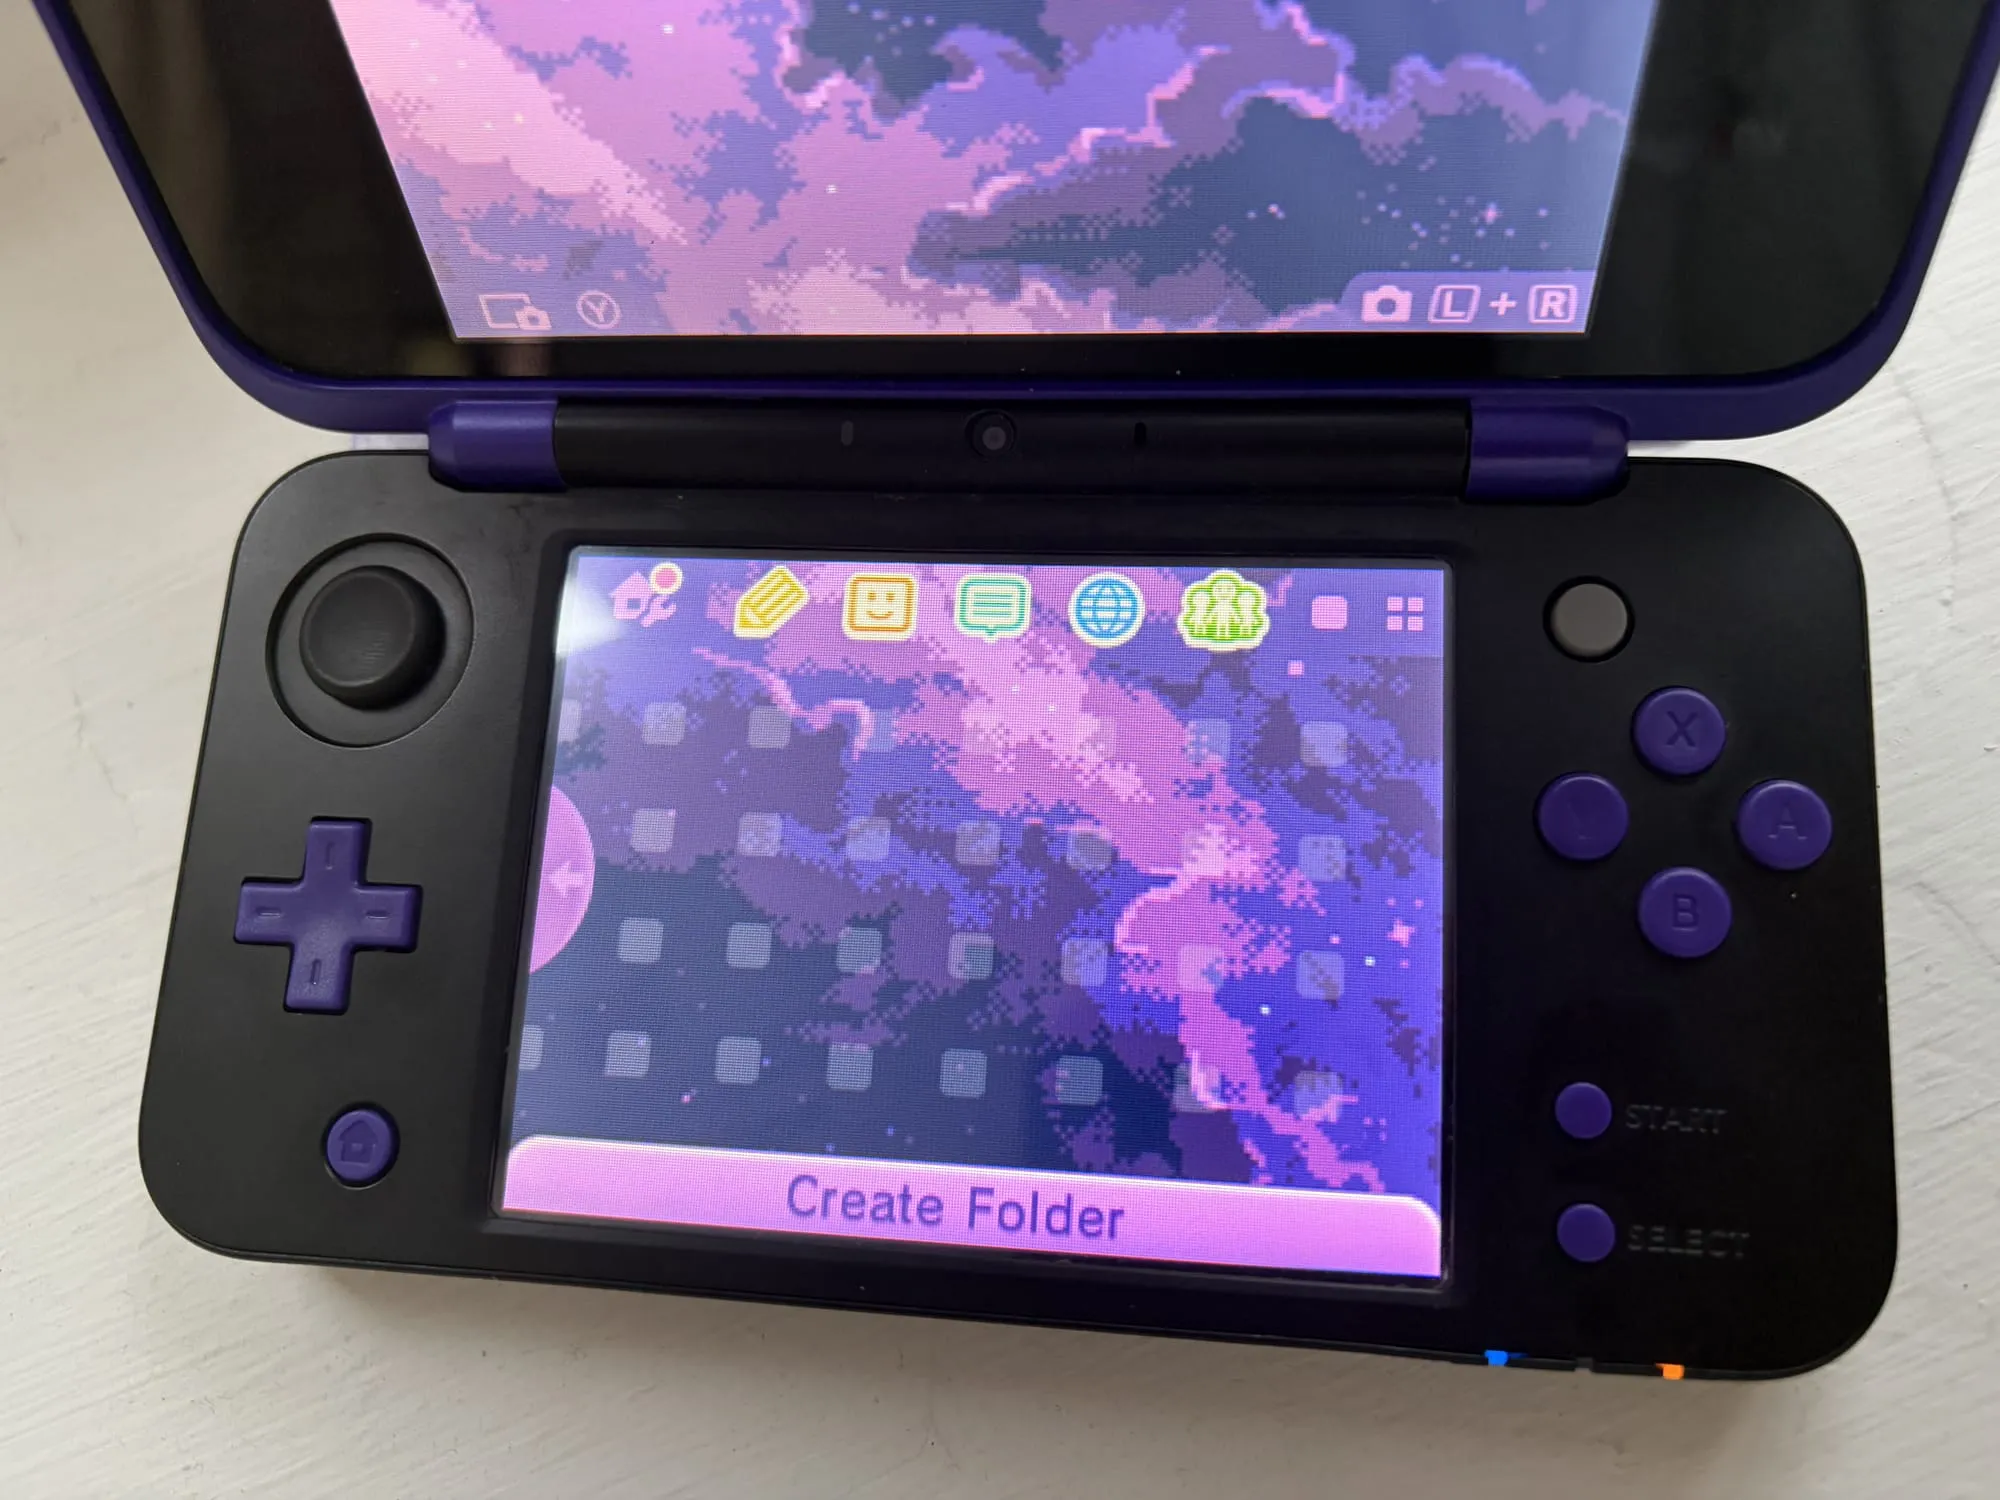
As soon as I got the 2DS, I software modded it with custom firmware. There's a fantastic guide already out there on 3ds.hacks.guide, so I won't repeat anything here - plus the instructions can differ depending on your OS version and console model. With Nintendo shutting down their 3DS servers a while back, soft modding is a no-brainer - it brings un-official online multiplayer servers, gives the ability to manage game saves, bypass region-locked games and most importantly homebrew for using emulators and things.
It only took about an hour or so to complete the process and the instructions are super clear and easy to follow.
A few notable things I've installed in the homebrew department are:
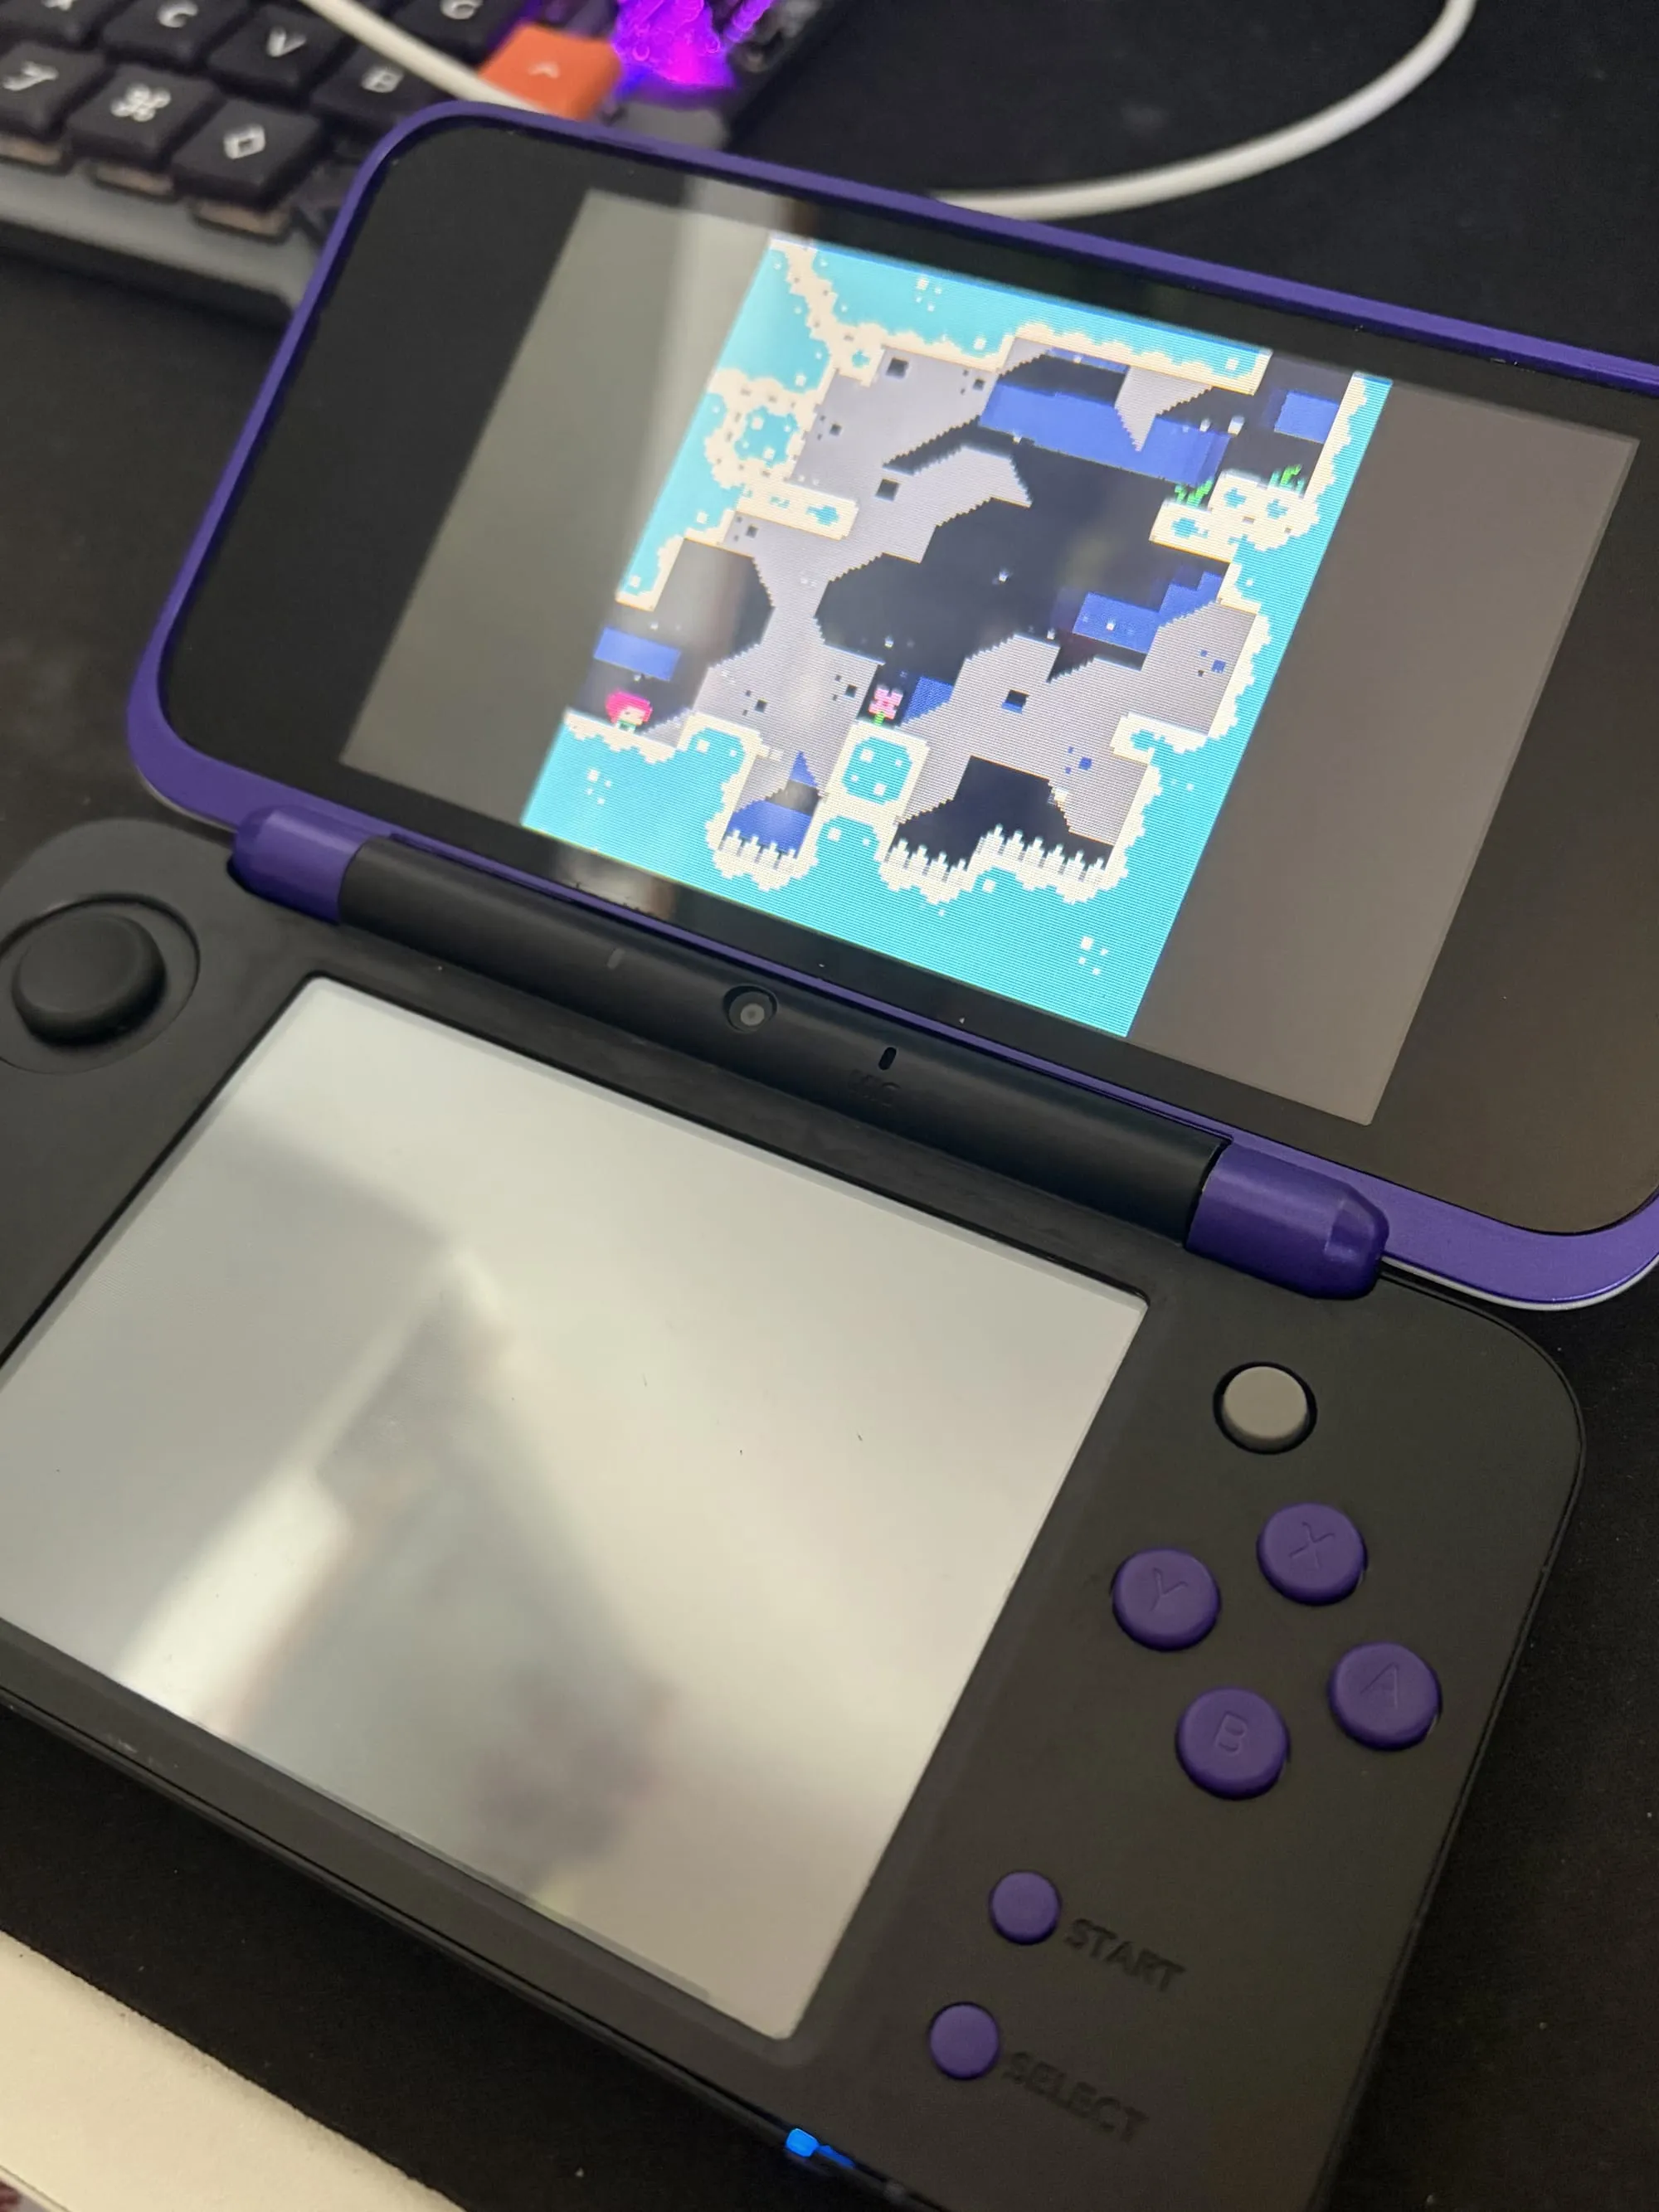
- Fake-08 Emulator - This is an emulator for Pico-8, a "fantasy console" which never existed. It has a retro feel and "retro limitations" like a 128x128 display with 16 colours and a maximum game size of 32k, but it was made in 2015. There's some amazing free games for this and it has a thriving and creative community which I love. One of my favourite games on there is Celeste (yes, that Celeste if you've heard it before, but it was the prototype version, made before the full Steam/Switch version), I'm hoping to play the second version soon.
- CTGP-7 - a modpack for Mario Kart 7 which adds tons of new tracks, characters and more.
- TWiLight Menu++ - a launcher with support for original DS games and a bunch of emulators.
- Pretendo Network - a project aiming to replace the now shut-down Nintendo online network, enabling online play for supported games.
Shell Swap
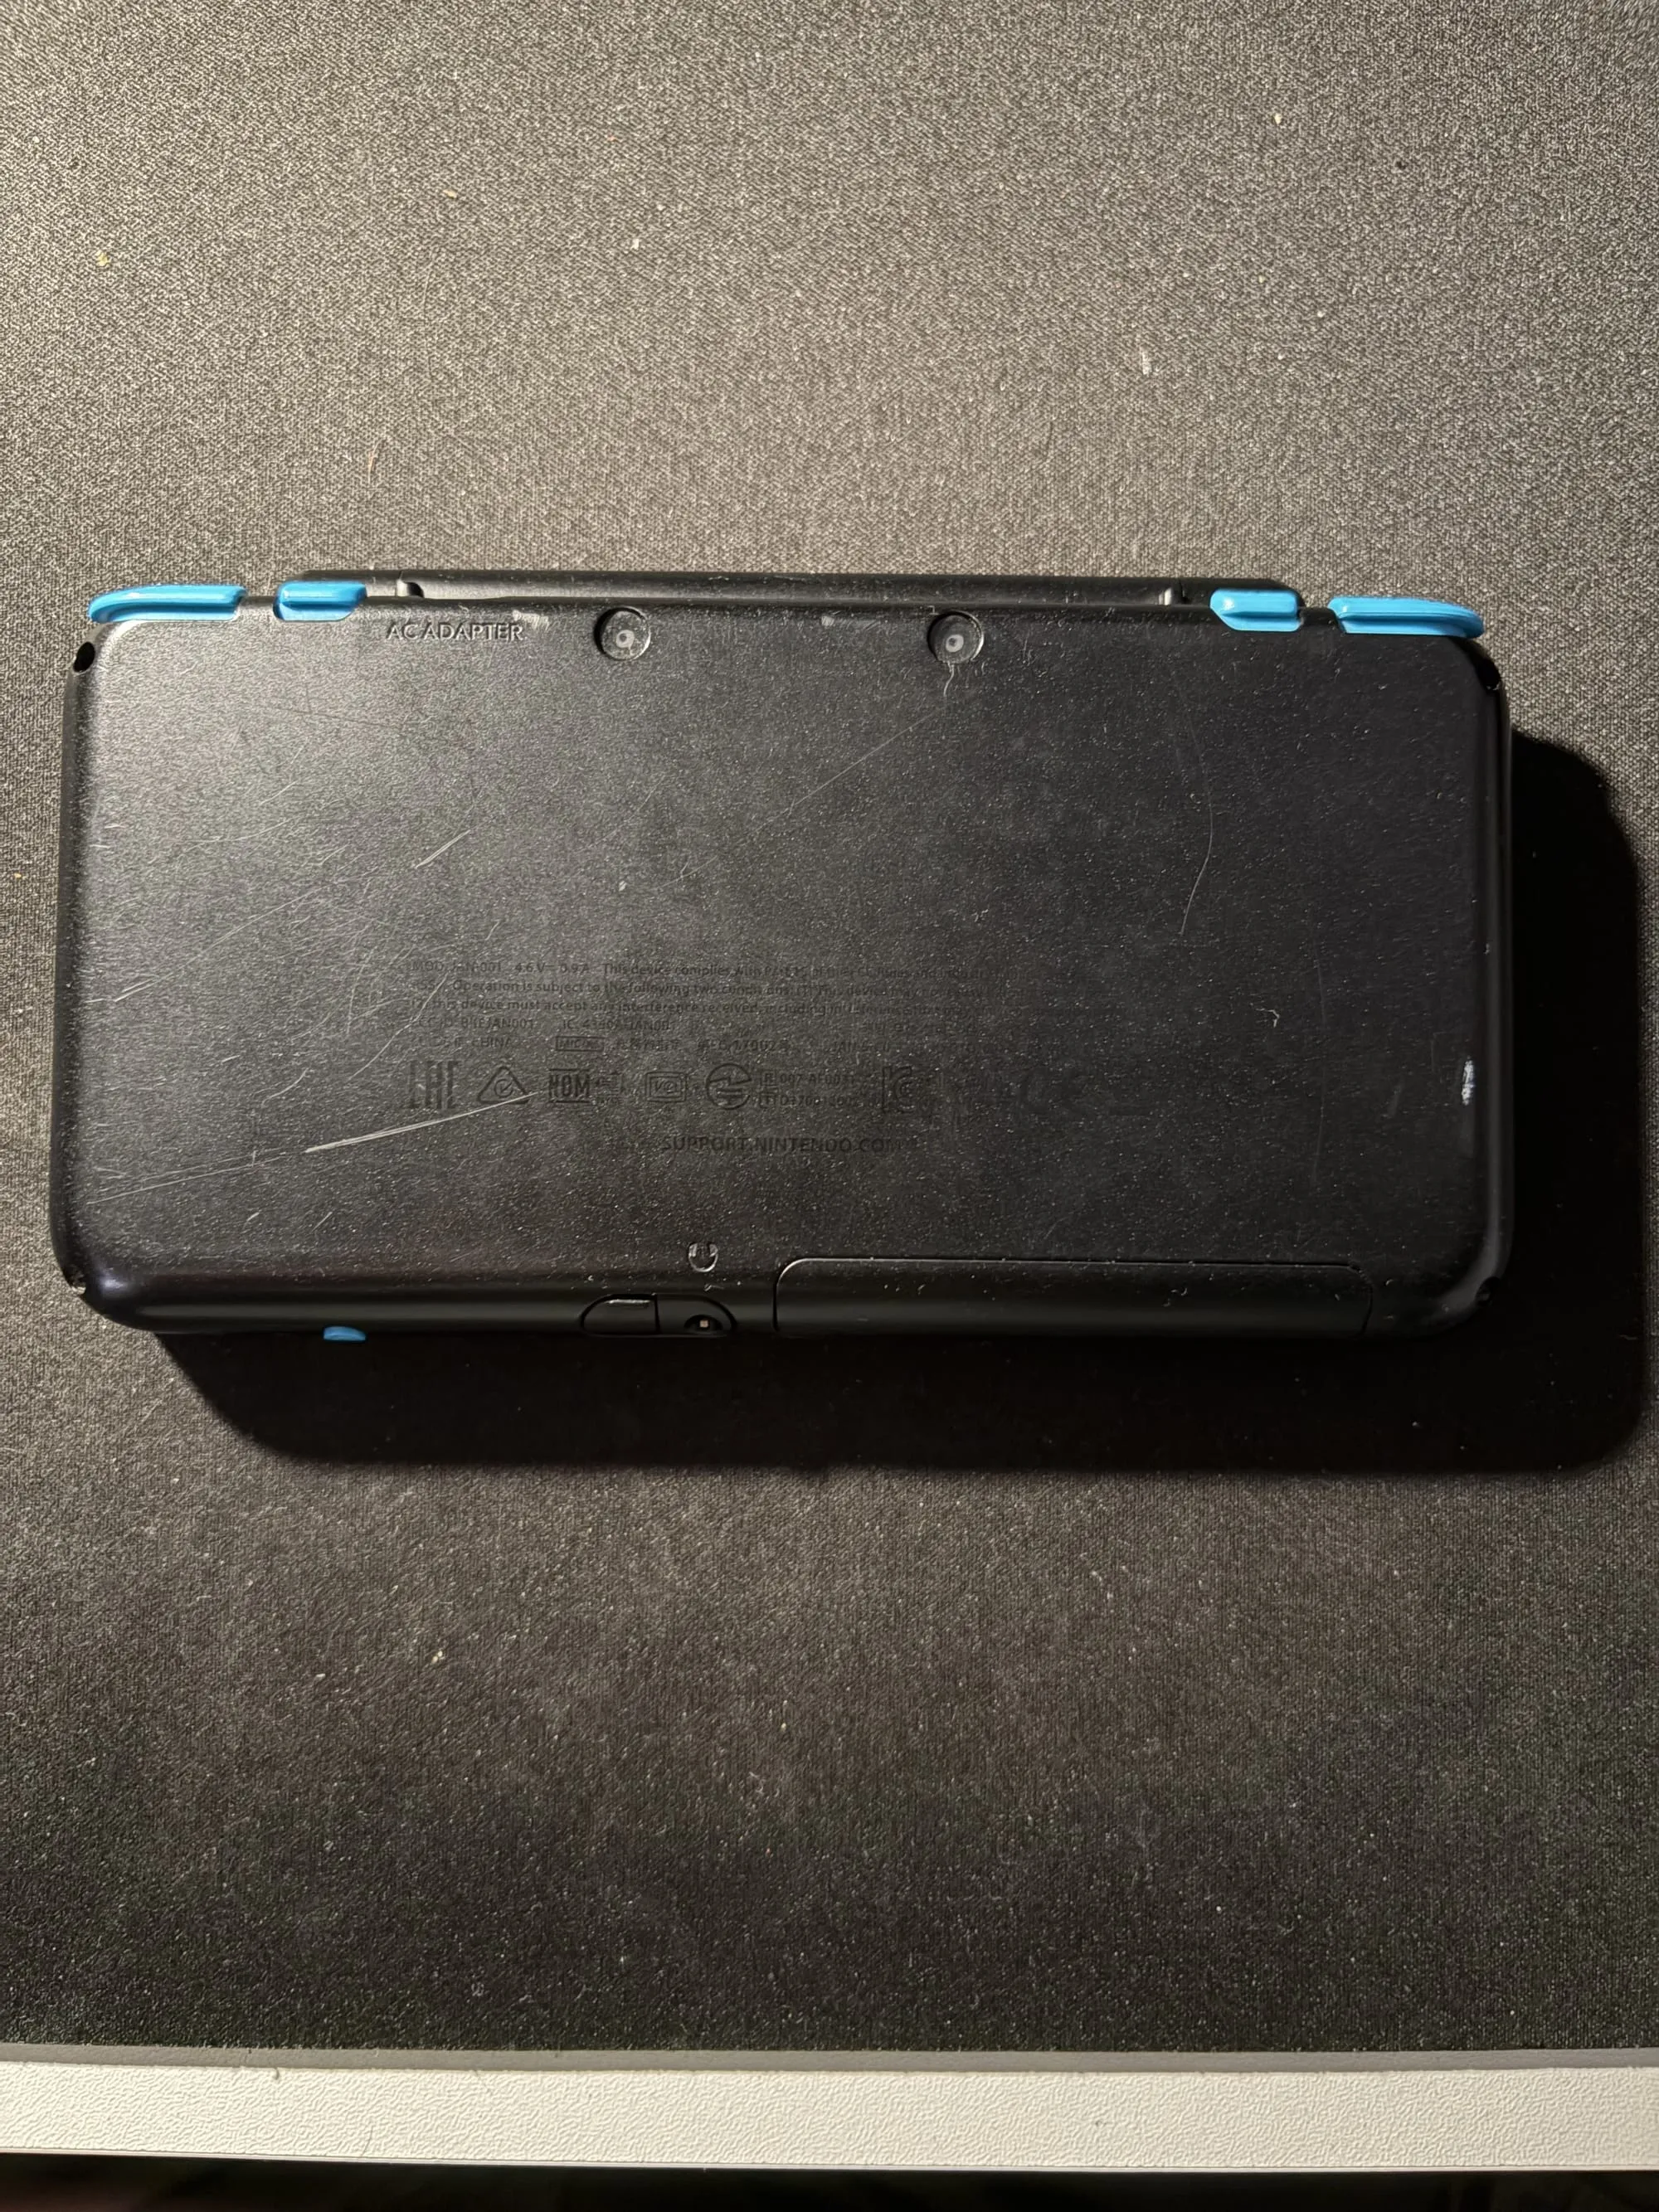
The 2DS I picked up was definitely well-loved and came with a bit of a grimy shell and buttons, even after giving it a thorough deep clean, the case is a bit scratched up and there's just generally quite a bit of wear all over the shell and buttons. The console I picked up had a black & blue shell. In the photos below you can see a few scratches on the exterior of the shell, especially on the bottom.

I was able to find a new shell on AliExpress for £15 and in theory, it's a super easy way to give the console a new look and feel. I'd have loved to get a clear or atomic purple one, but unfortunately there aren't any mass produced ones in colours other than the original.
Once the new shell arrived, I got to work moving all the internals across. After doing the full swap which took multiple hours, I found out right at the end that the case didn't snap together properly and meant the display couldn't open fully. The bottom part of the shell is comprised of two parts - the top which houses the buttons and touch screen, and the bottom part which the top snaps into. On the third-party shell, this didn't quite meet up properly. After doing some further looking into this I found many people on Reddit mentioning that third-party shells are usually very hit-or-miss.
In hindsight, I would have never attempted the shell swap - it was a huge pain and I did nearly break both screens trying to remove them. It's really not worth it even with a really beaten up original shell - it's much better to stick with the original and perhaps apply some vinyl skins or something. The build quality of third-party replacements, at least for the 2DS XL, really isn't there like you'd find for Switch shells or other consoles.
On the bright side, after disassembling and reassembling the console two or three times, I'm really familiar with how everything fits together, and it would be no trouble to do repairs in the future.
Regardless, I'll briefly walk through how I did the shell swap as I think it's pretty cool to see the internals. This is not designed to be a guide though, and I'd recommend making use of the iFixit guides and YouTube videos as your primary reference if you're doing this yourself!
iFixit has some great guides, as usual, on the teardown process and common repairs which I roughly followed for disassembling the console. I believe they are made by the community, so there's a few details missing which I had to figure out for myself.
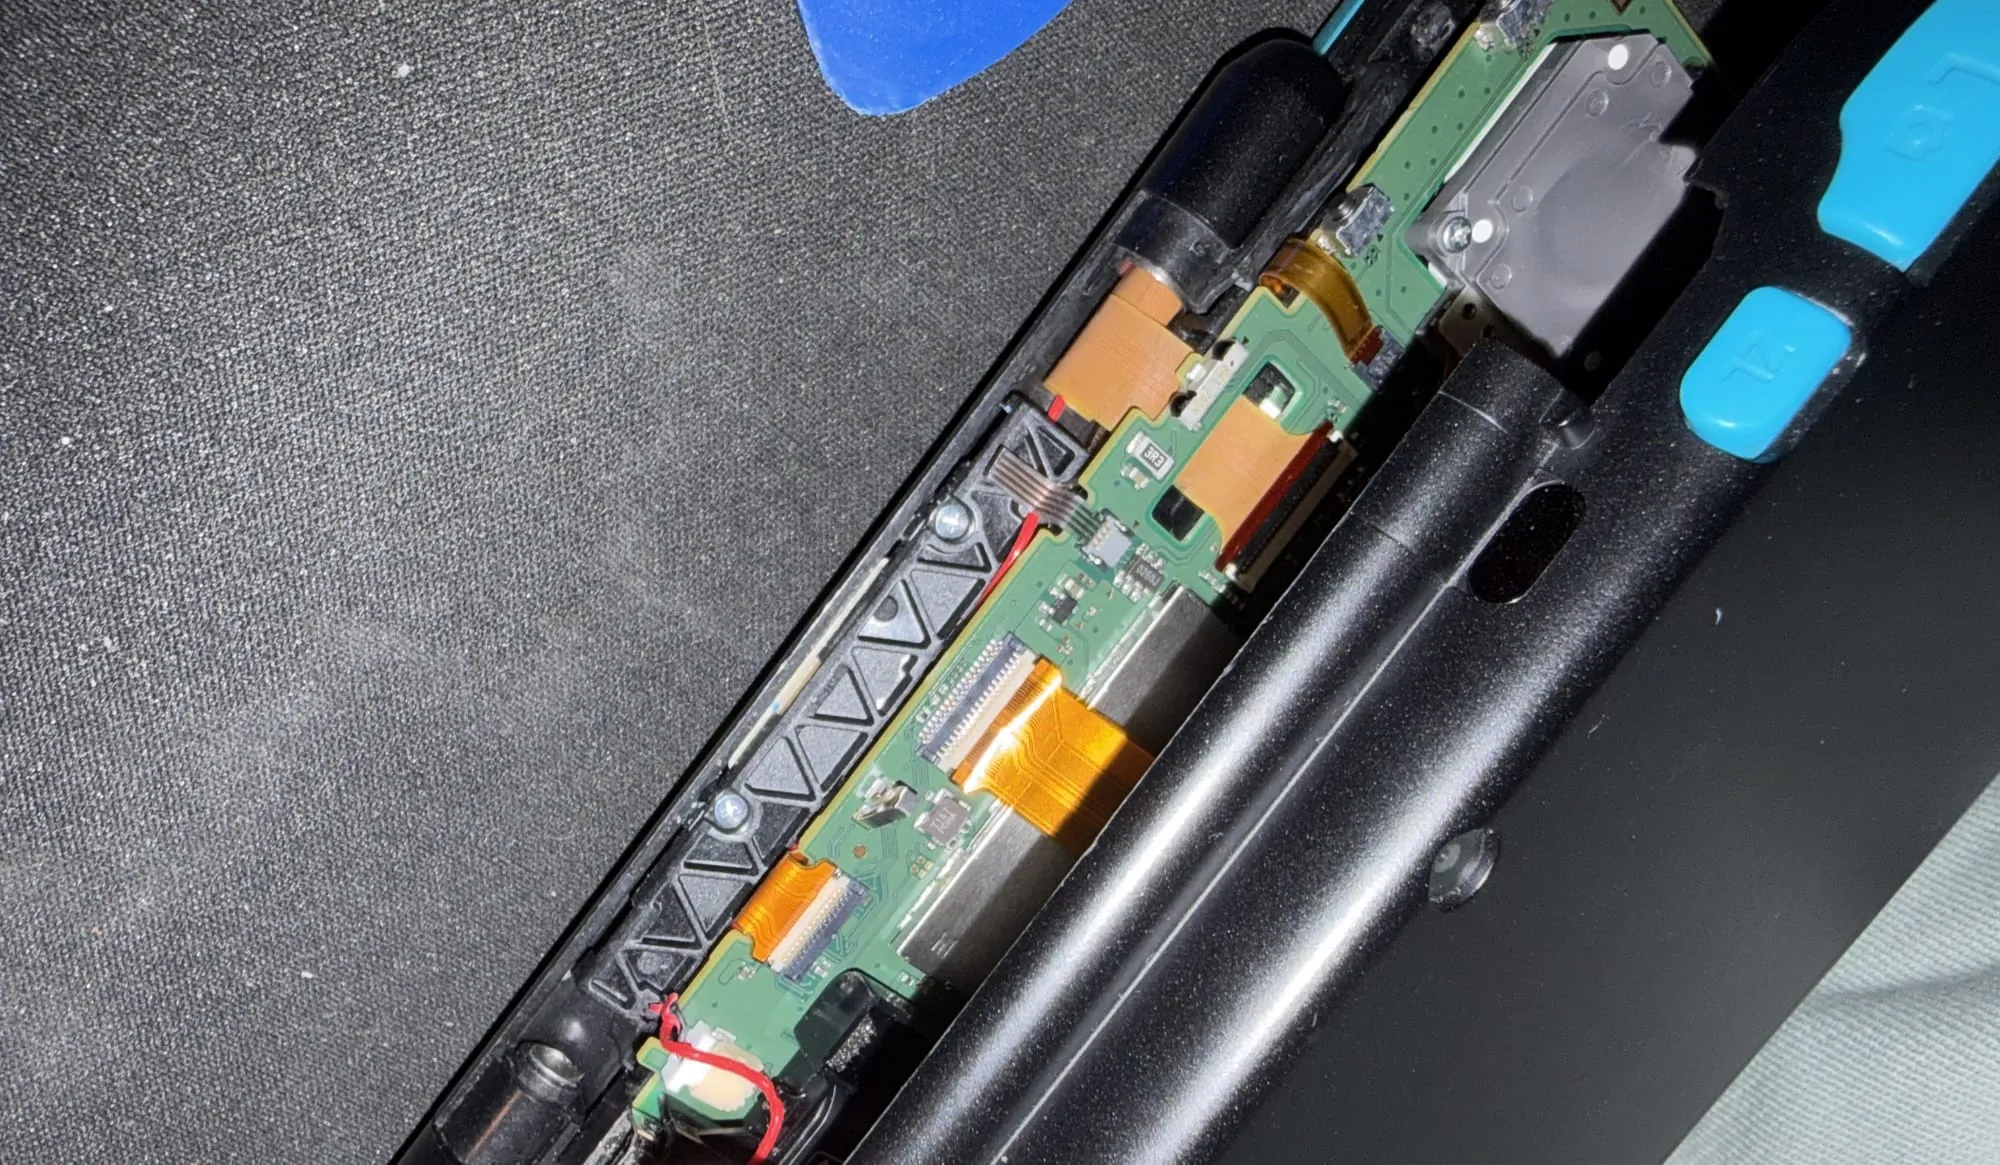
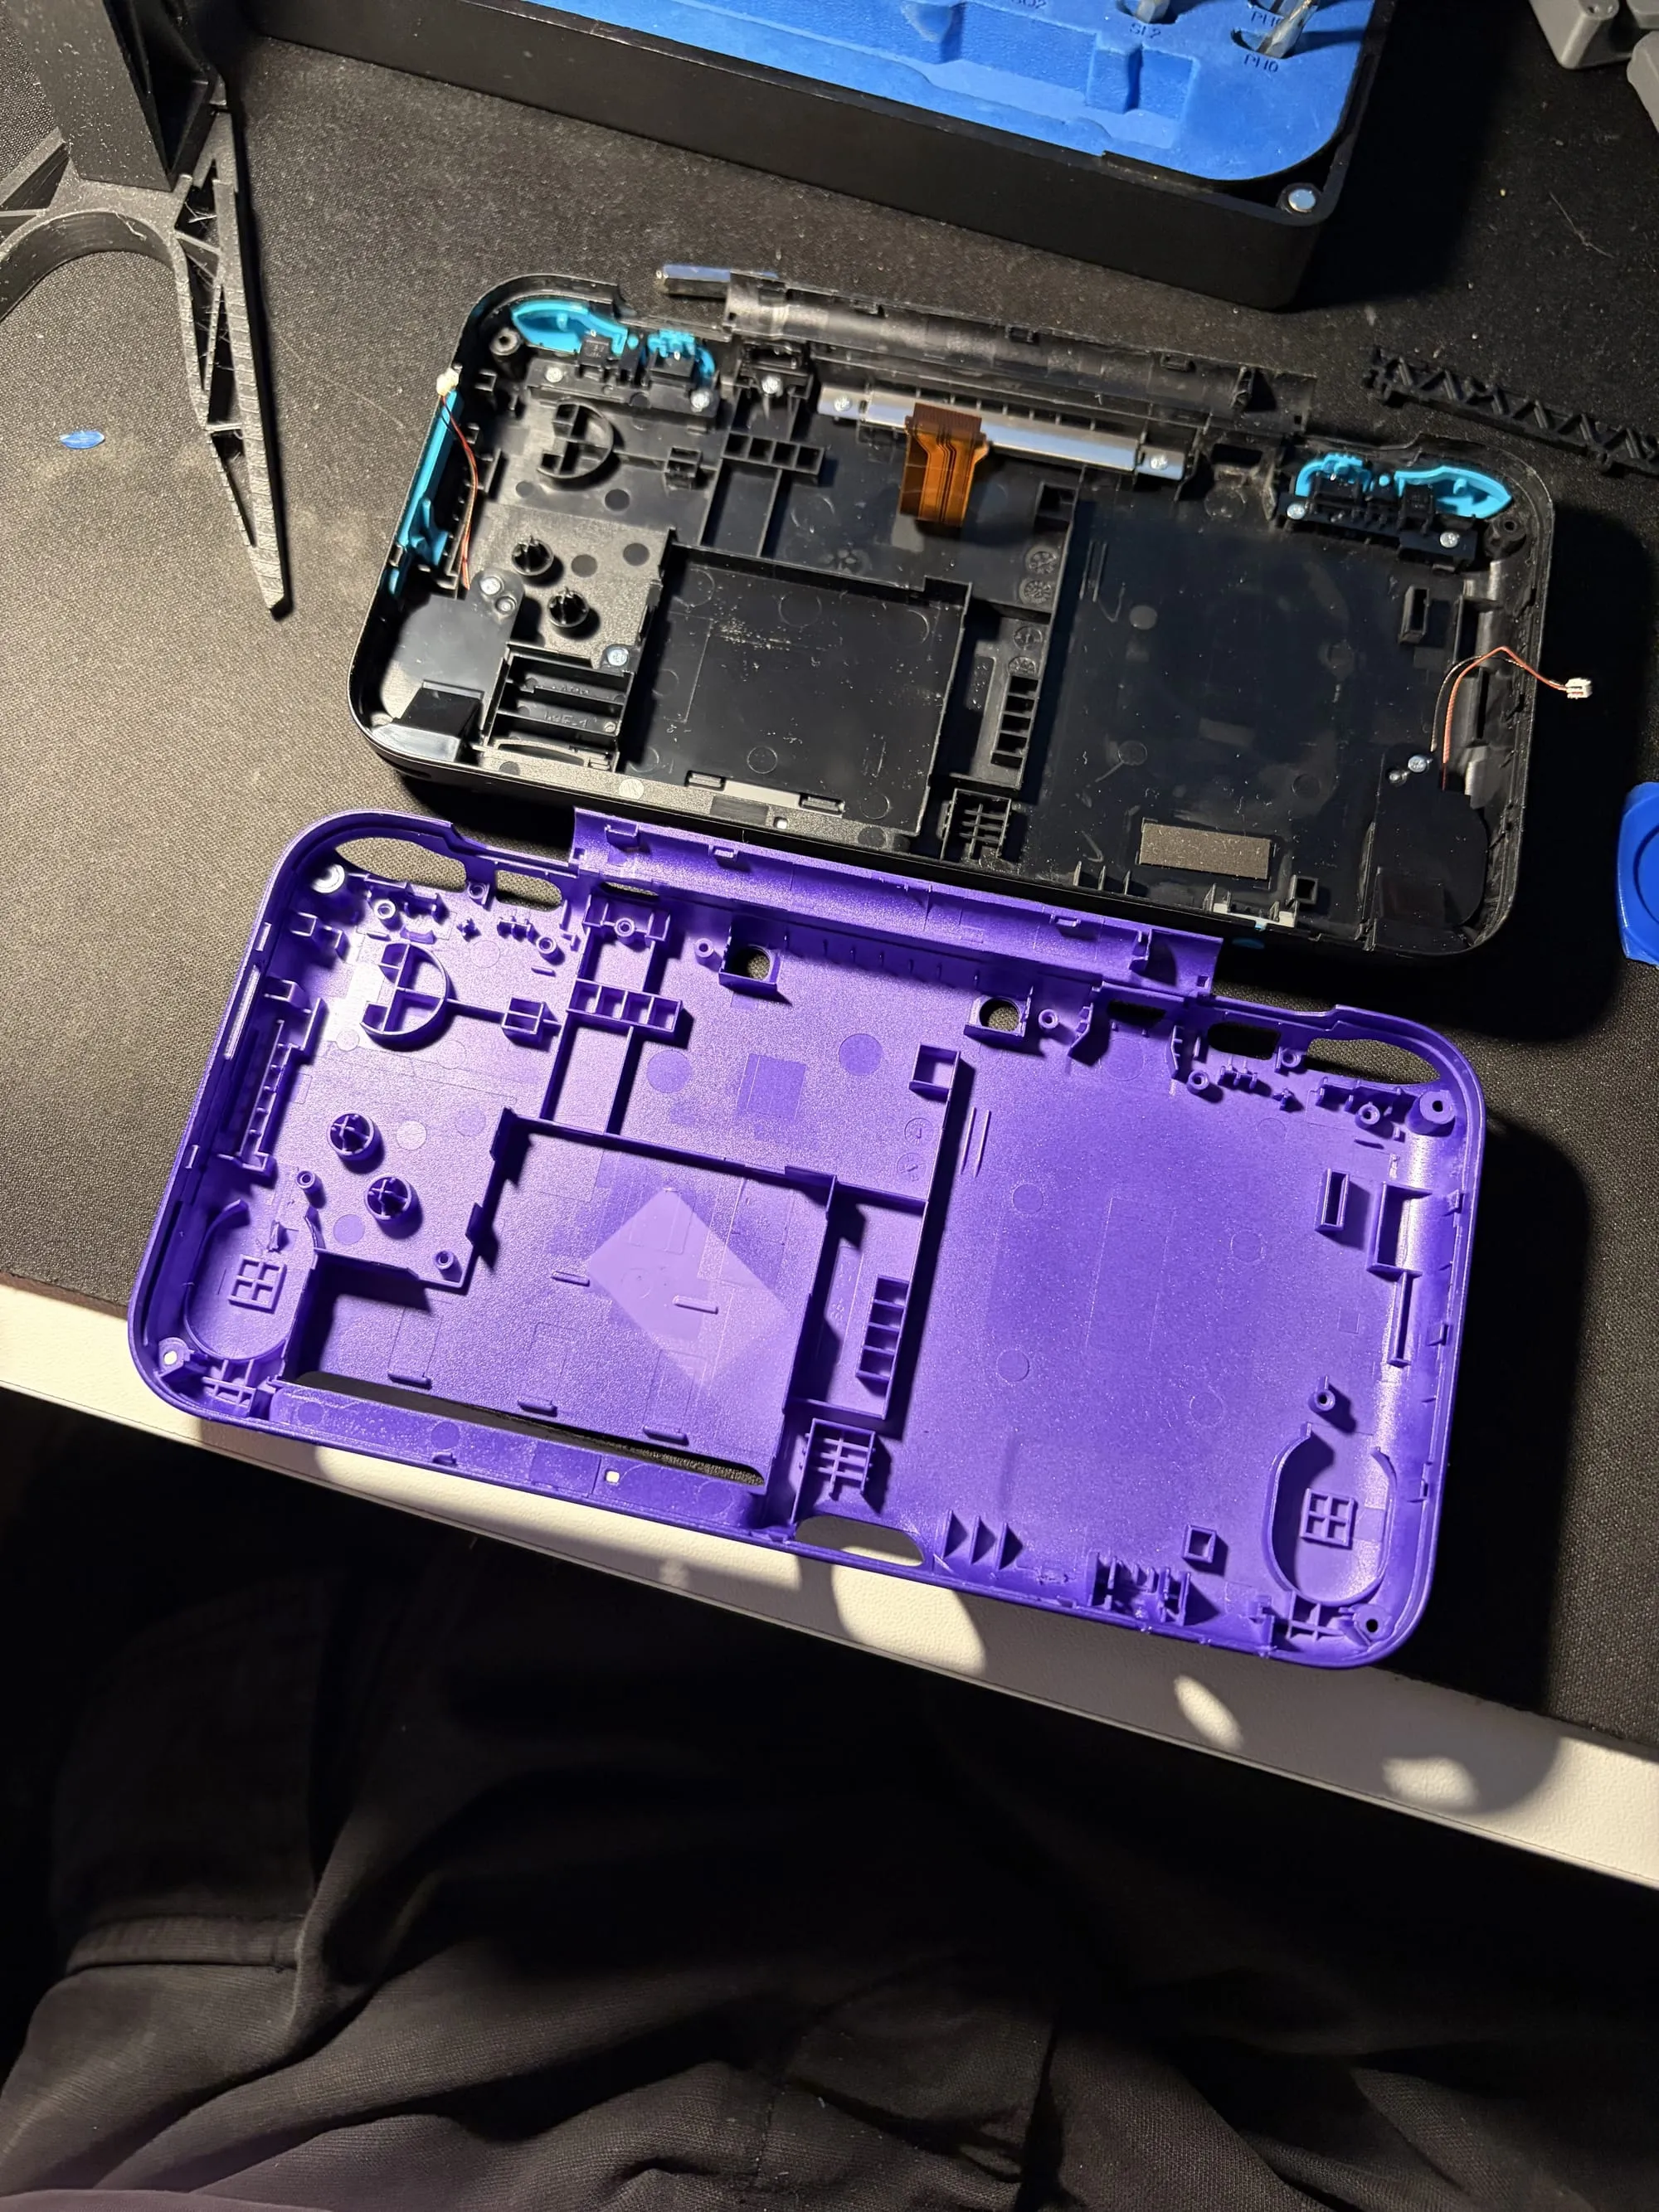
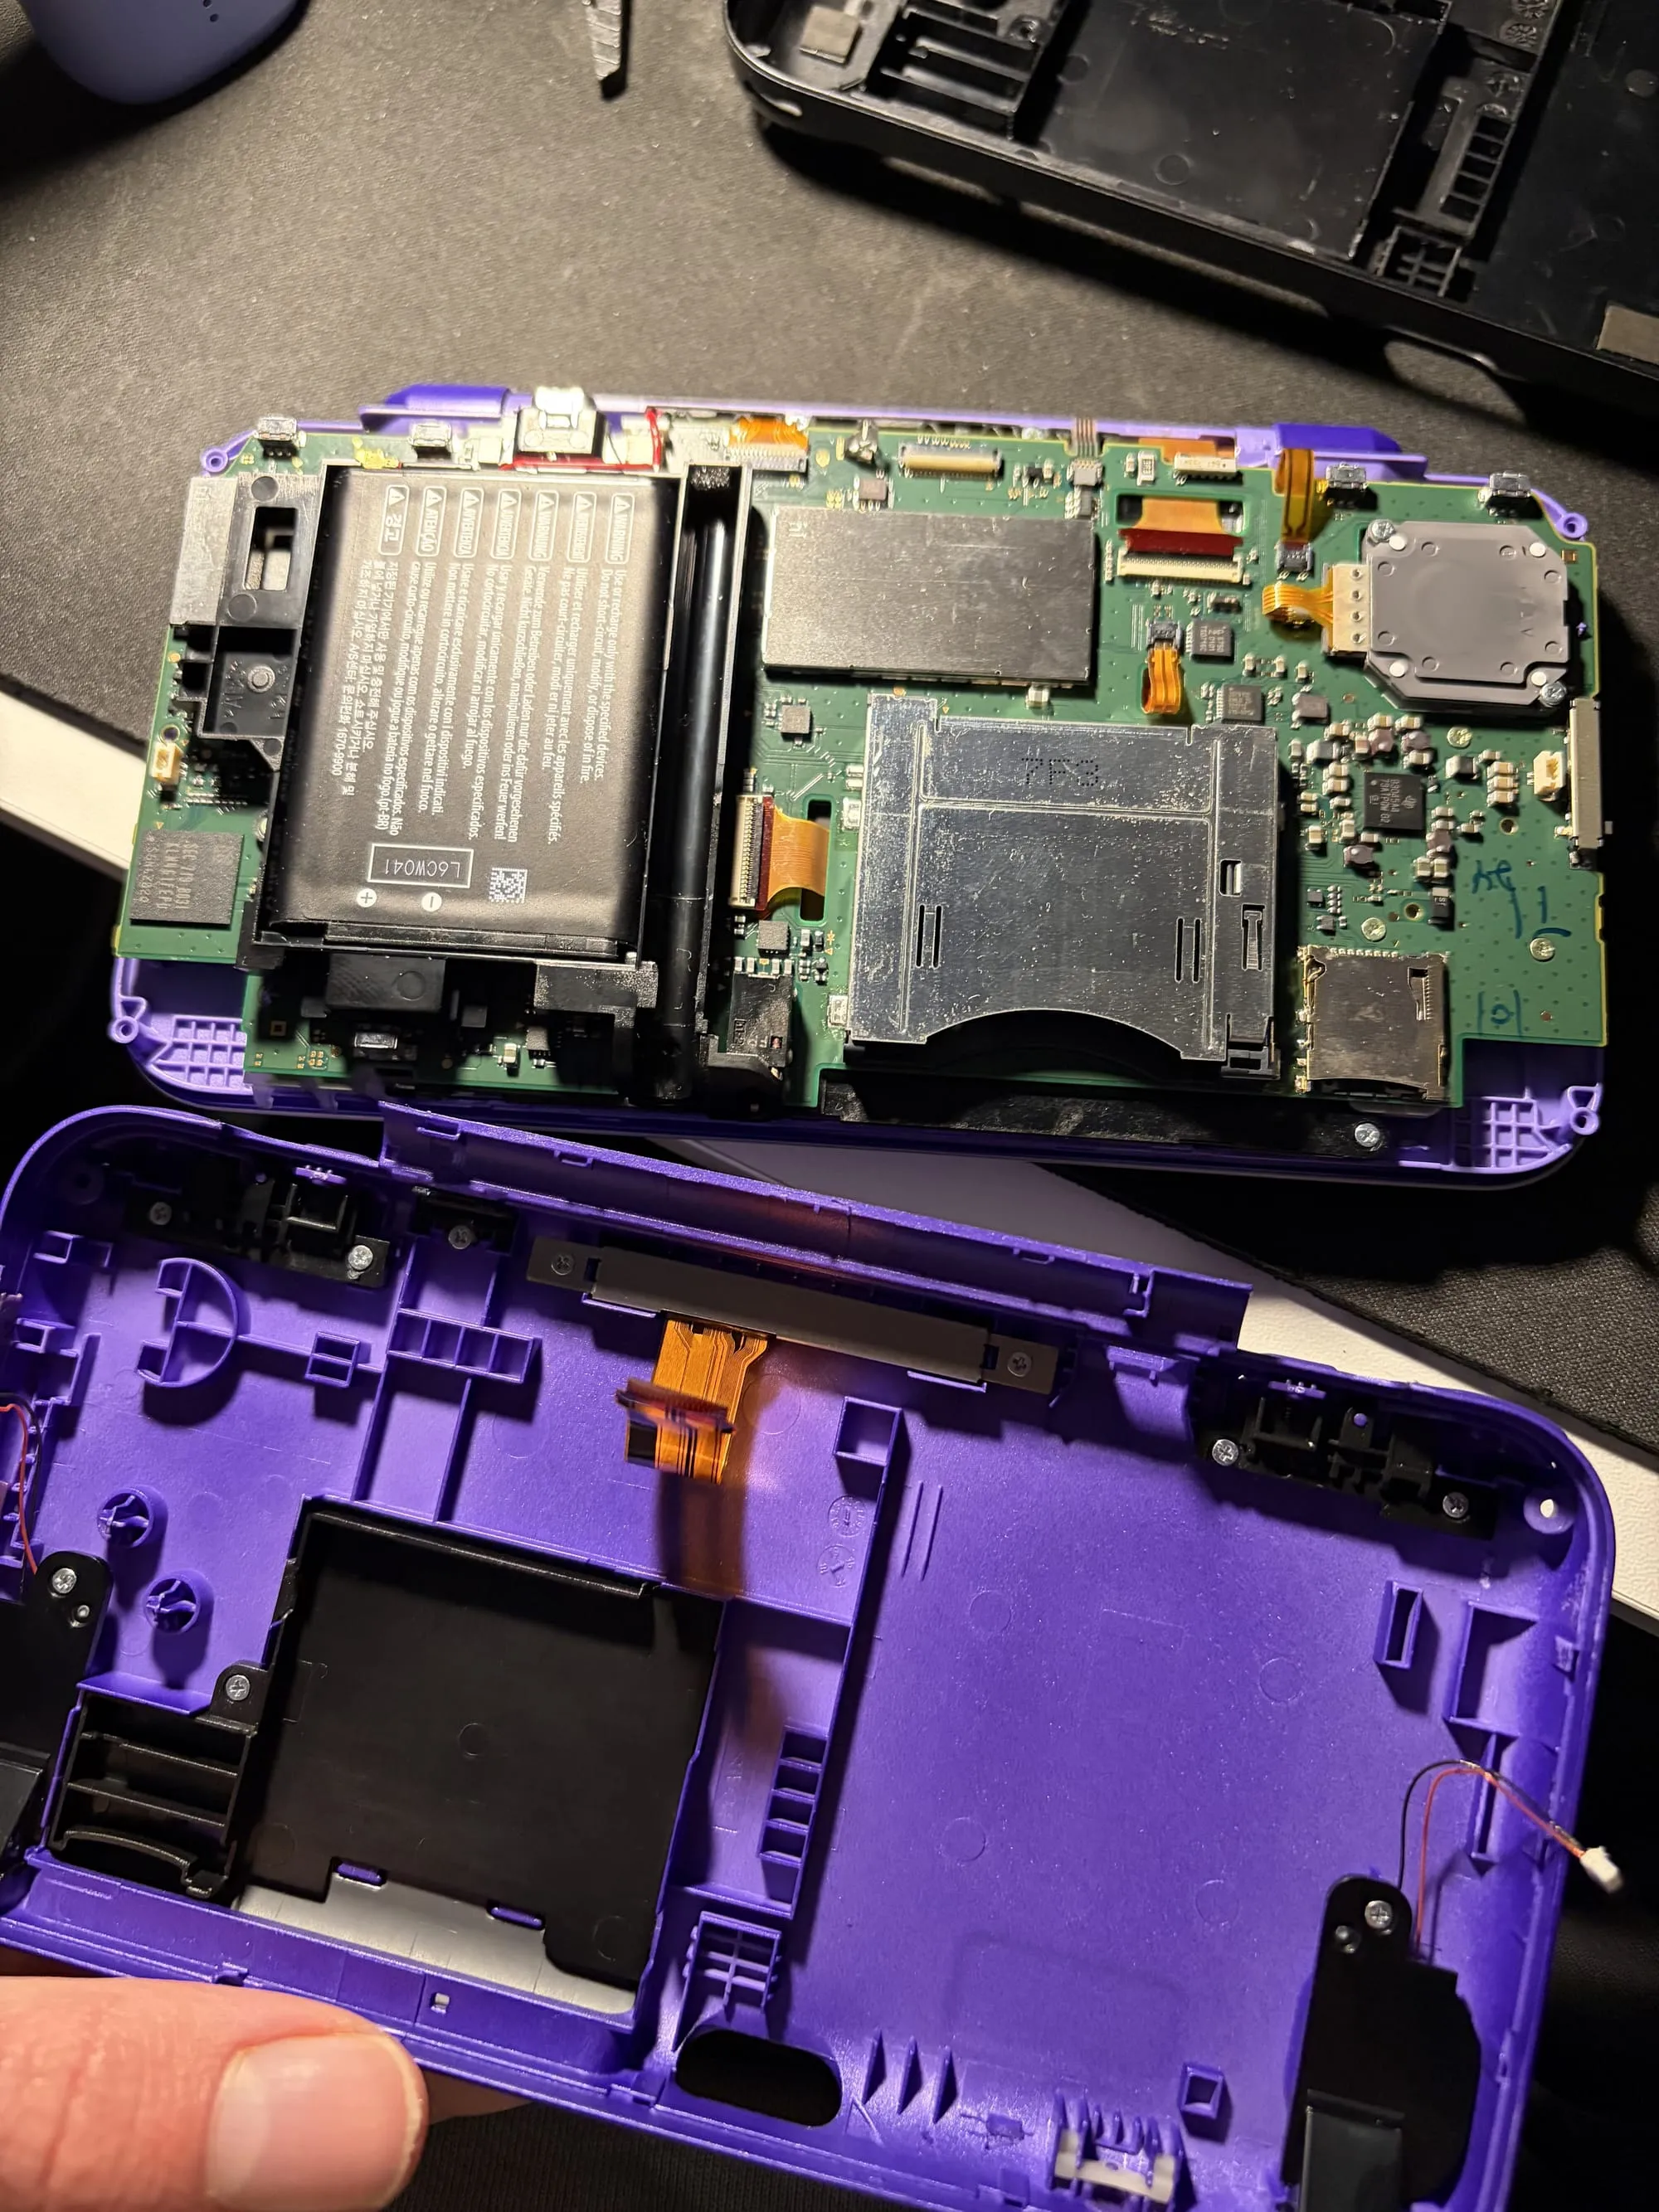
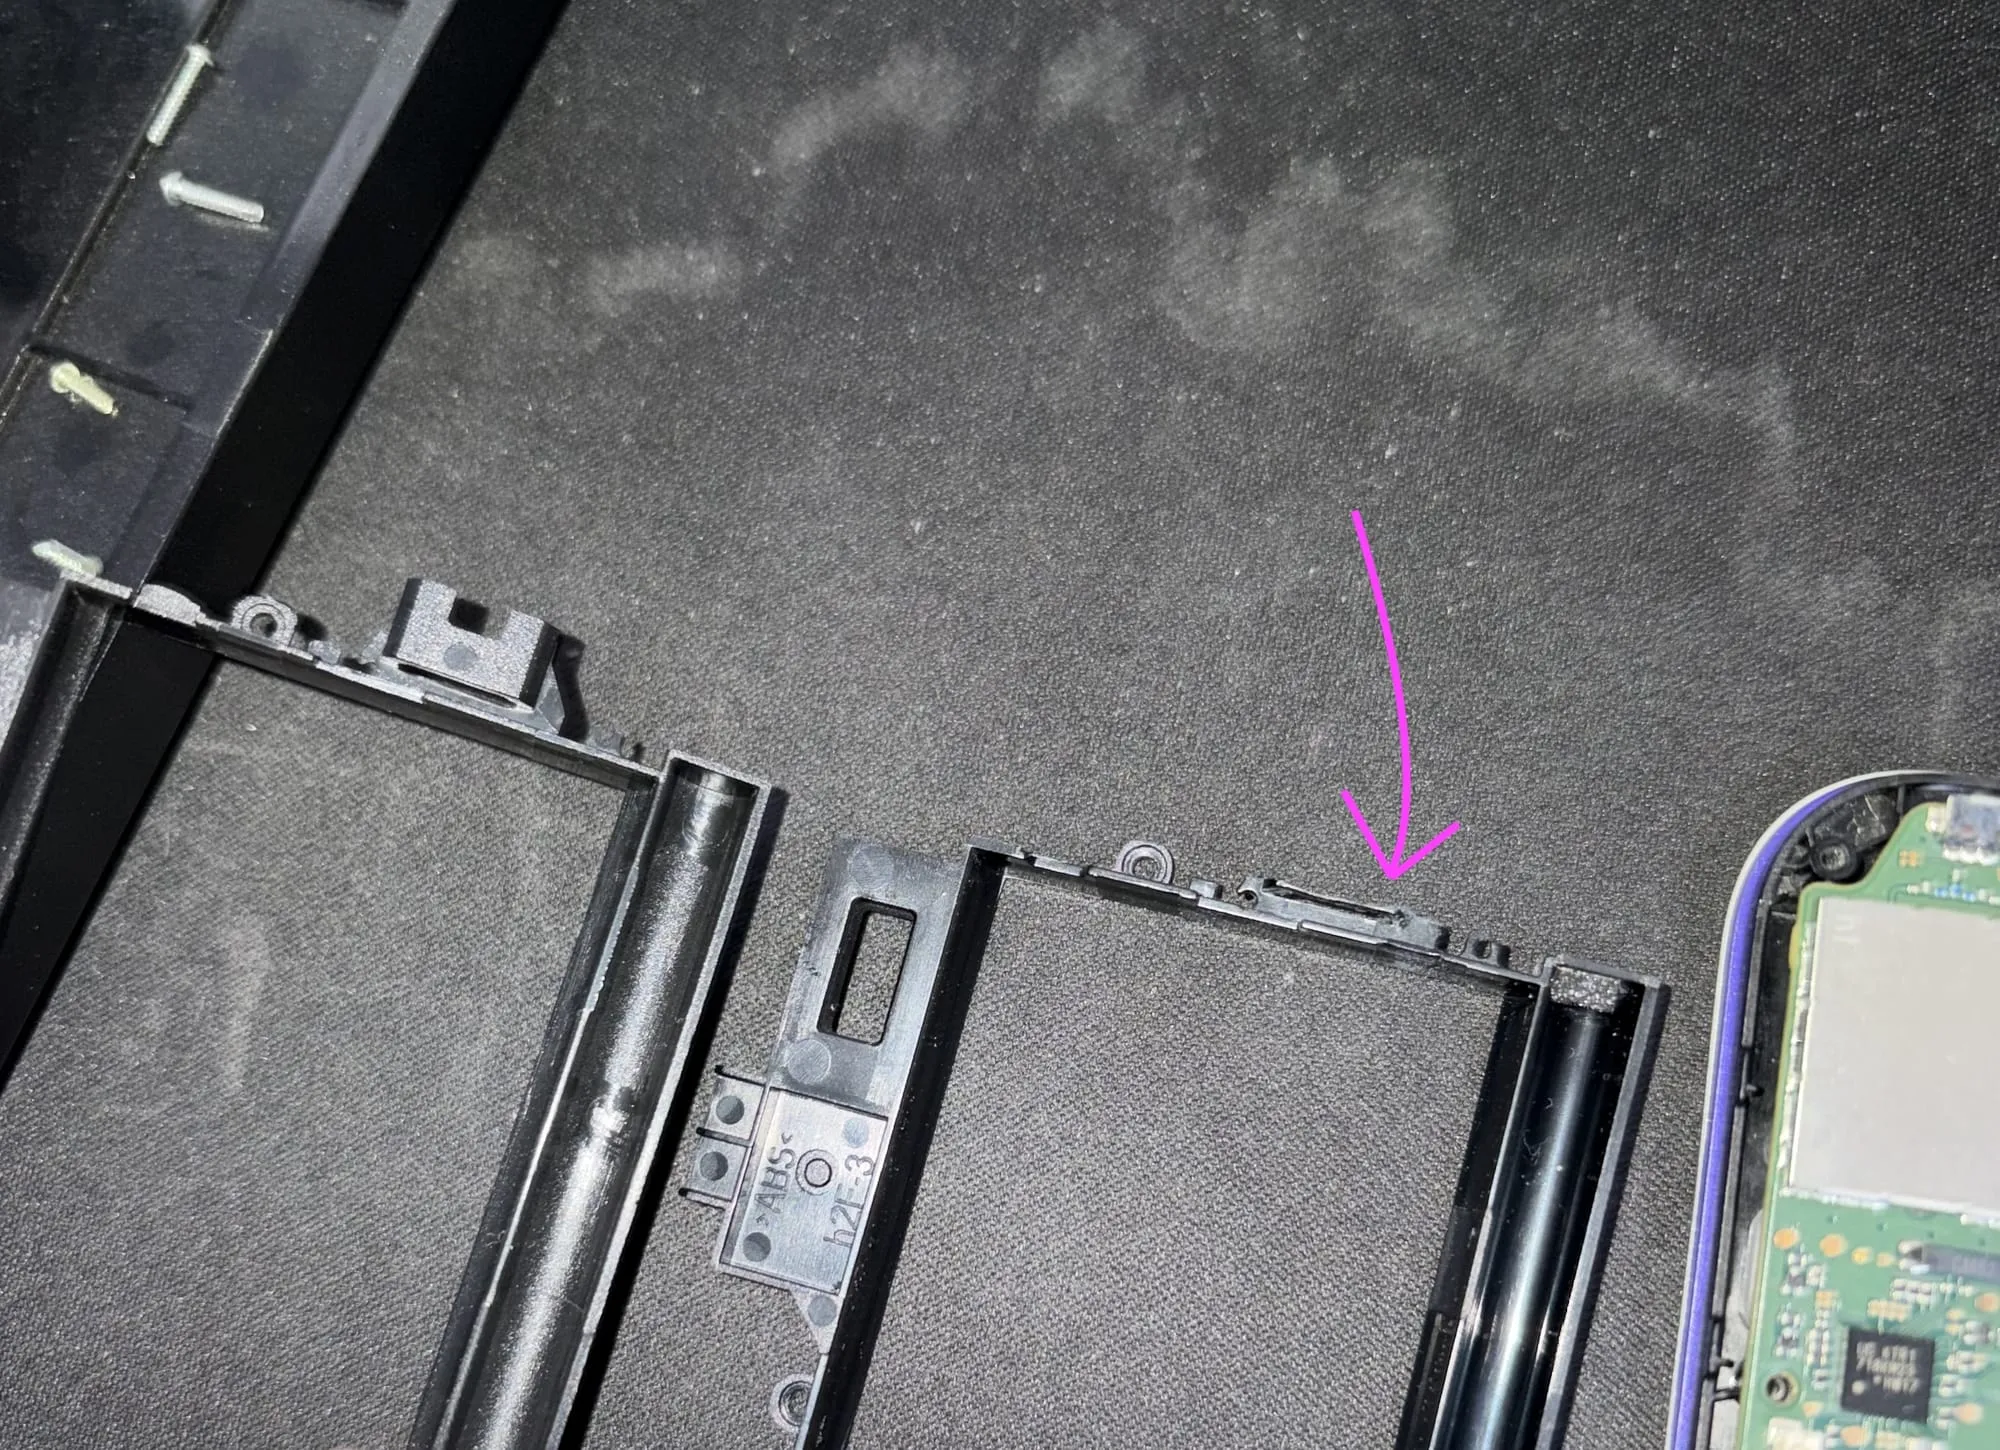
To start off, I followed this guide for front button replacements which gets us to the point the motherboard is out of the console. The first step of this was gently prying around the gaps in the bottom shell and hinge to release the bottom of the shell. For context, the gap shown in the hinge here is the part of the replacement shell which didn't snap together properly.

With the back of the shell removed, I gently lifted the case and disconnected the ribbon connector for the back cameras and connectors for both speakers.
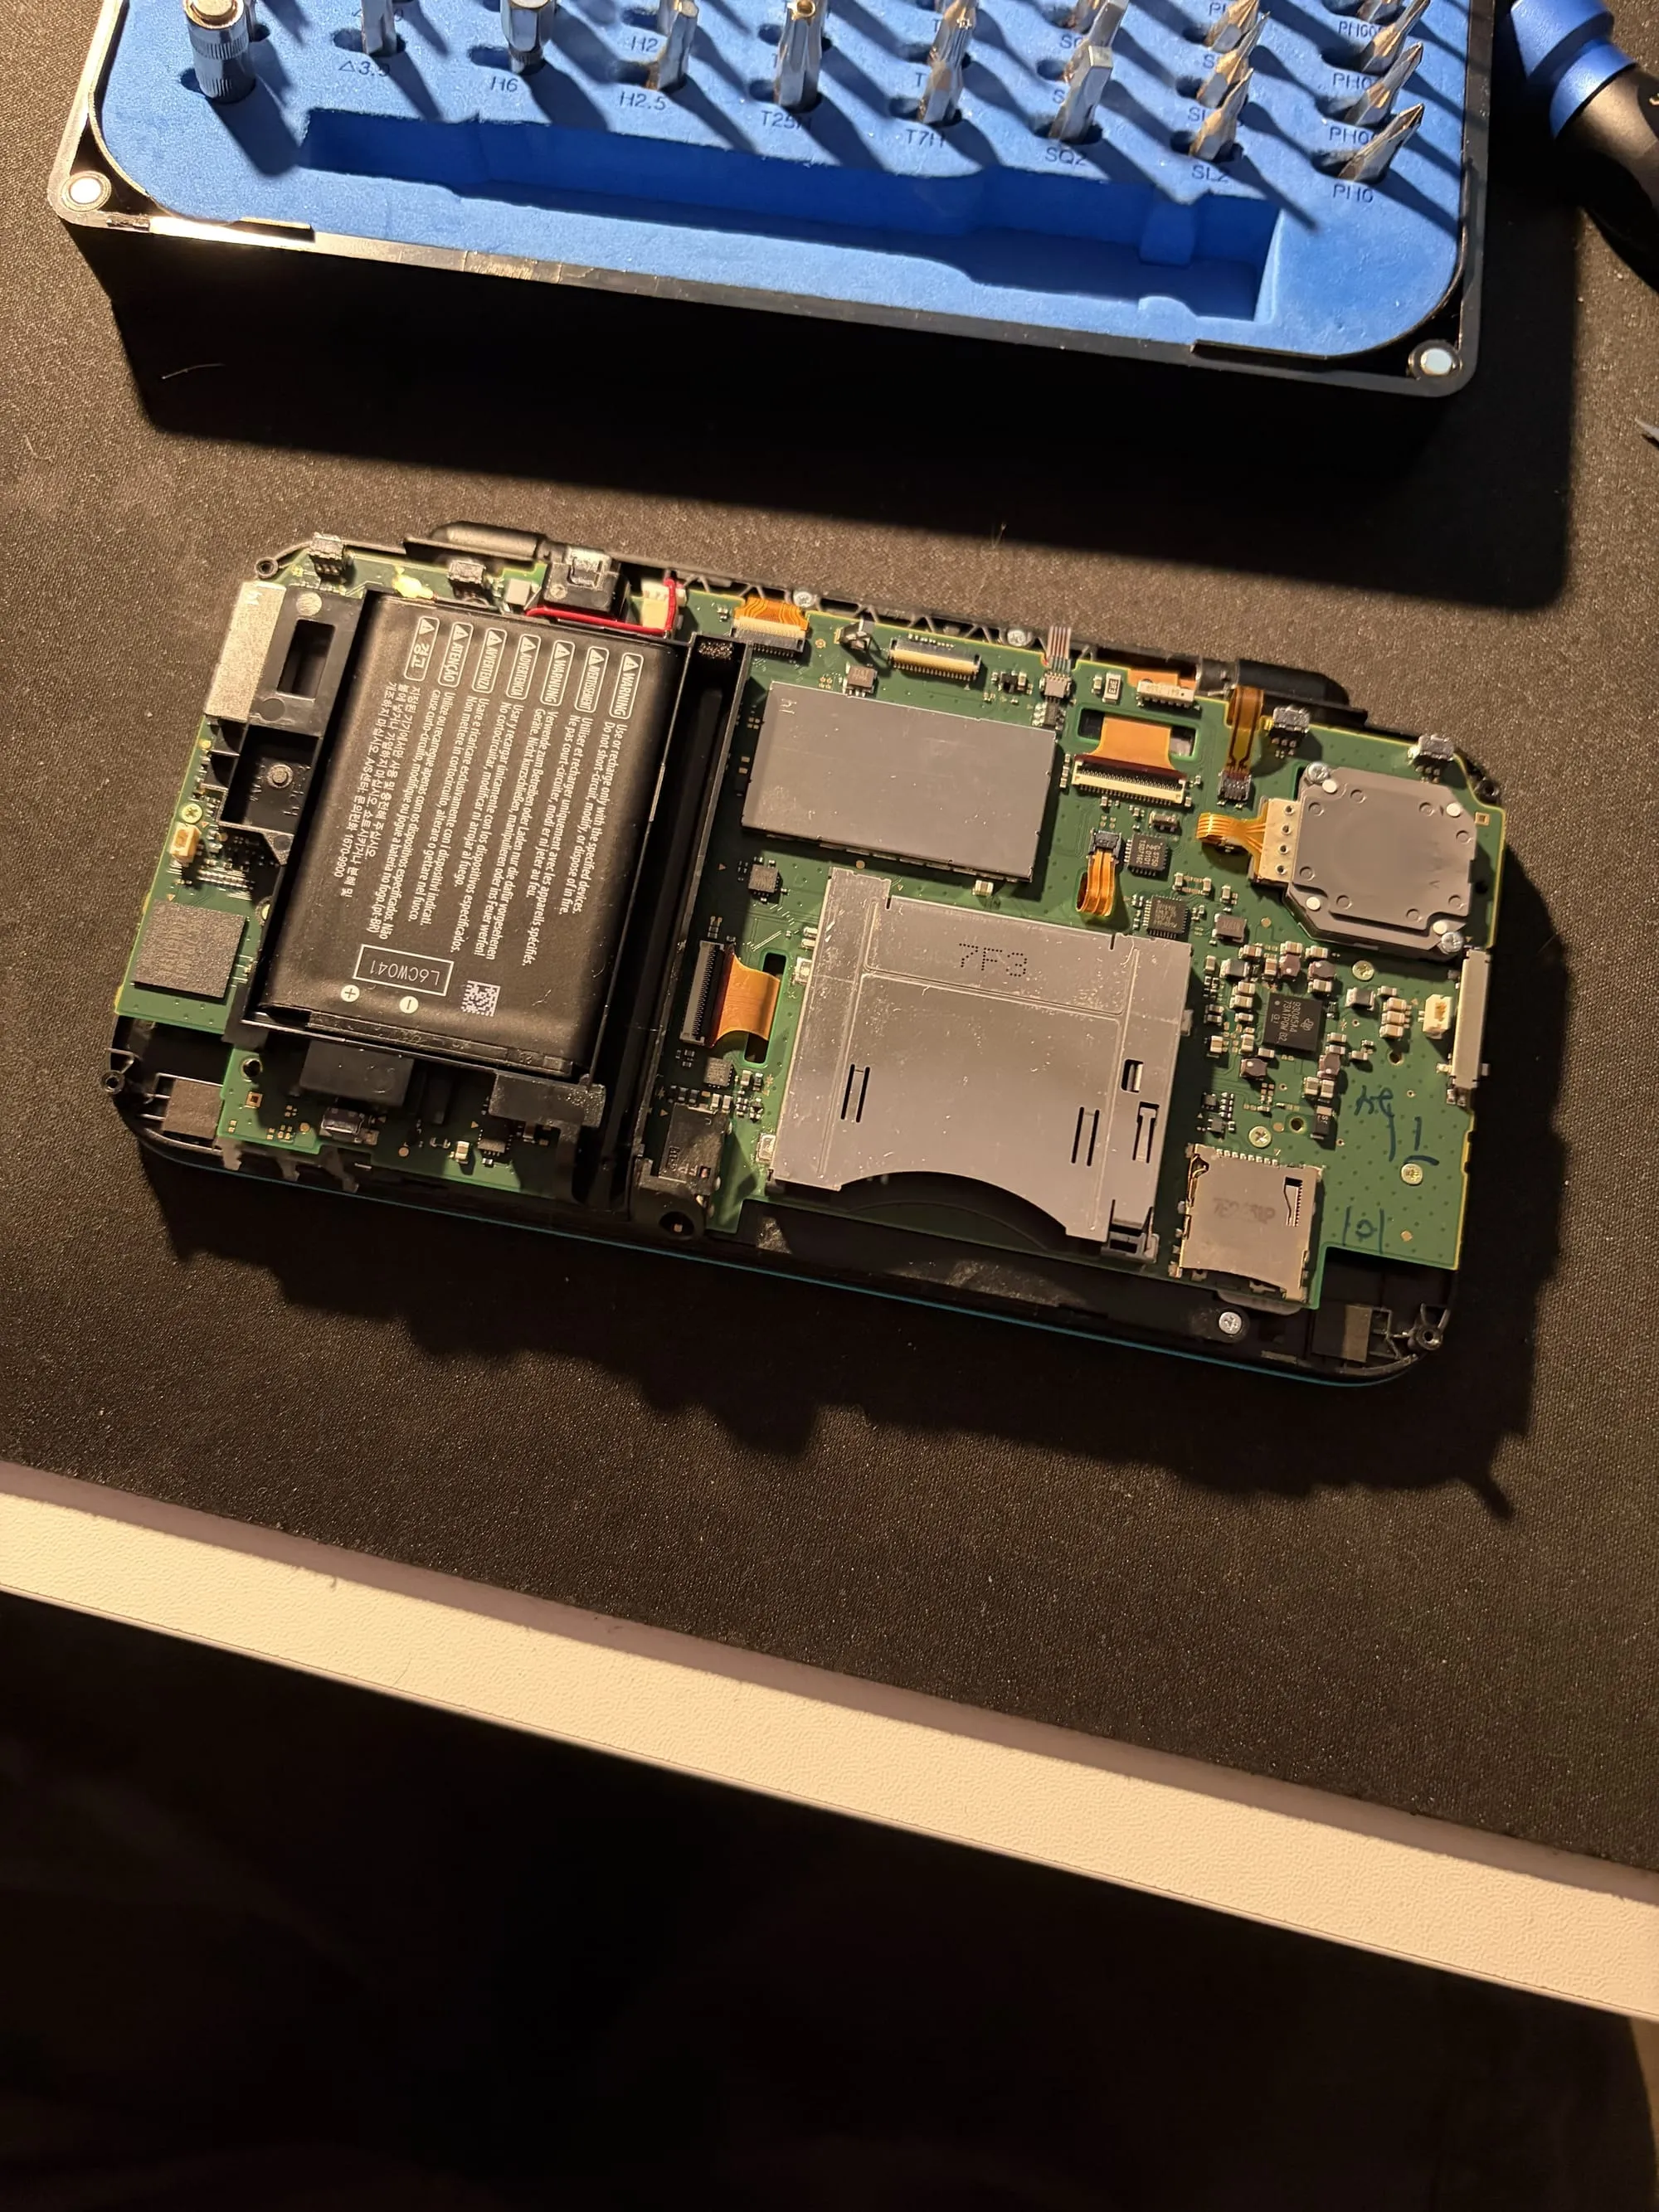
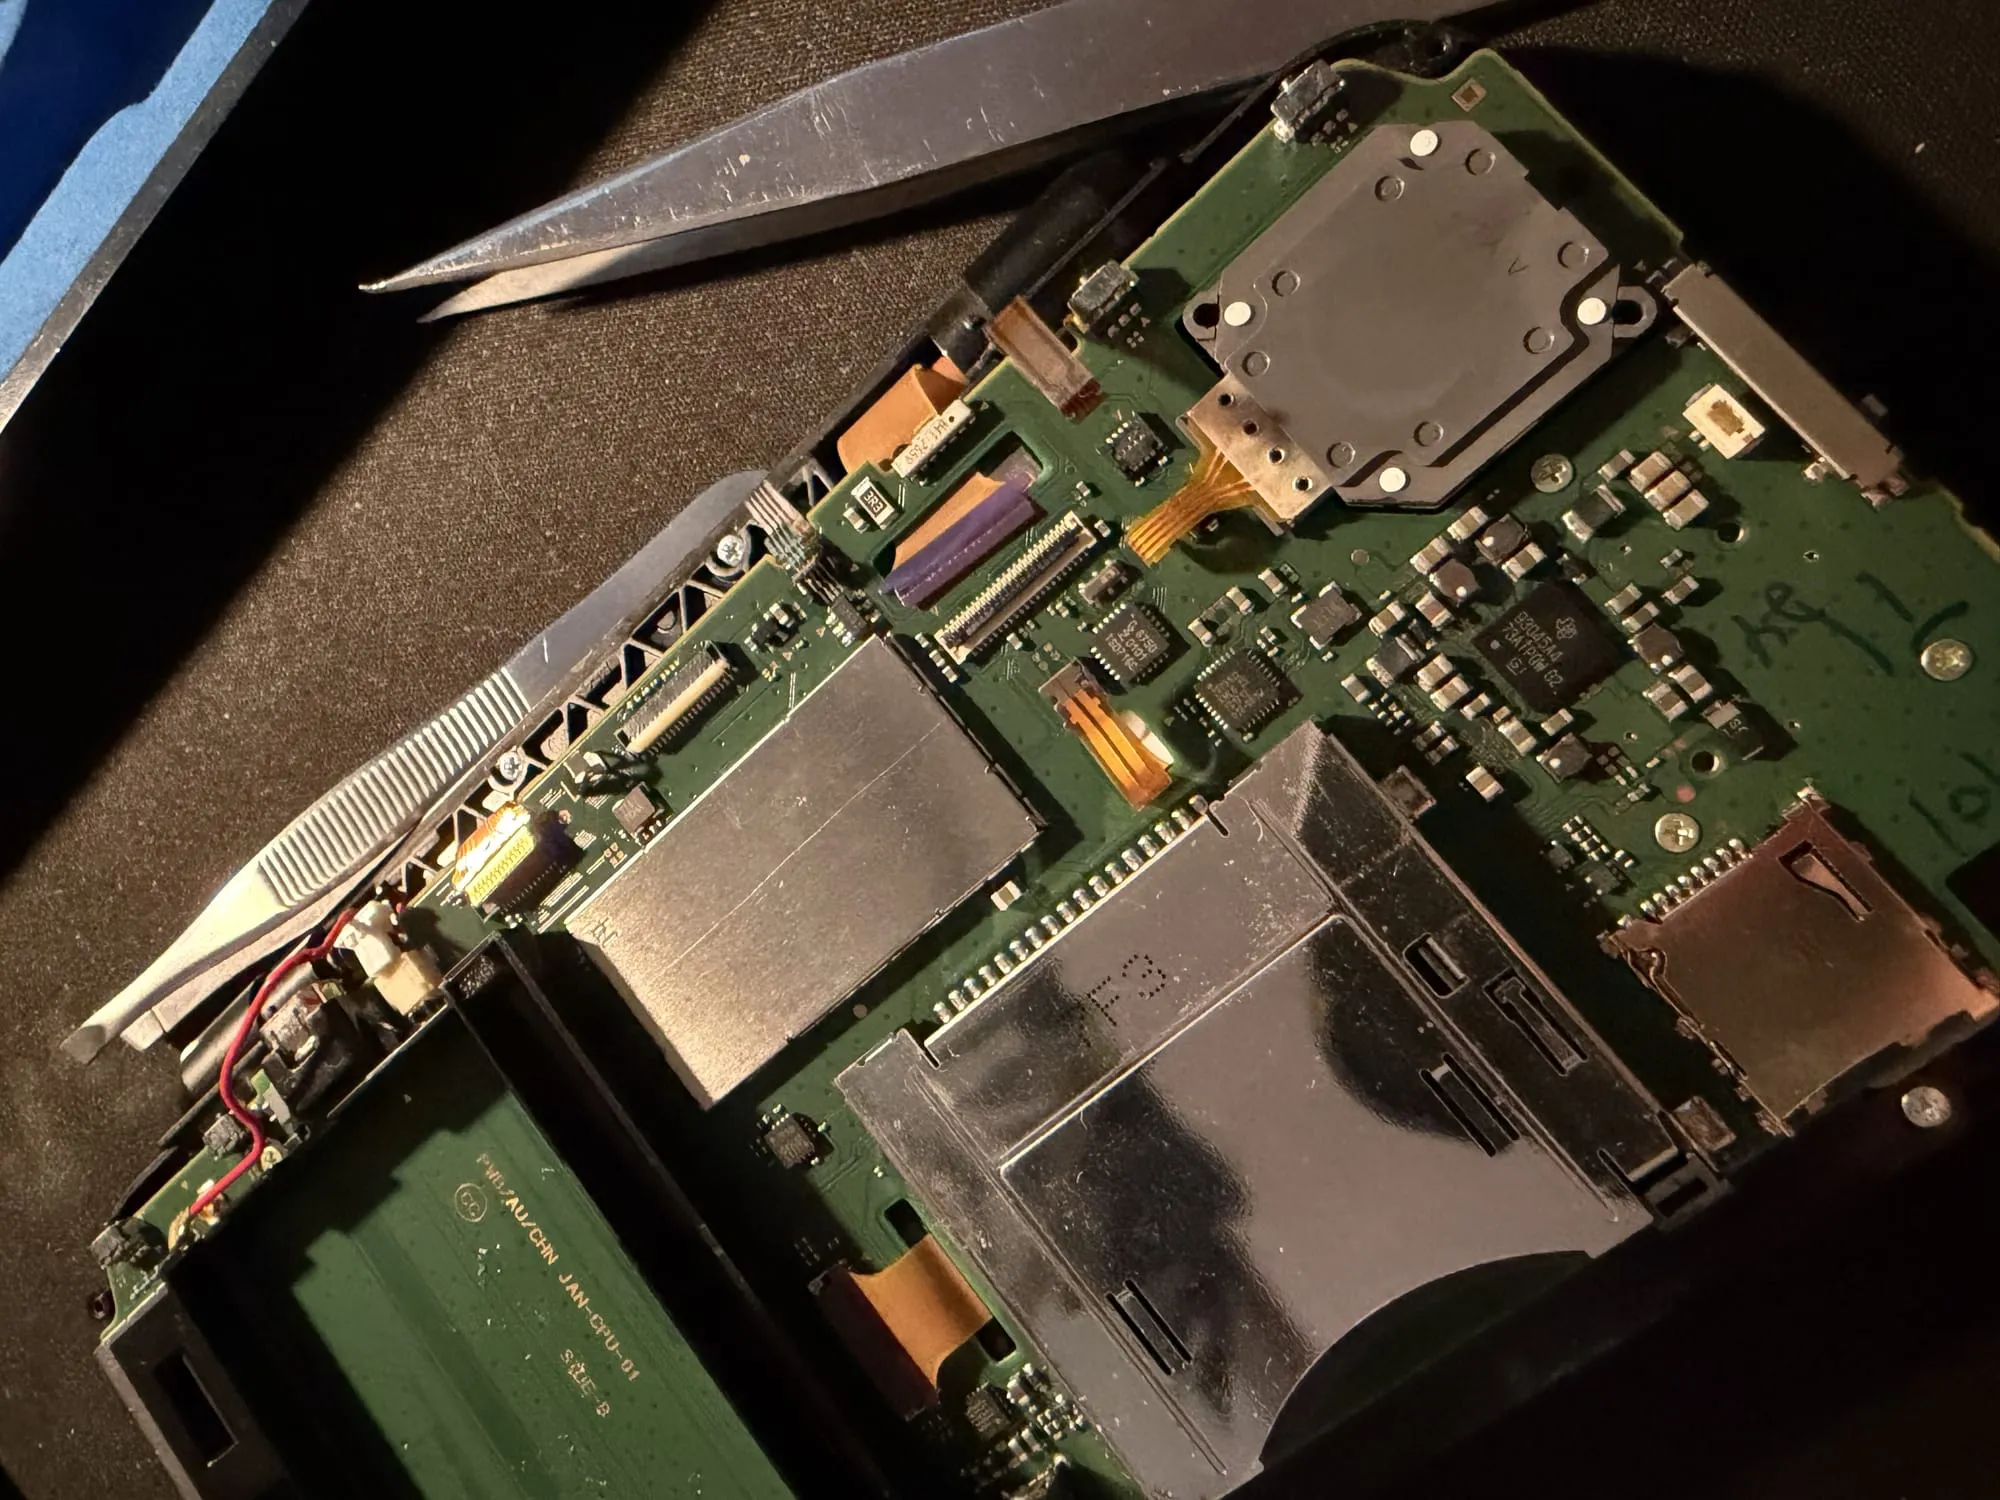
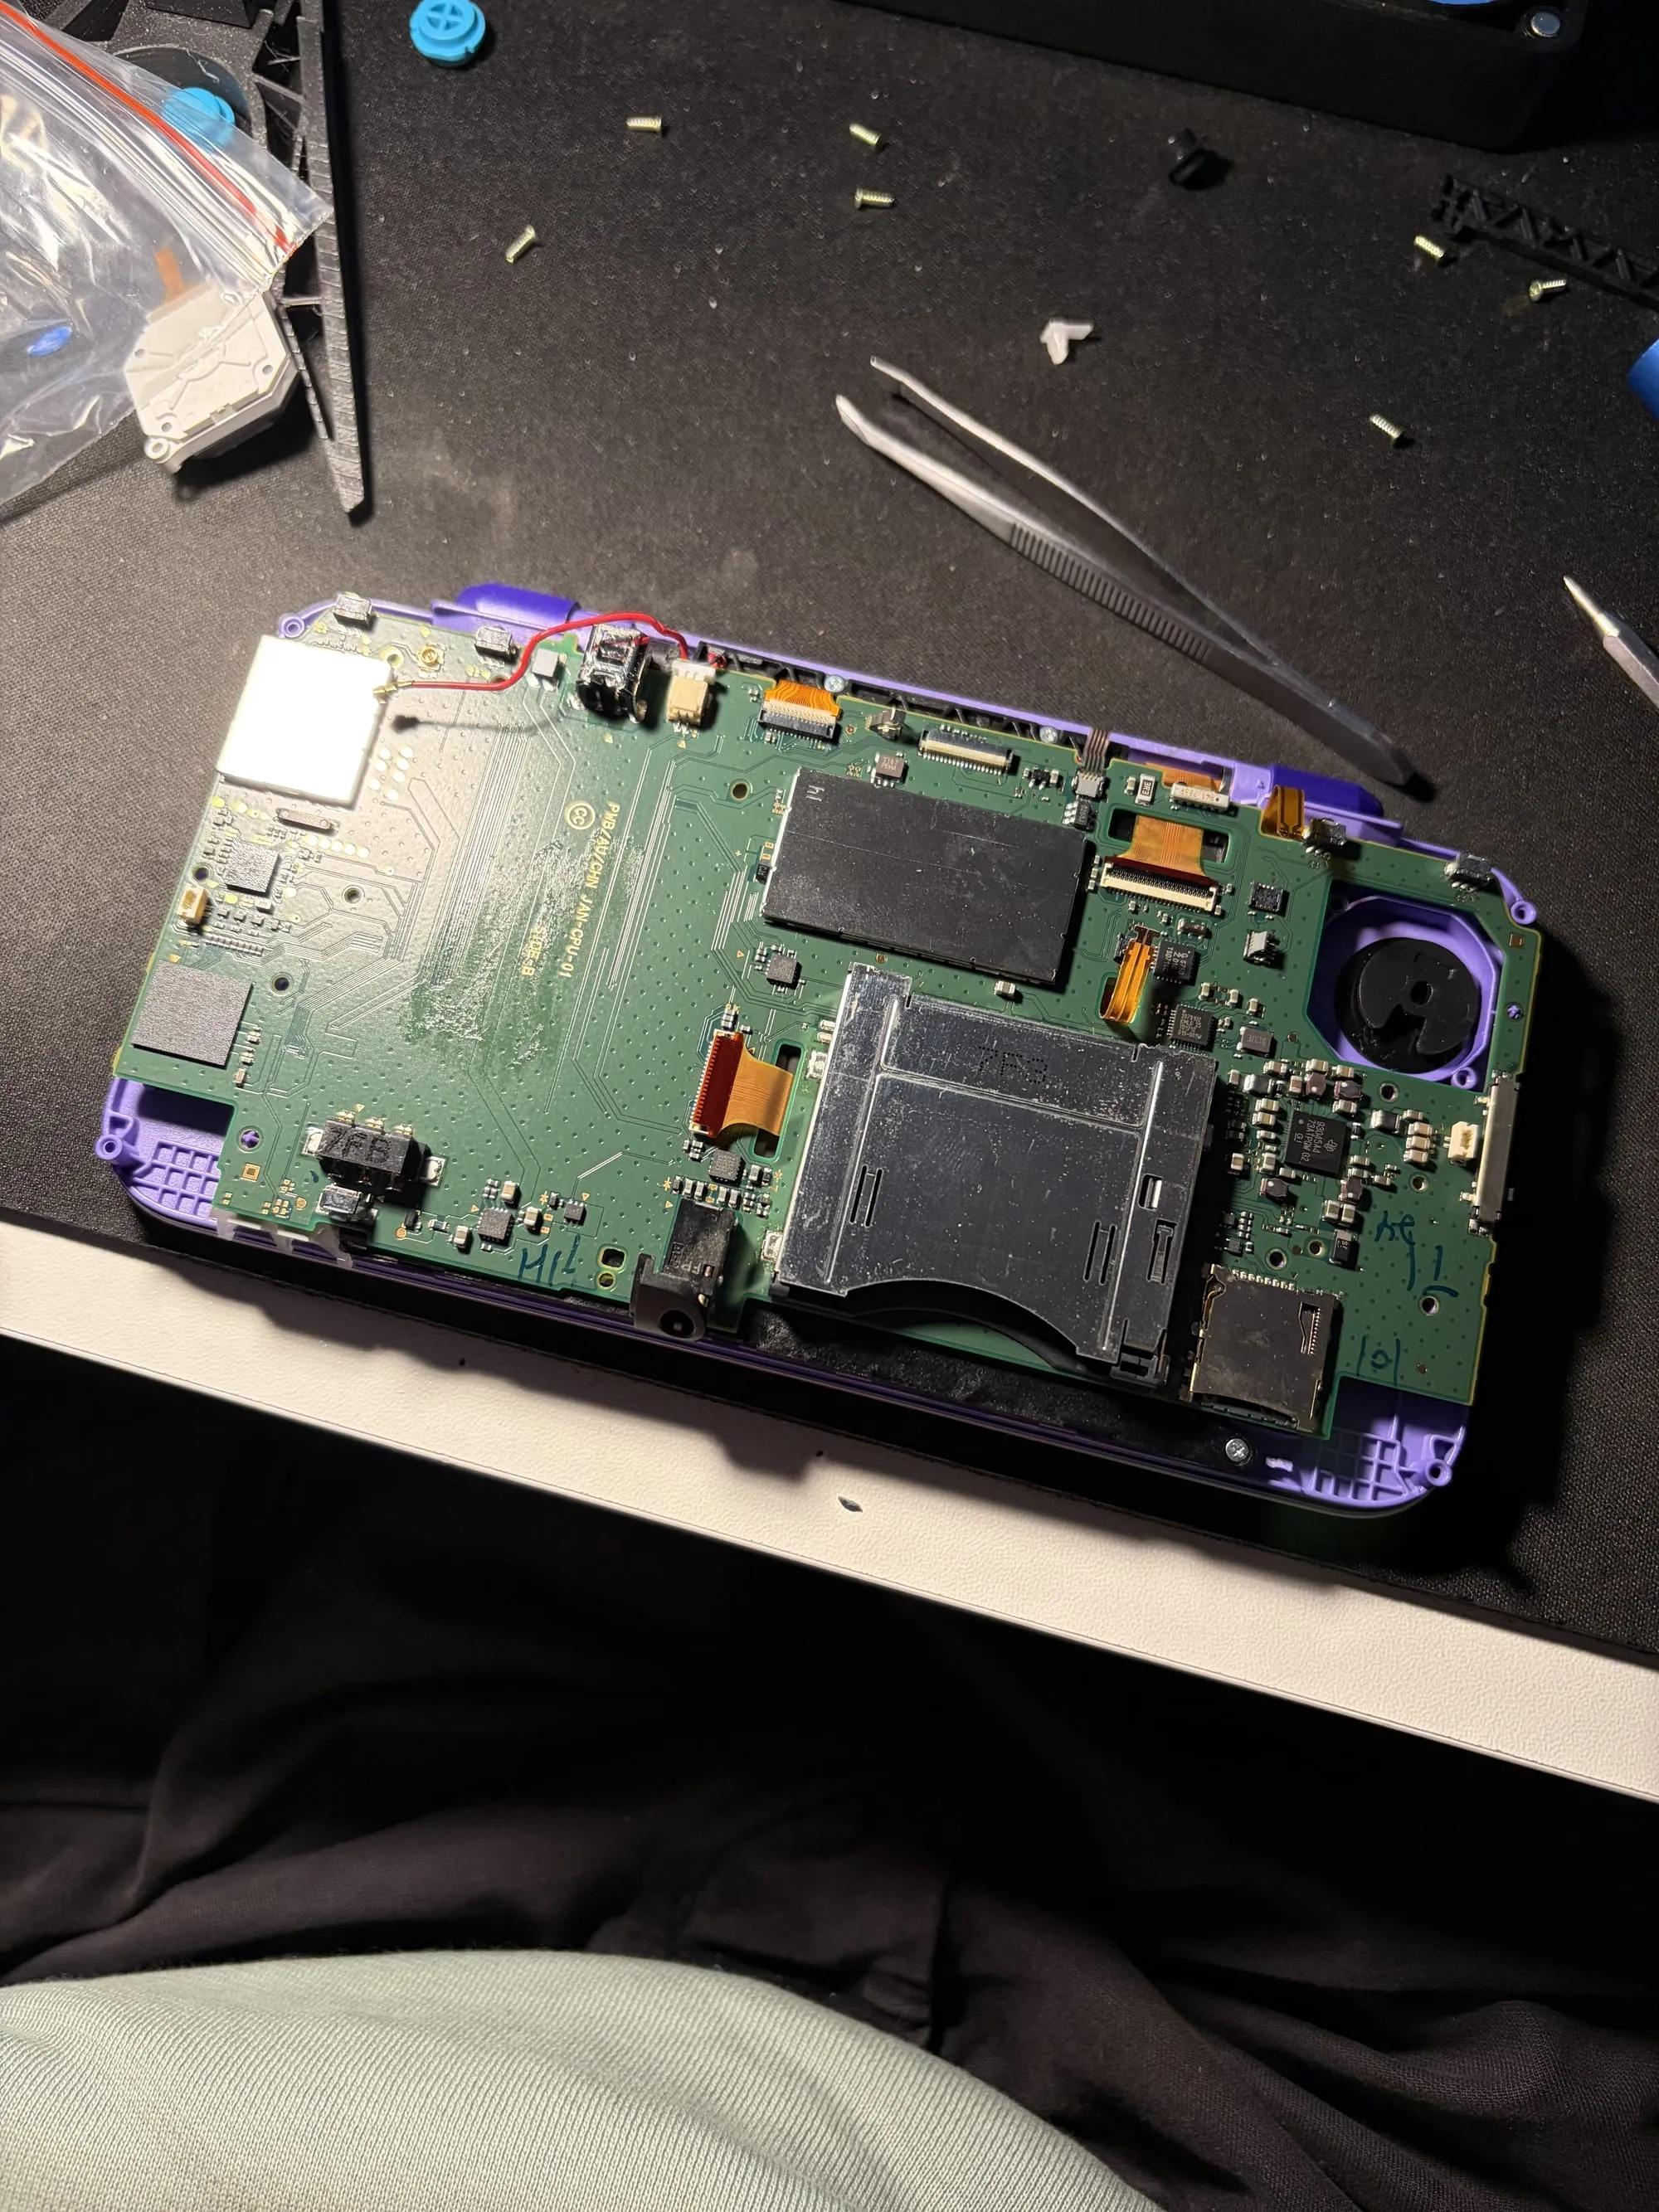
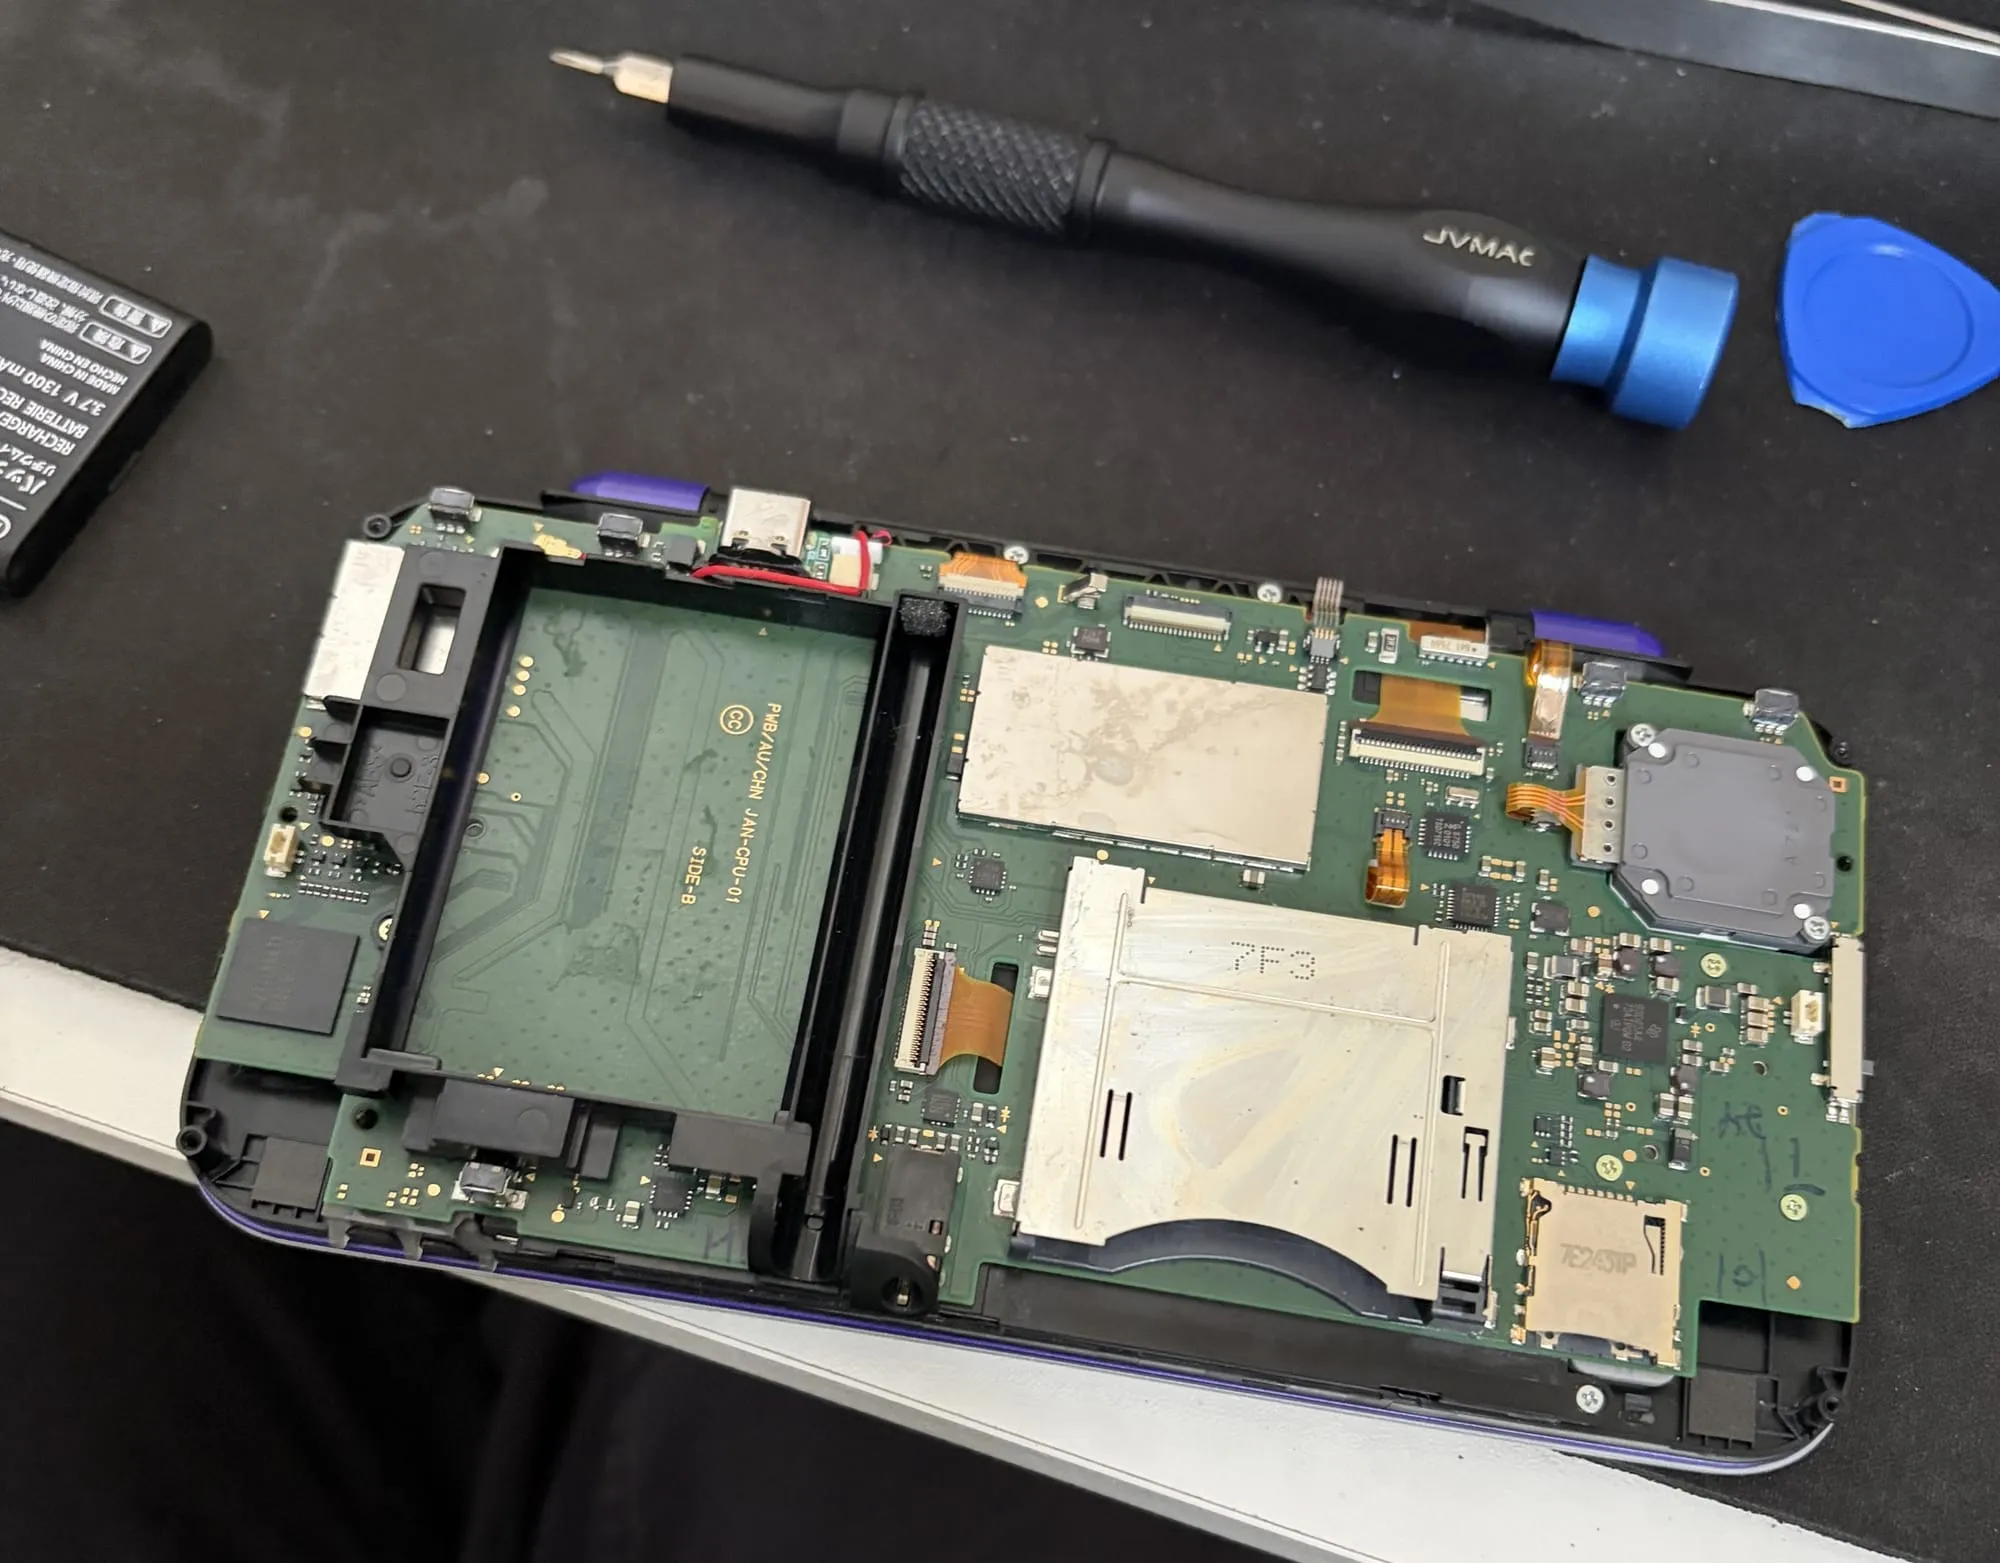
With the back part removed, we're down to the motherboard now. I removed the battery which was well stuck down and disconnected all of the ribbon cables. Important note: two of the connectors are friction-fit and trying to remove the locking tab like you would normally can damage them! There's more info on this in the iFixit guide.
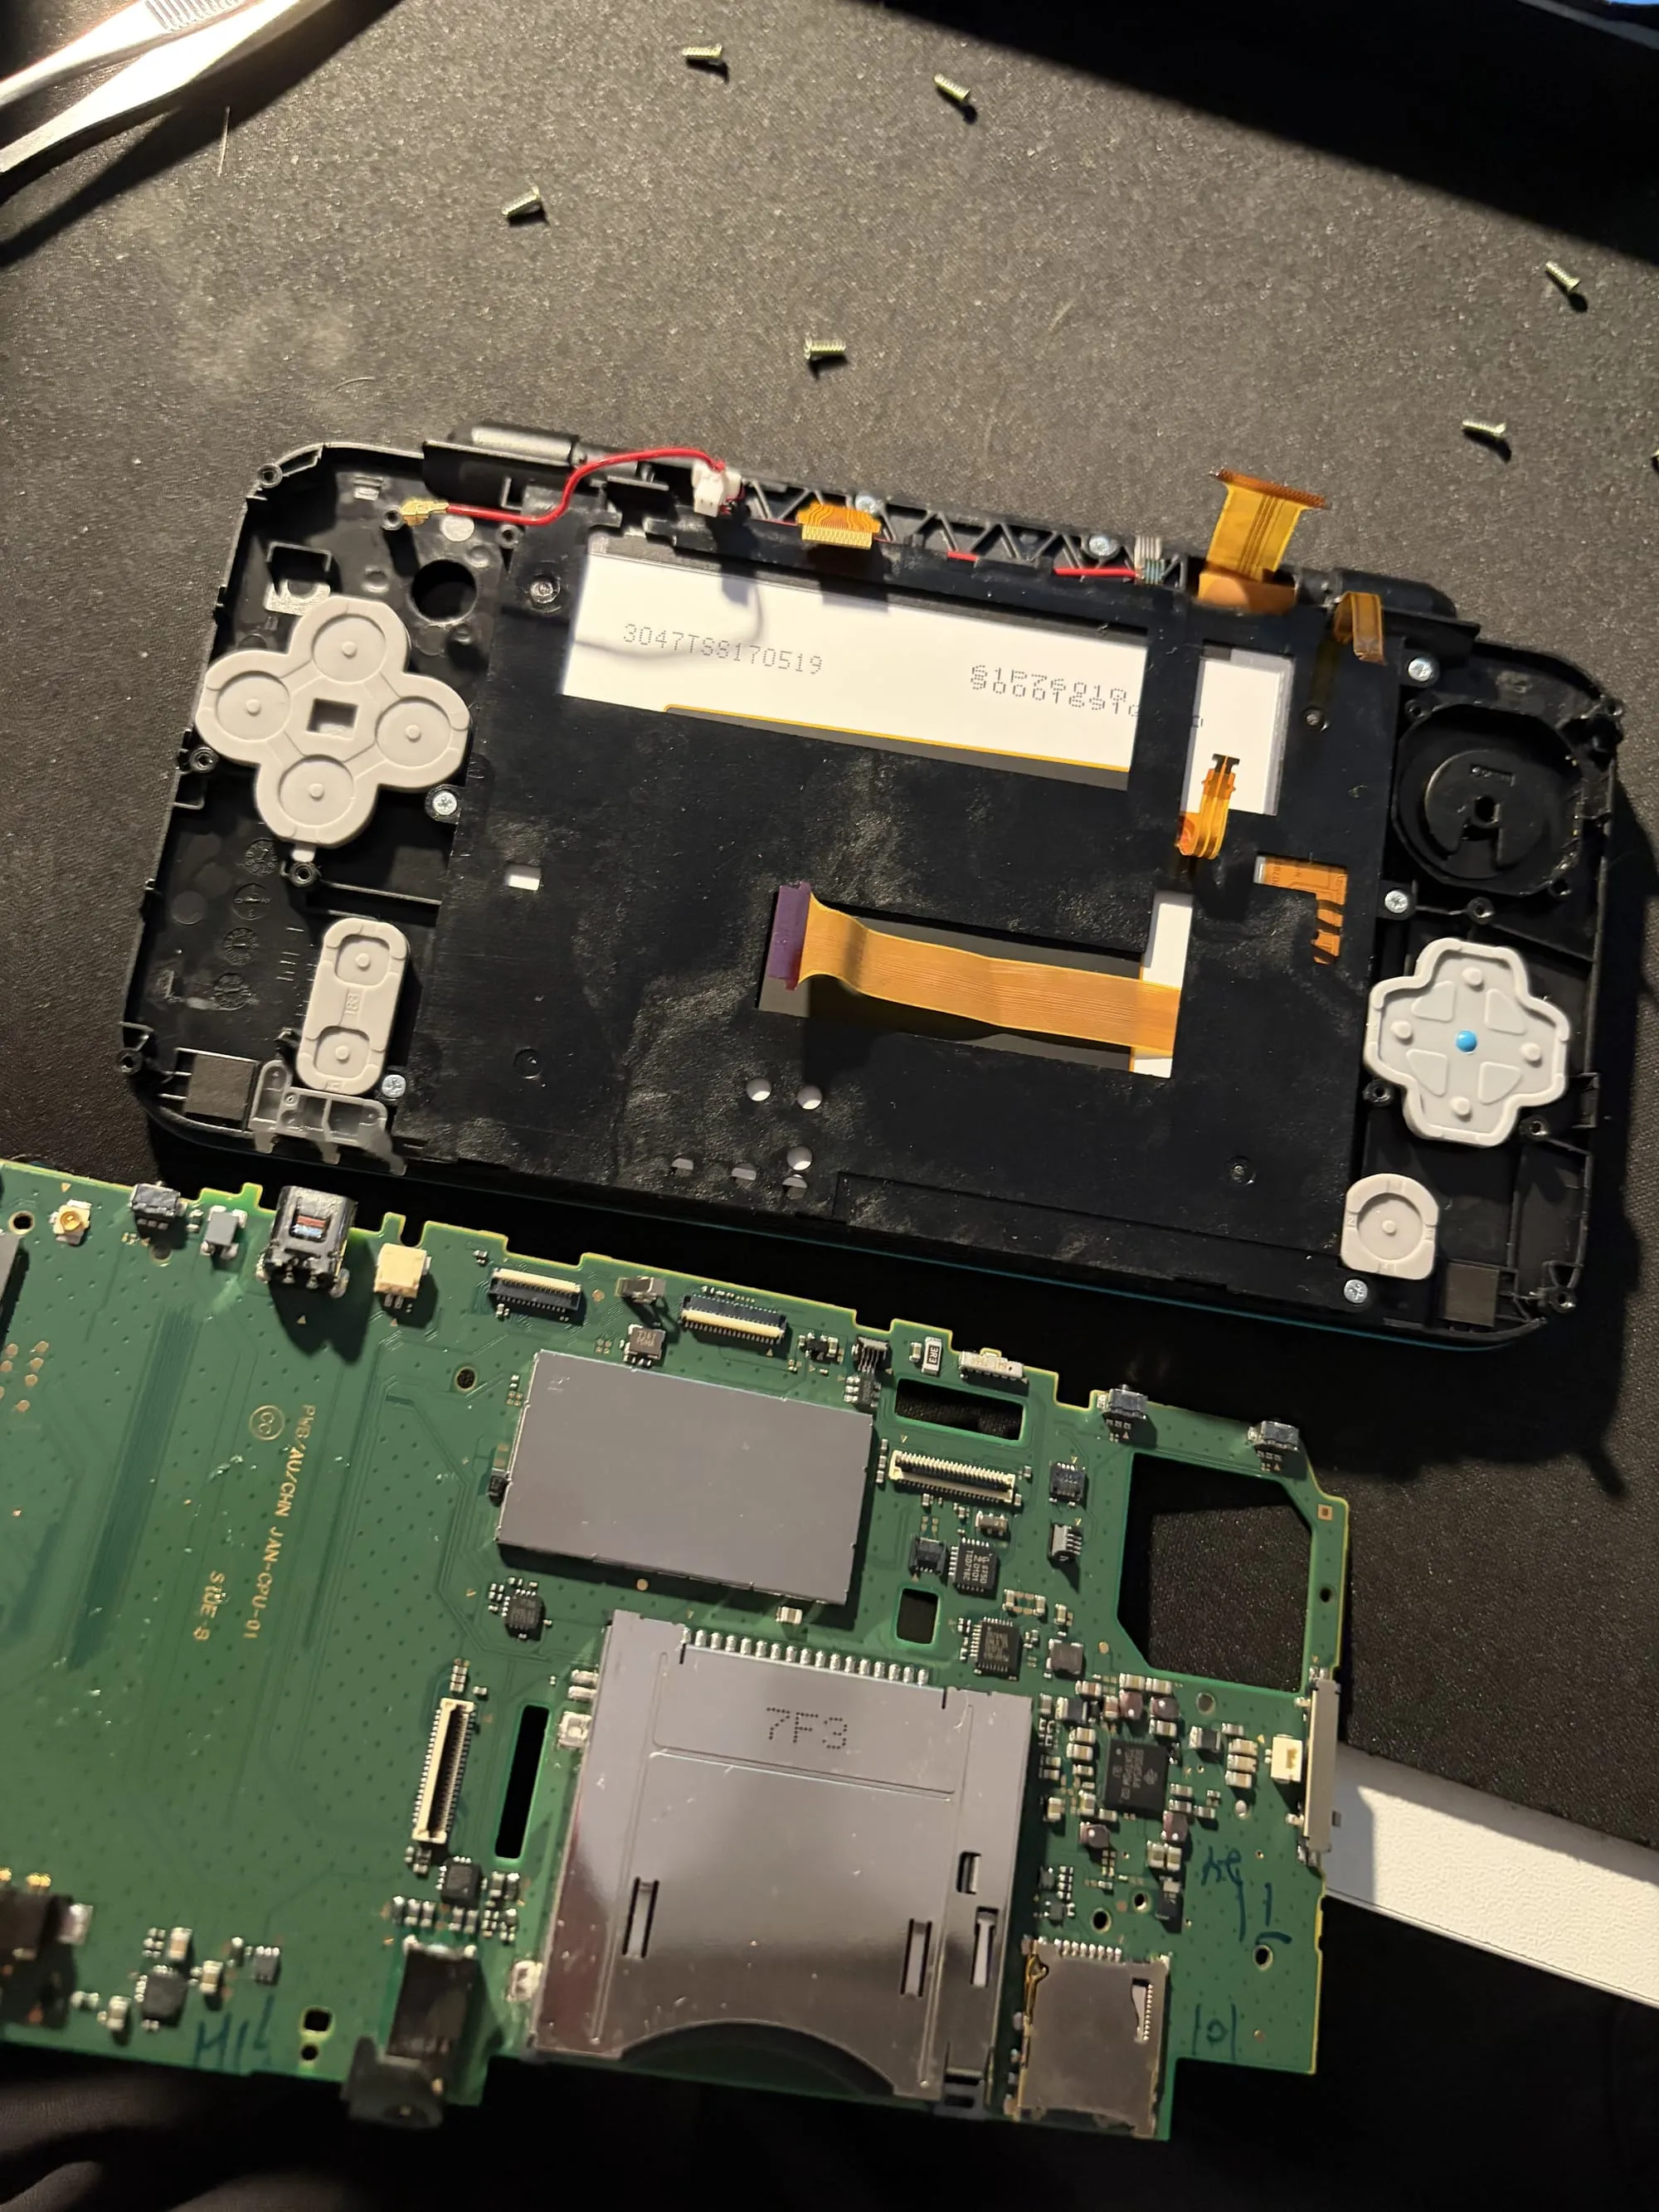
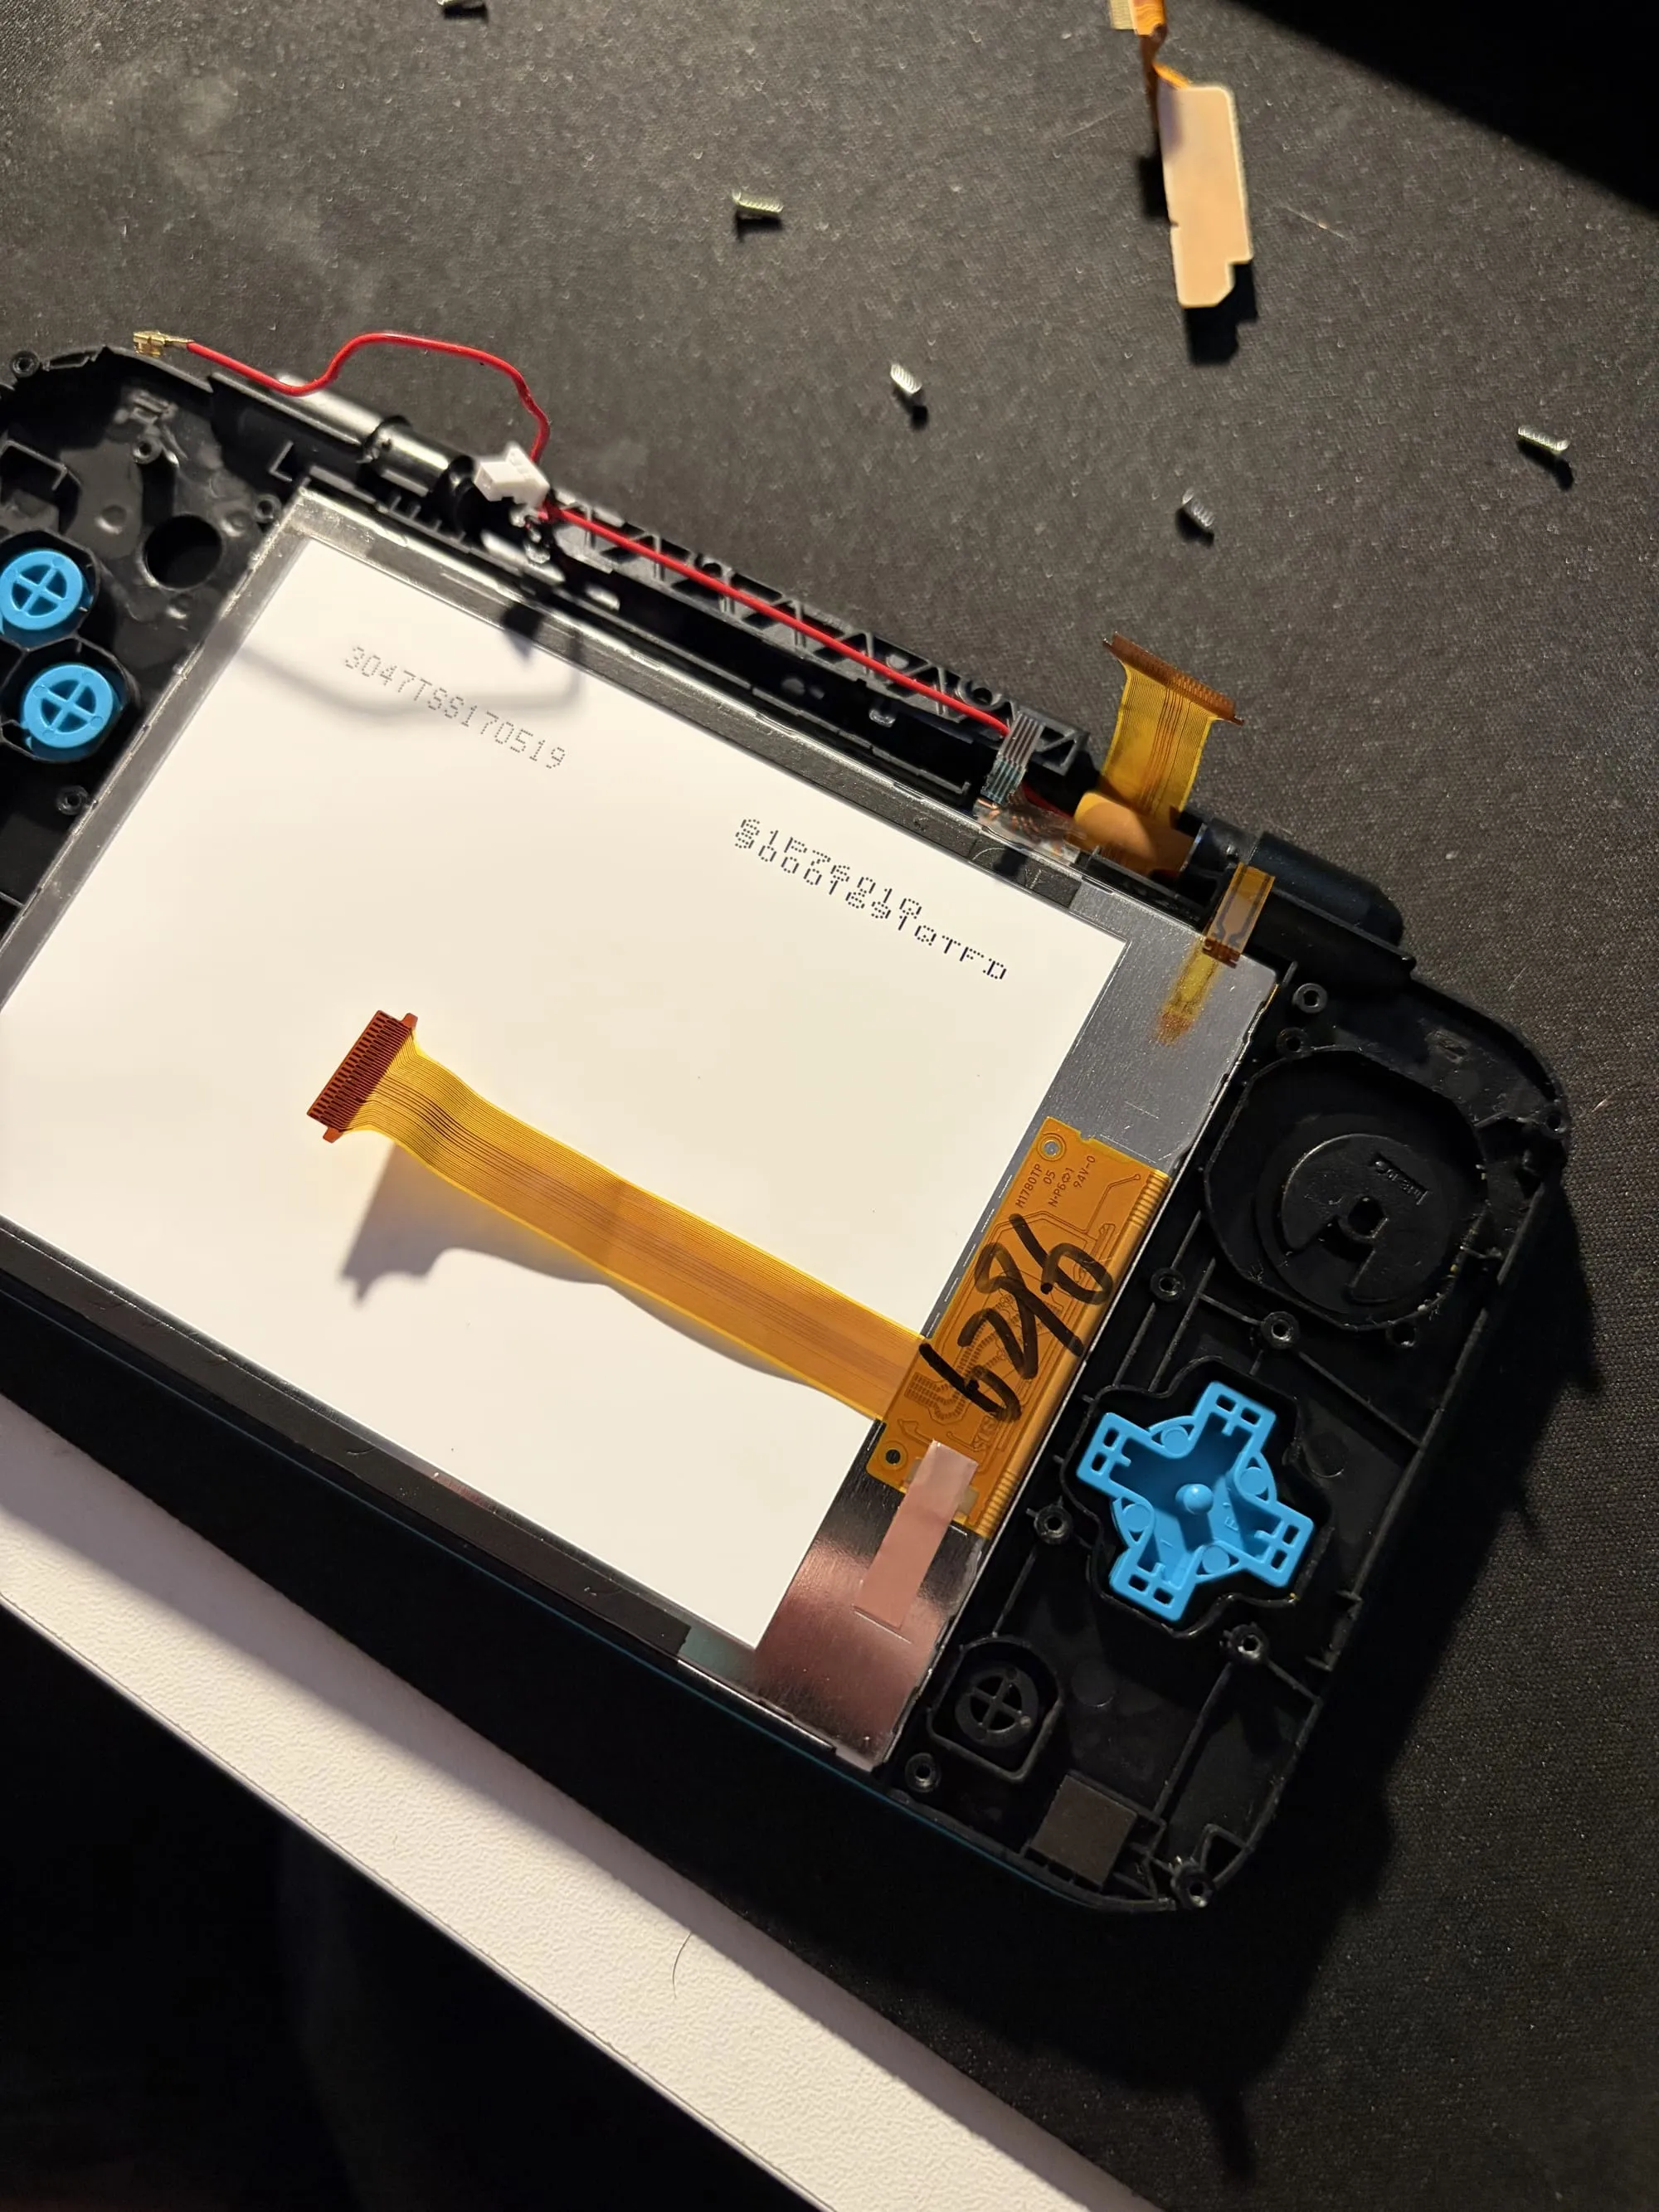
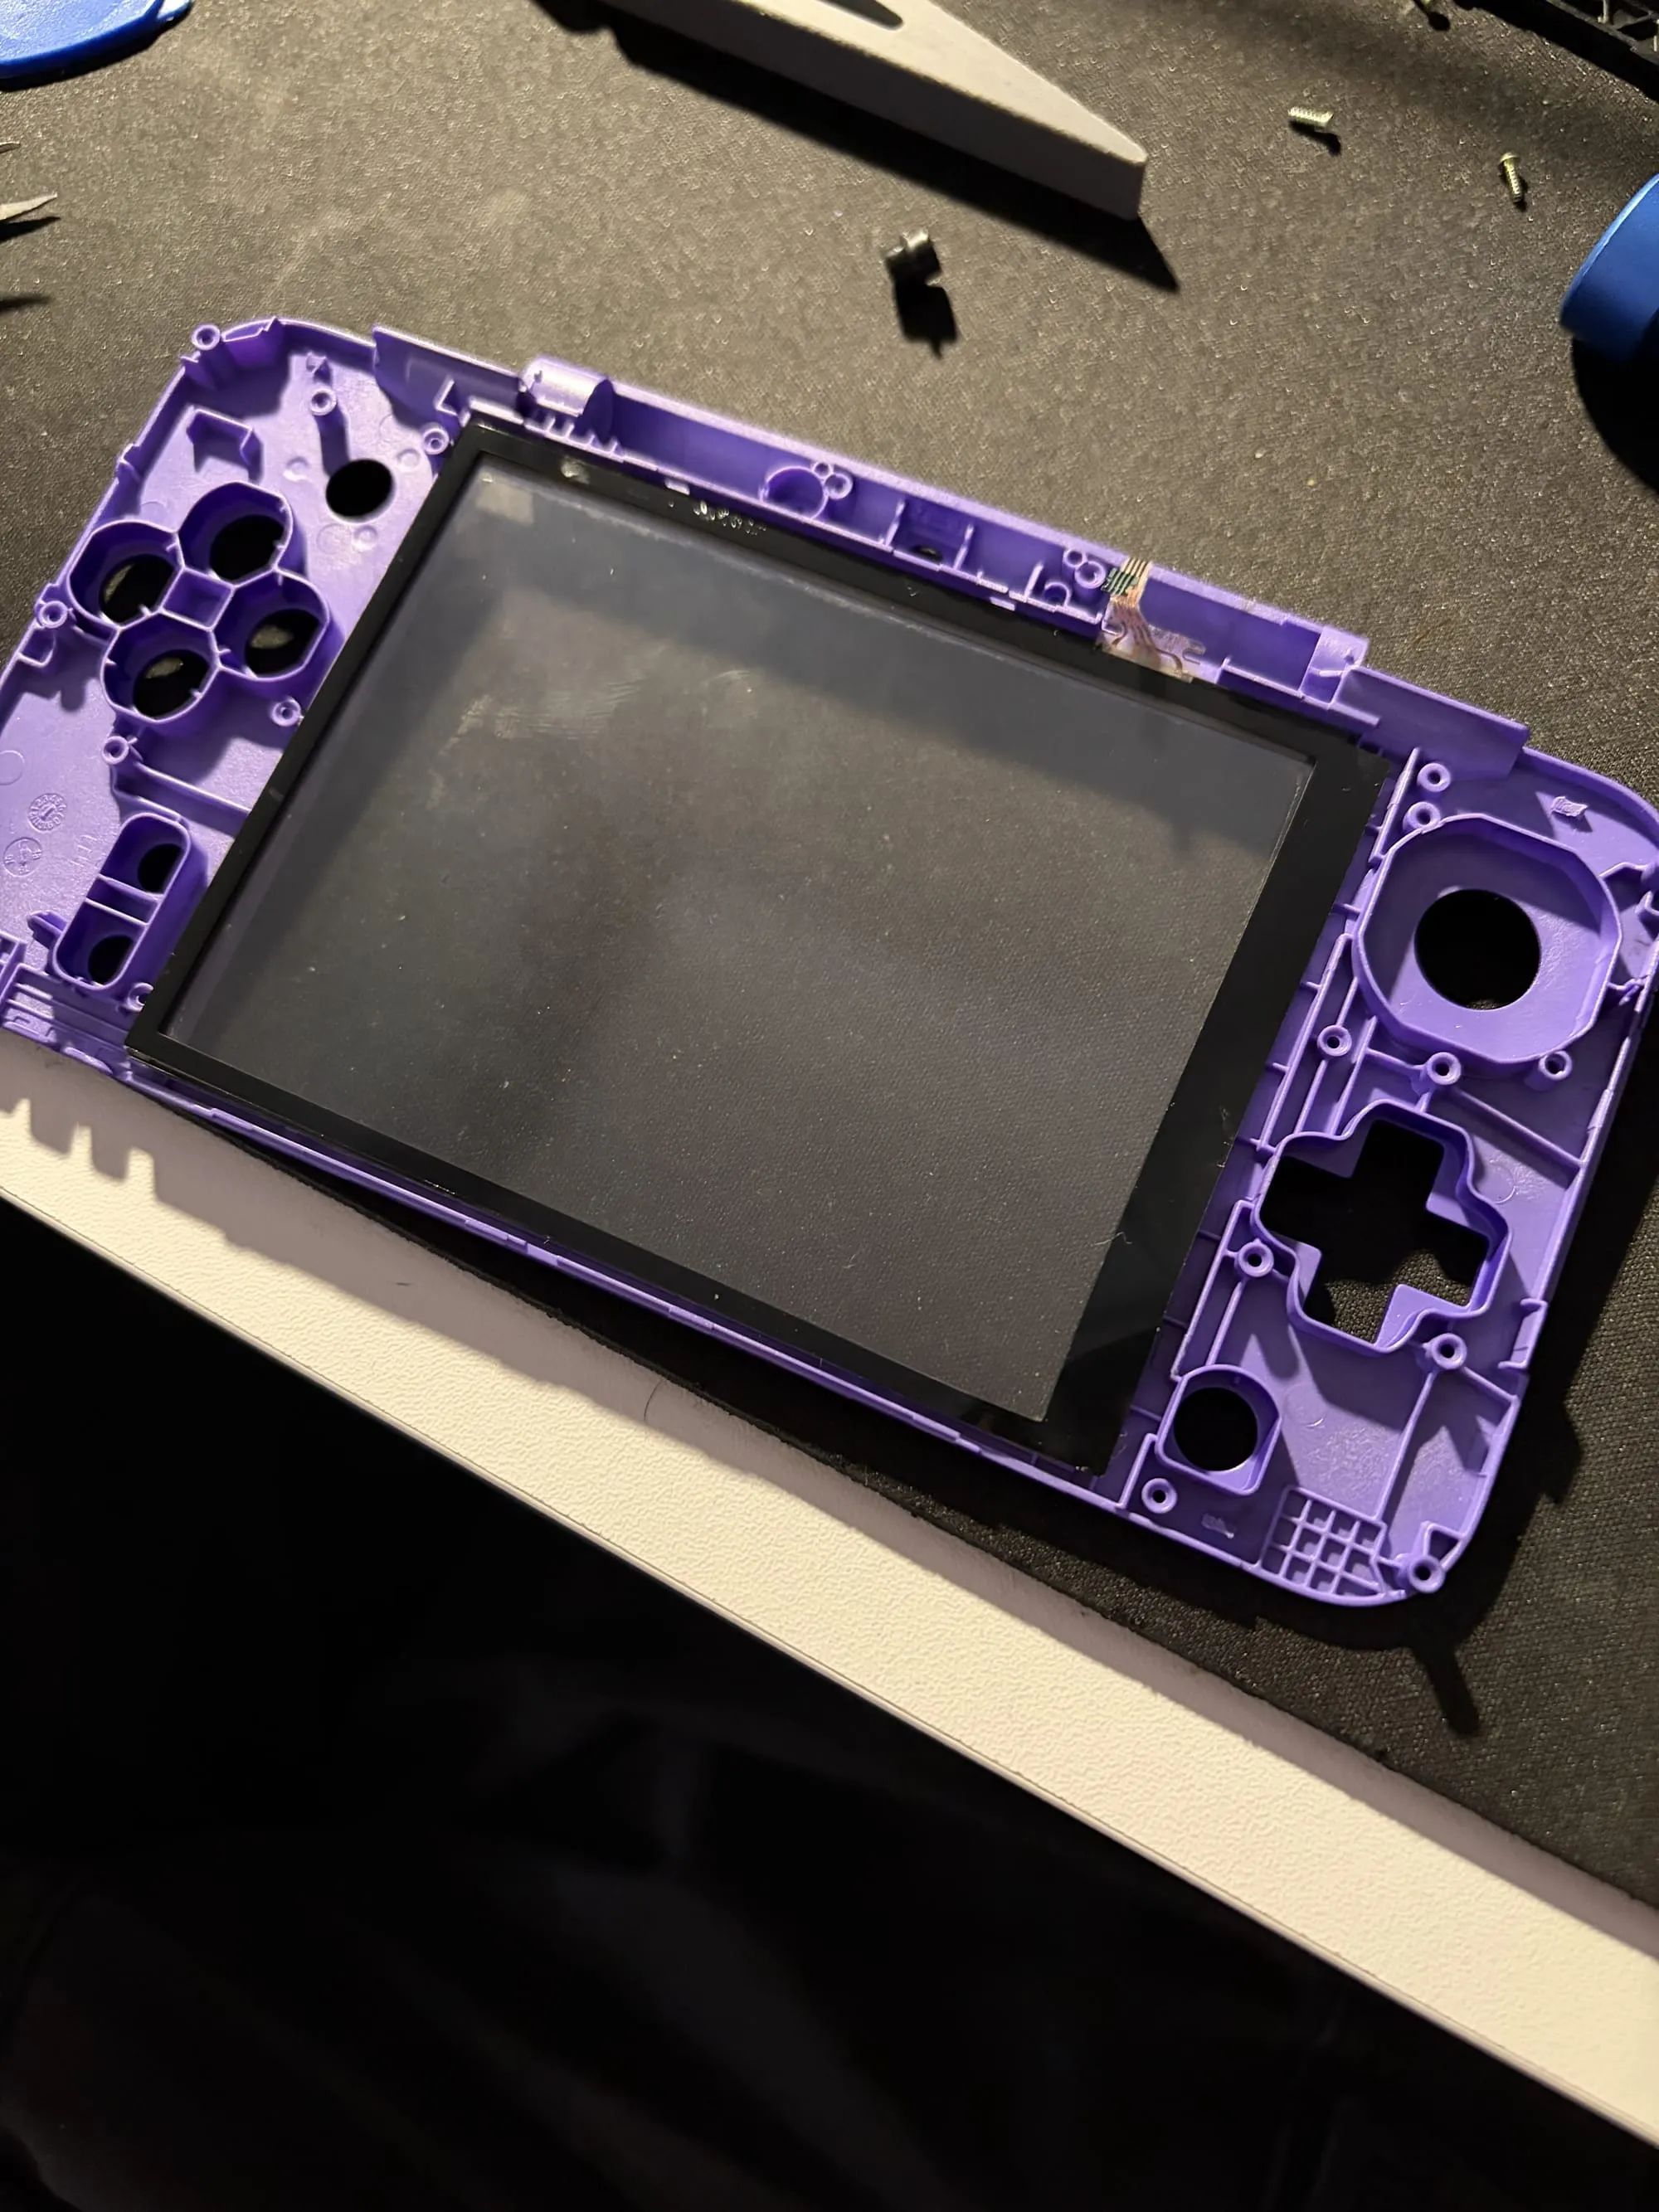
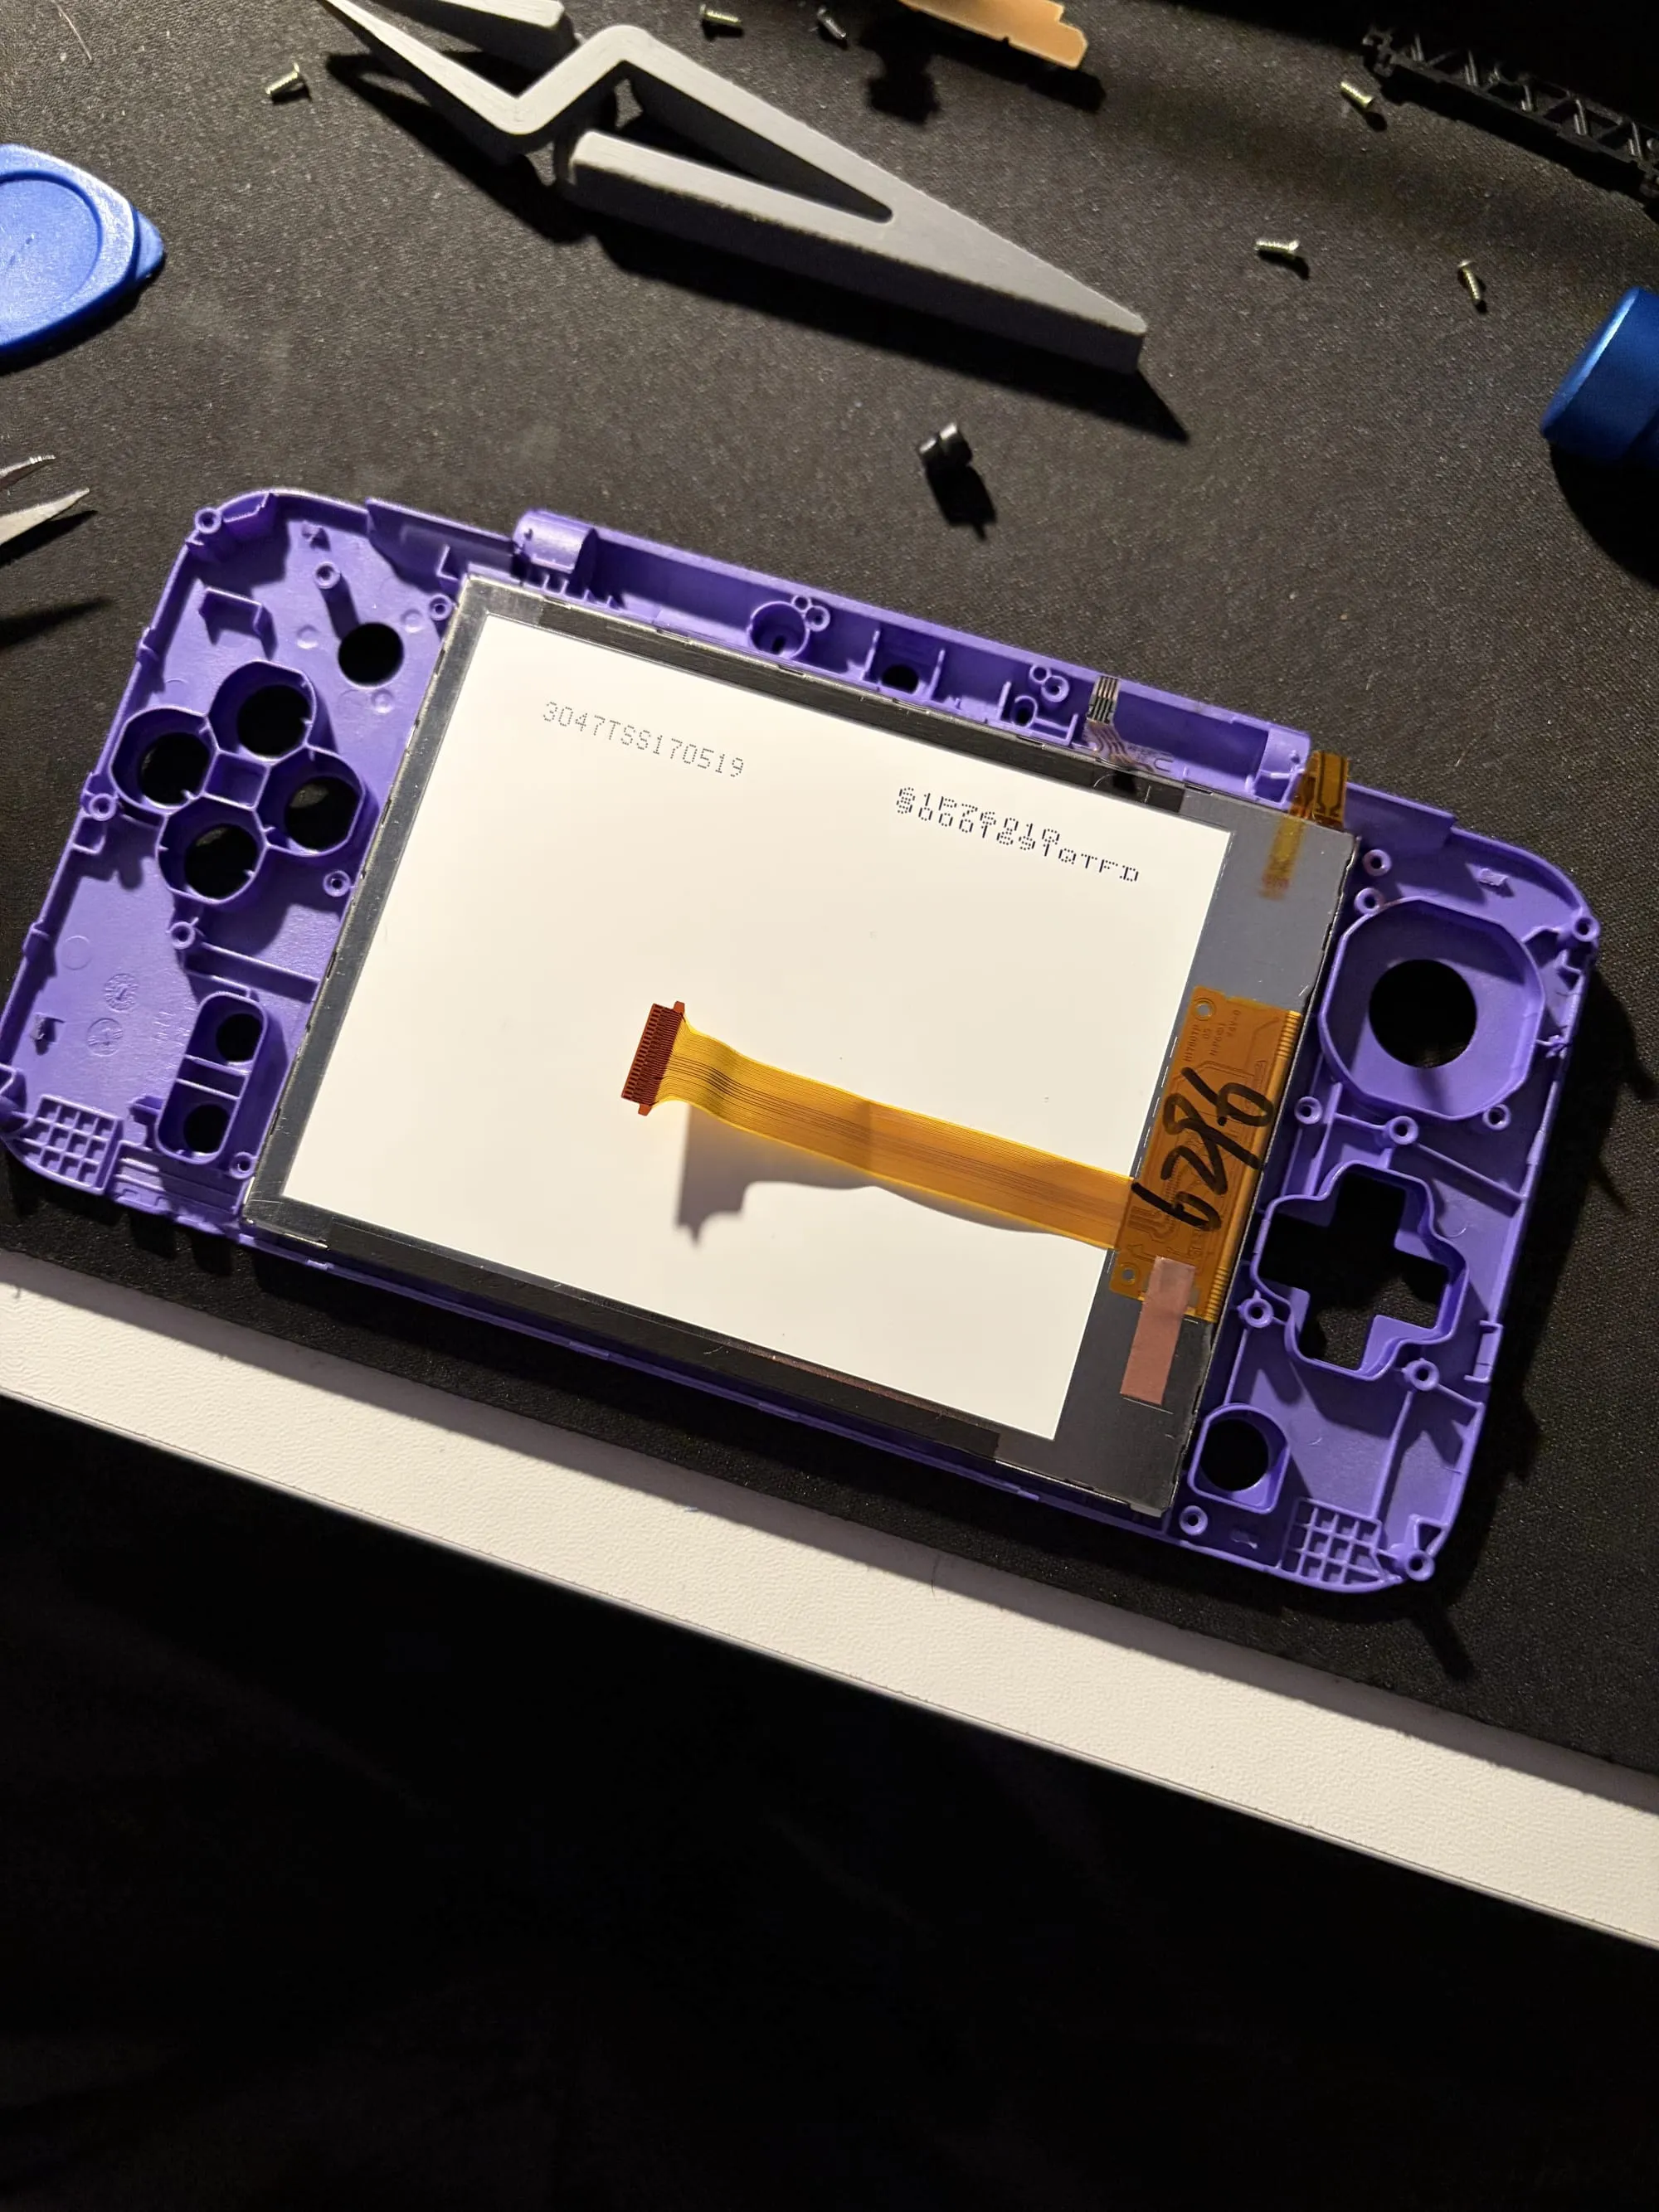
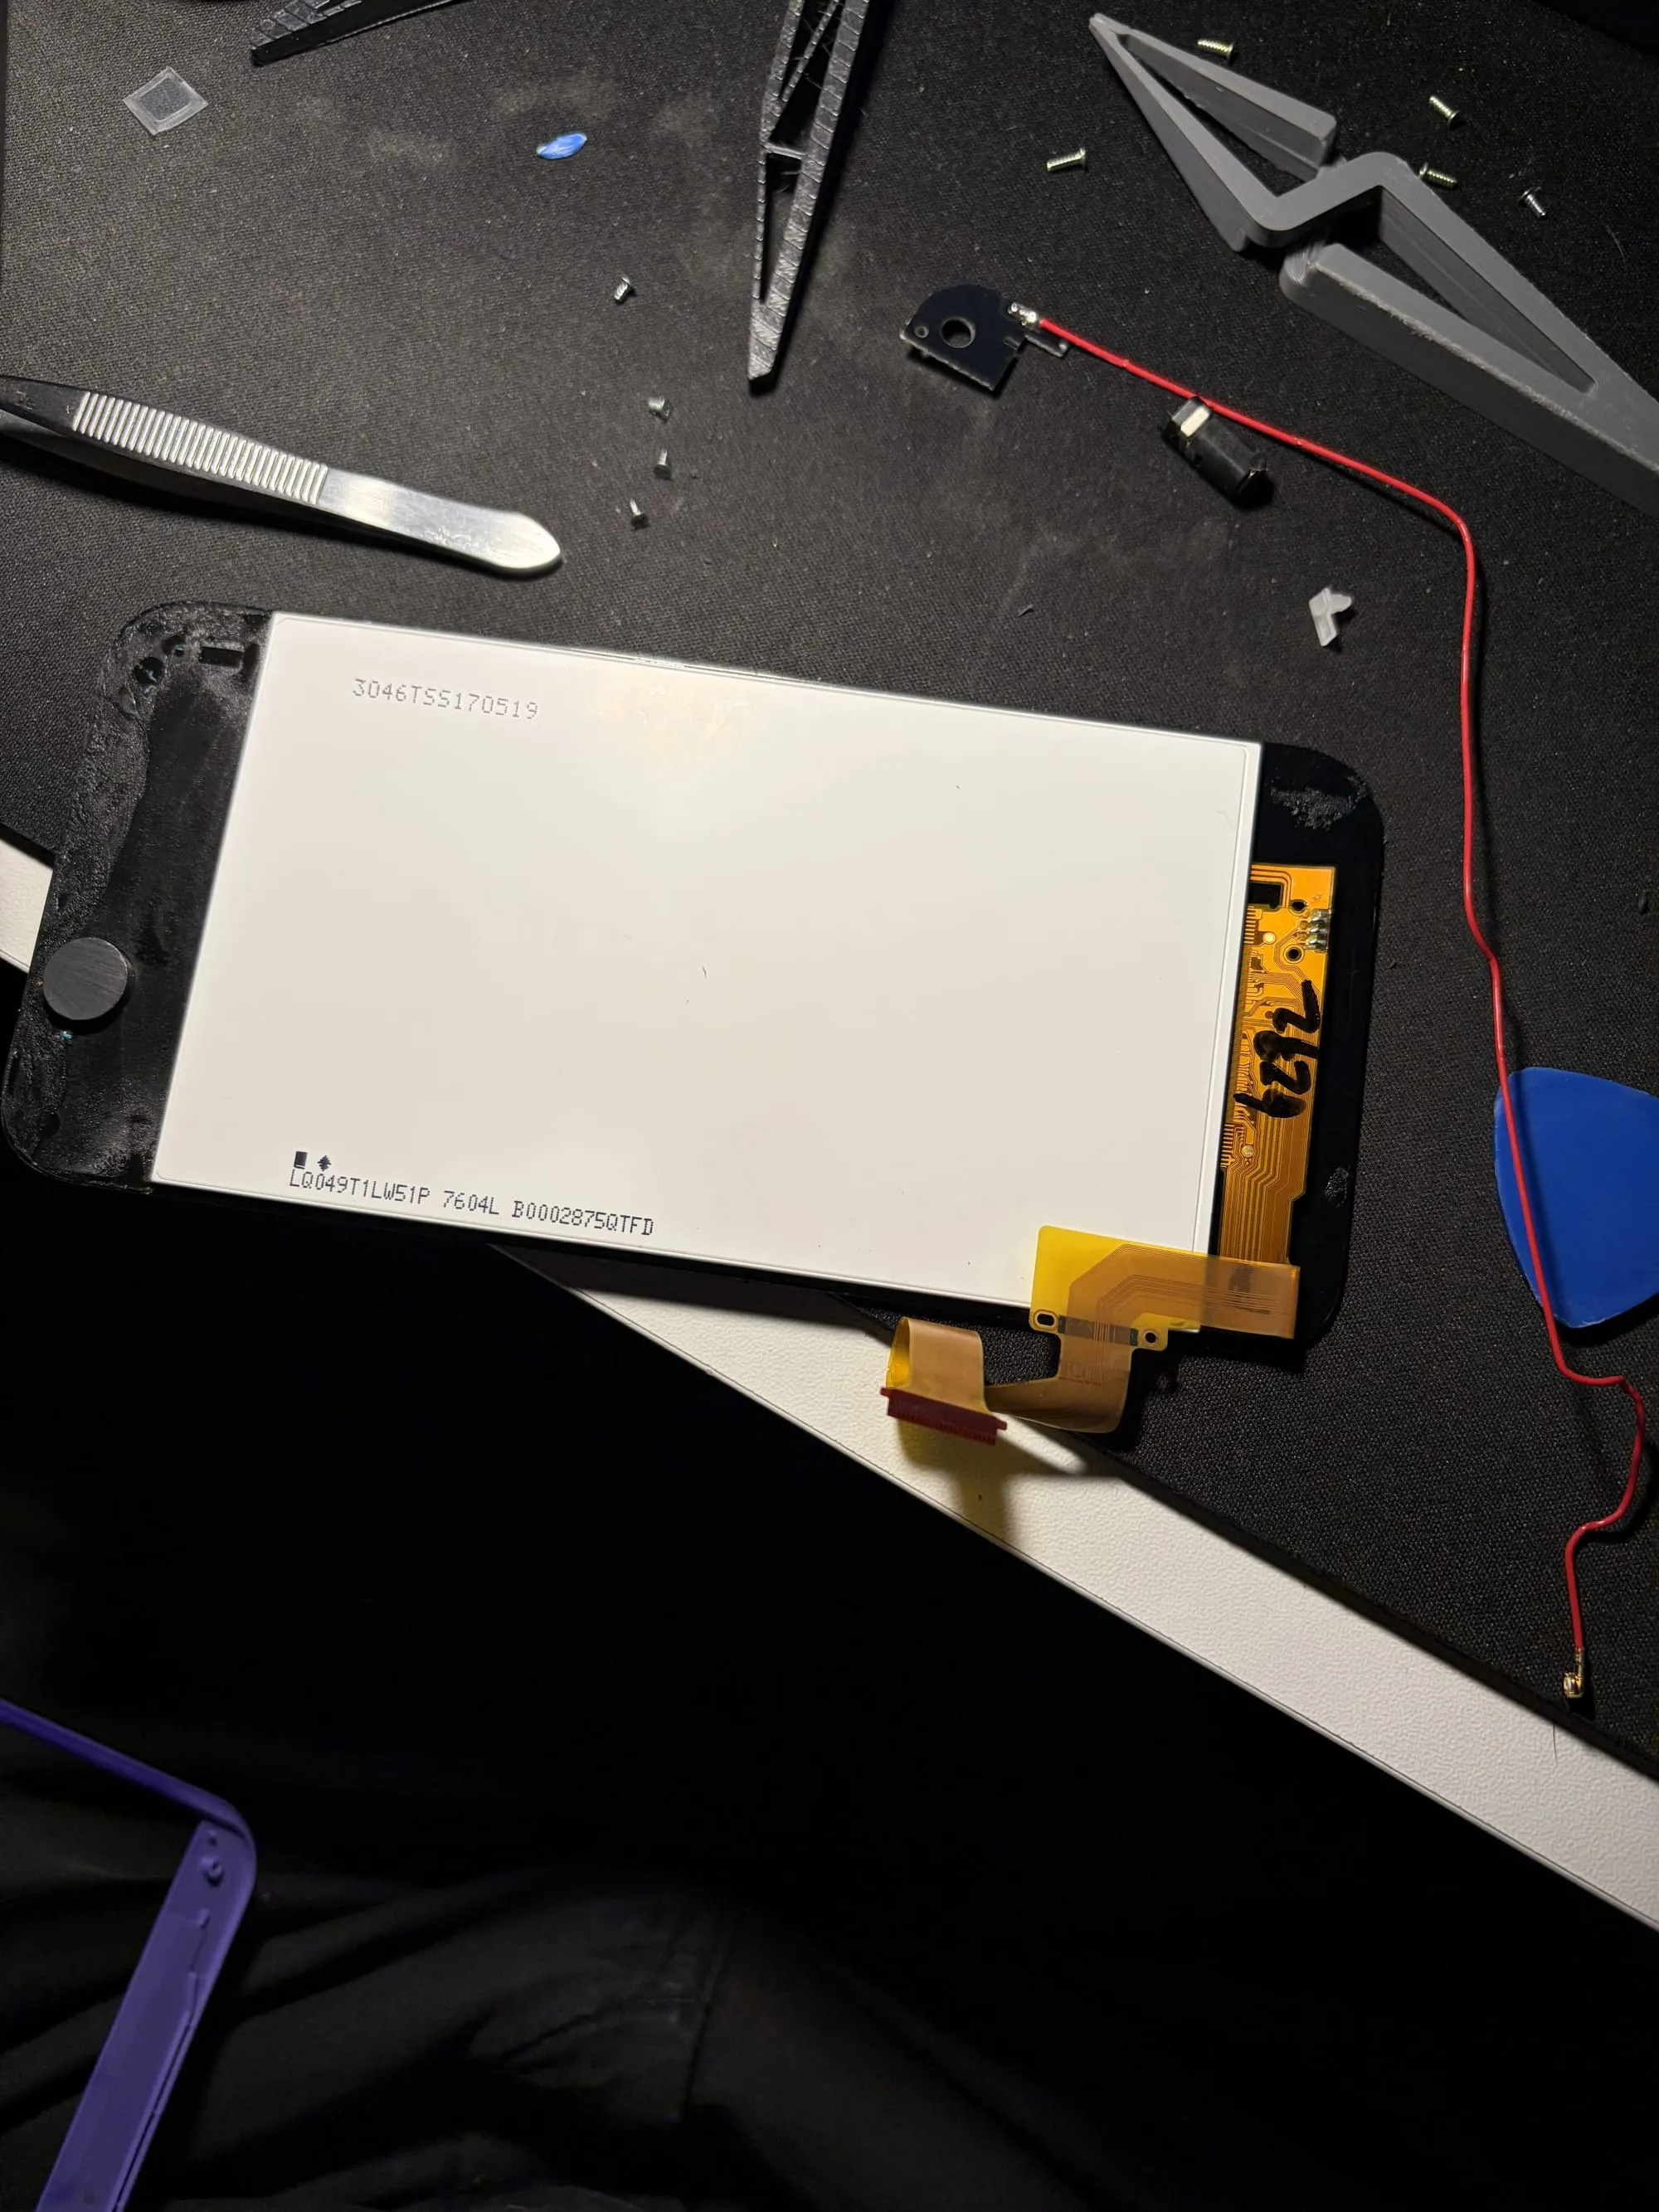
With the motherboard removed, I can take off the plastic piece on the back of the bottom touchscreen. Following the iFixit guide for touchscreen replacement, I gently pried on the screen to remove it from the bottom case as it's stuck down with adhesive. However, in the process I managed to separate the digitizer from the screen. I later found out you can gently push the screen from the bottom to remove it from the shell which would have kept the digitizer and screen as one, so I'd recommend doing it that way. I reused the adhesive for the screen in the new shell, but it would have been sensible to replace it with some thin double-sided tape as the adhesive I removed got super tangled once I pulled it off the old shell. I honestly got a bit freaked out when I separated the digitizer from the screen and thought I might have broken it - but luckily didn't!
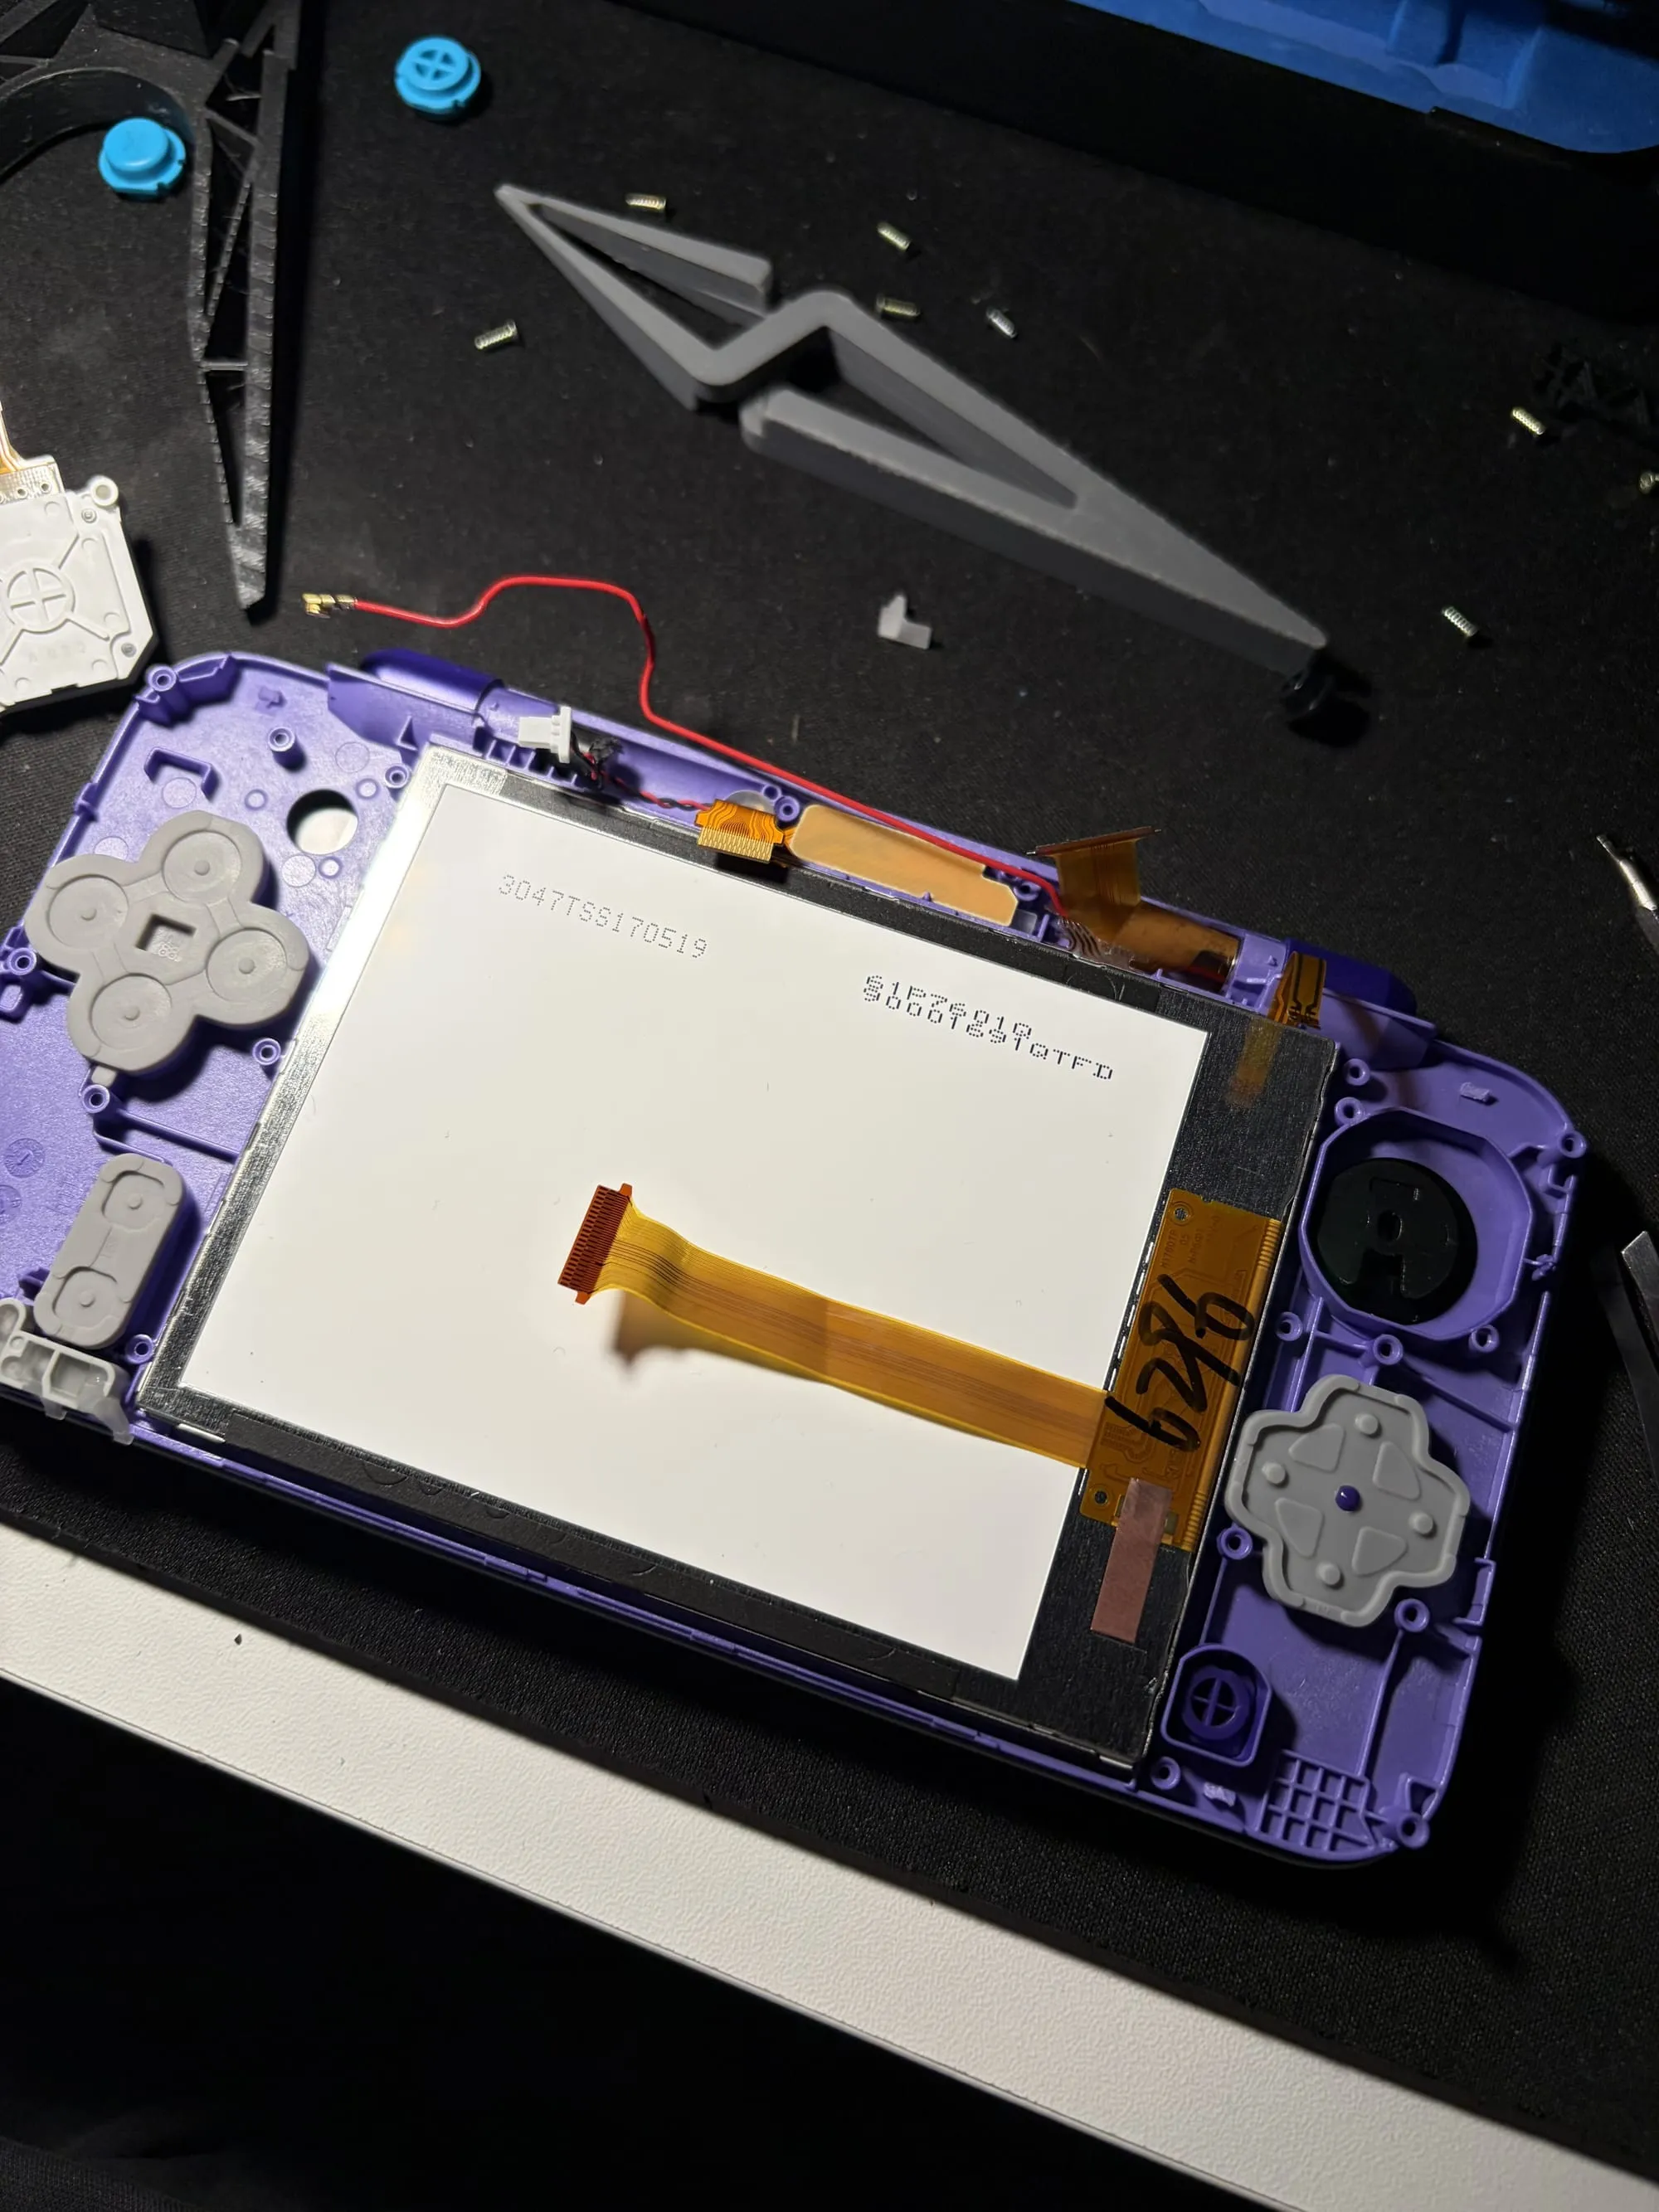
Below you can see the process of me first installing the digitizer, then the screen into the new shell.
The buttons were pretty easy to swap over, and I just used the new purple front buttons that came with the new shell.
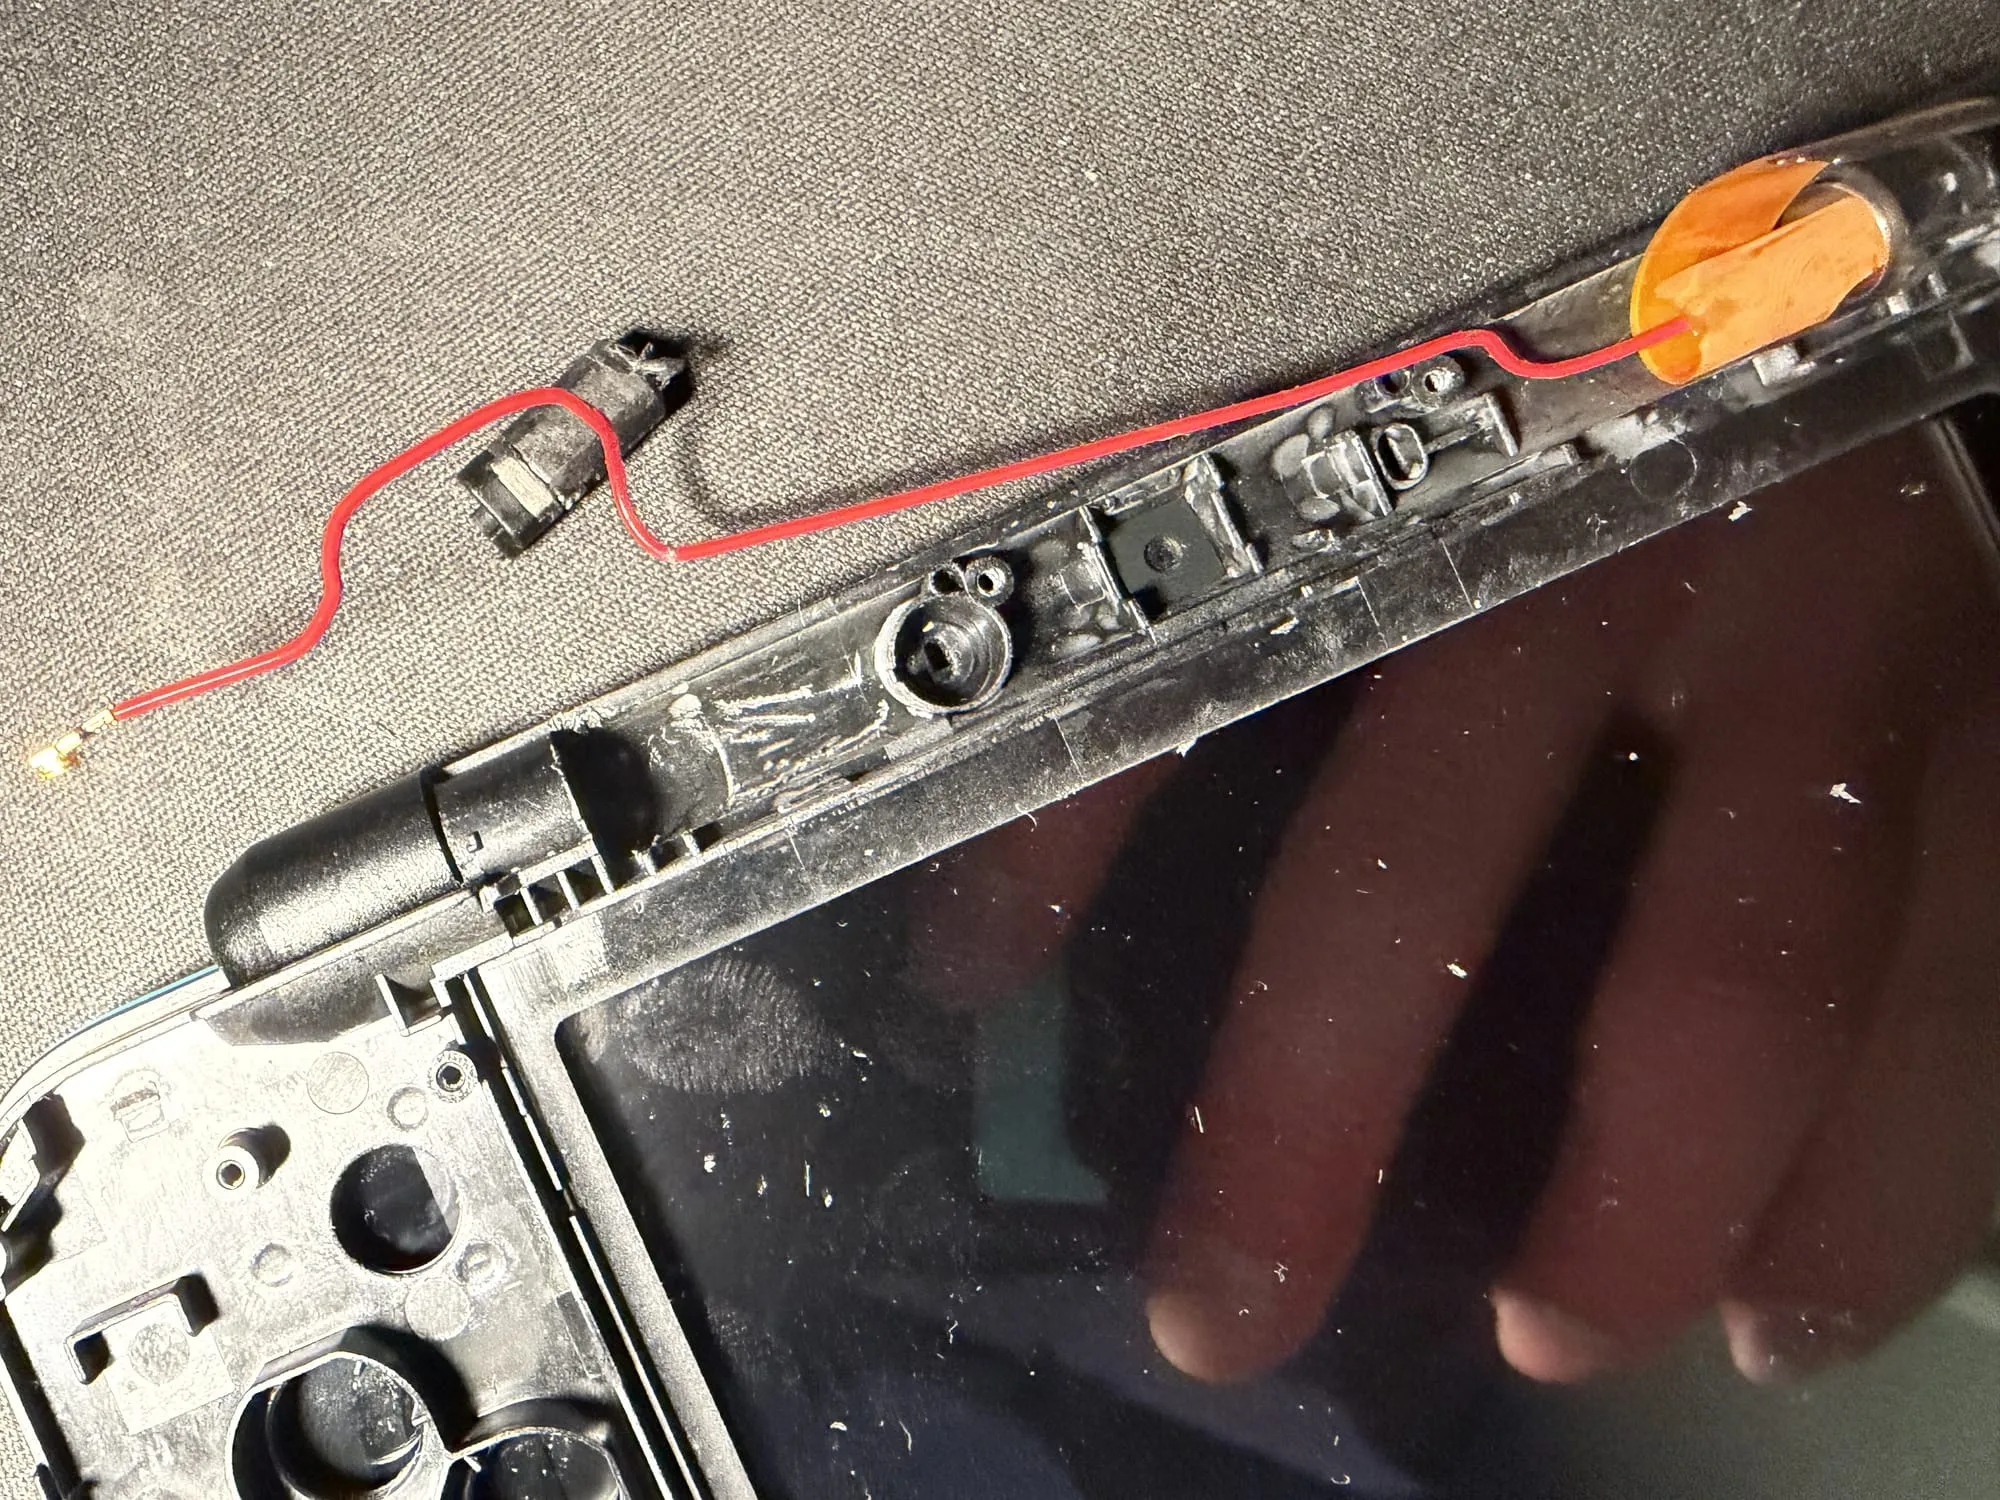
Unfortunately from here it gets even harder! With the touch screen removed from the old shell, I had to separate the top and bottom by removing the small hinge mechanism. The tiny hinge mechanism is just under the red antenna wire you can see here. It's installed super tight and honestly took an unreasonable amount of force to get it out. The best technique I found to work in the end was from this YouTube video where you use a flat head screwdriver to lever it out.
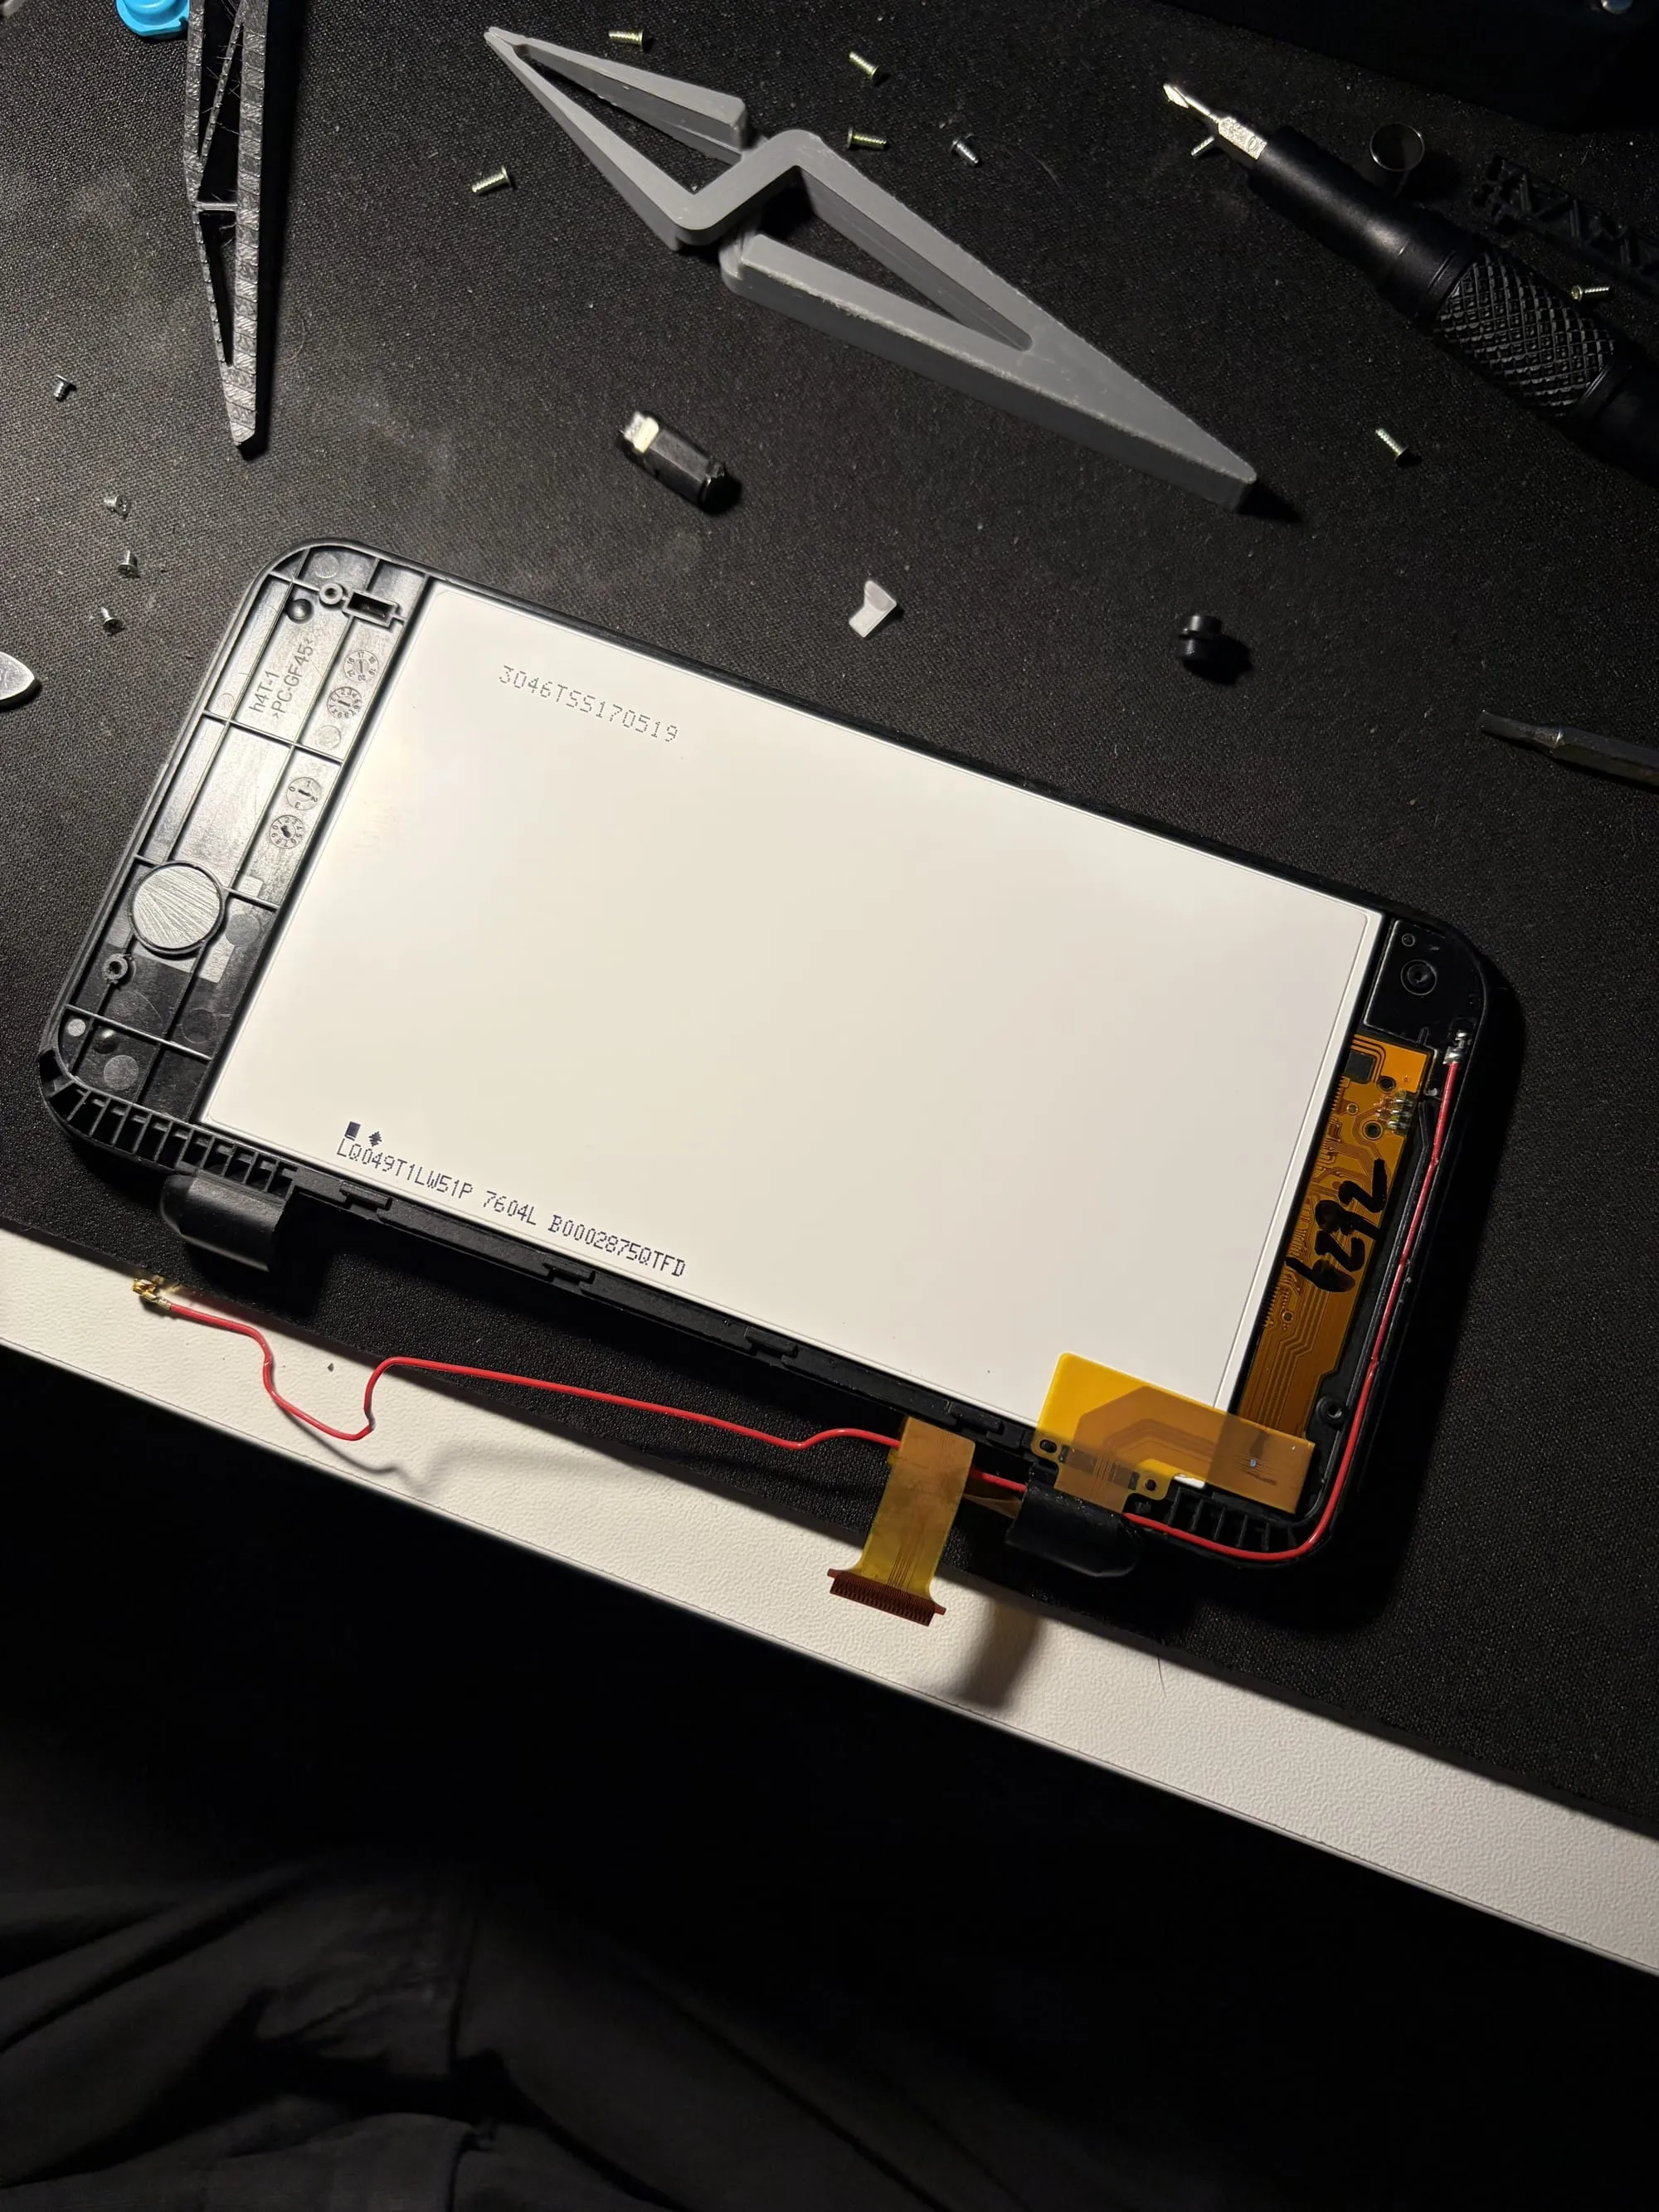
With the top screen removed, I proceeded to take off the plastic piece from the back of the screen to reveal screws - taking these out and prying around the edge of the screen gets us to the point we have the back of the screen exposed. At this point I incorrectly pried around the edge of the screen and started peeling up the backlight. Again, not sure how I didn't end up breaking this screen! The screen is actually stuck to the front plastic "lens" piece, so we just need to take off this lens, keeping the screen attached. Below you can see the screen installed in the housing, and after just the screen on the lens.
With the top screen removed, it's just a case of doing the same steps in reverse to install it into the new shell. Then I could attach the two halves back together, and re-install the motherboard. I put the buttons from the new shell in here, and also swapped out the top of the joystick for a replacement as it was pretty worn. On the bottom piece of the shell, I installed the new trigger buttons and moved over the springs, retaining plastic pieces and cameras.
And with that, I reinstalled the battery, ribbon connectors and so on and I was ready to put the console back together.
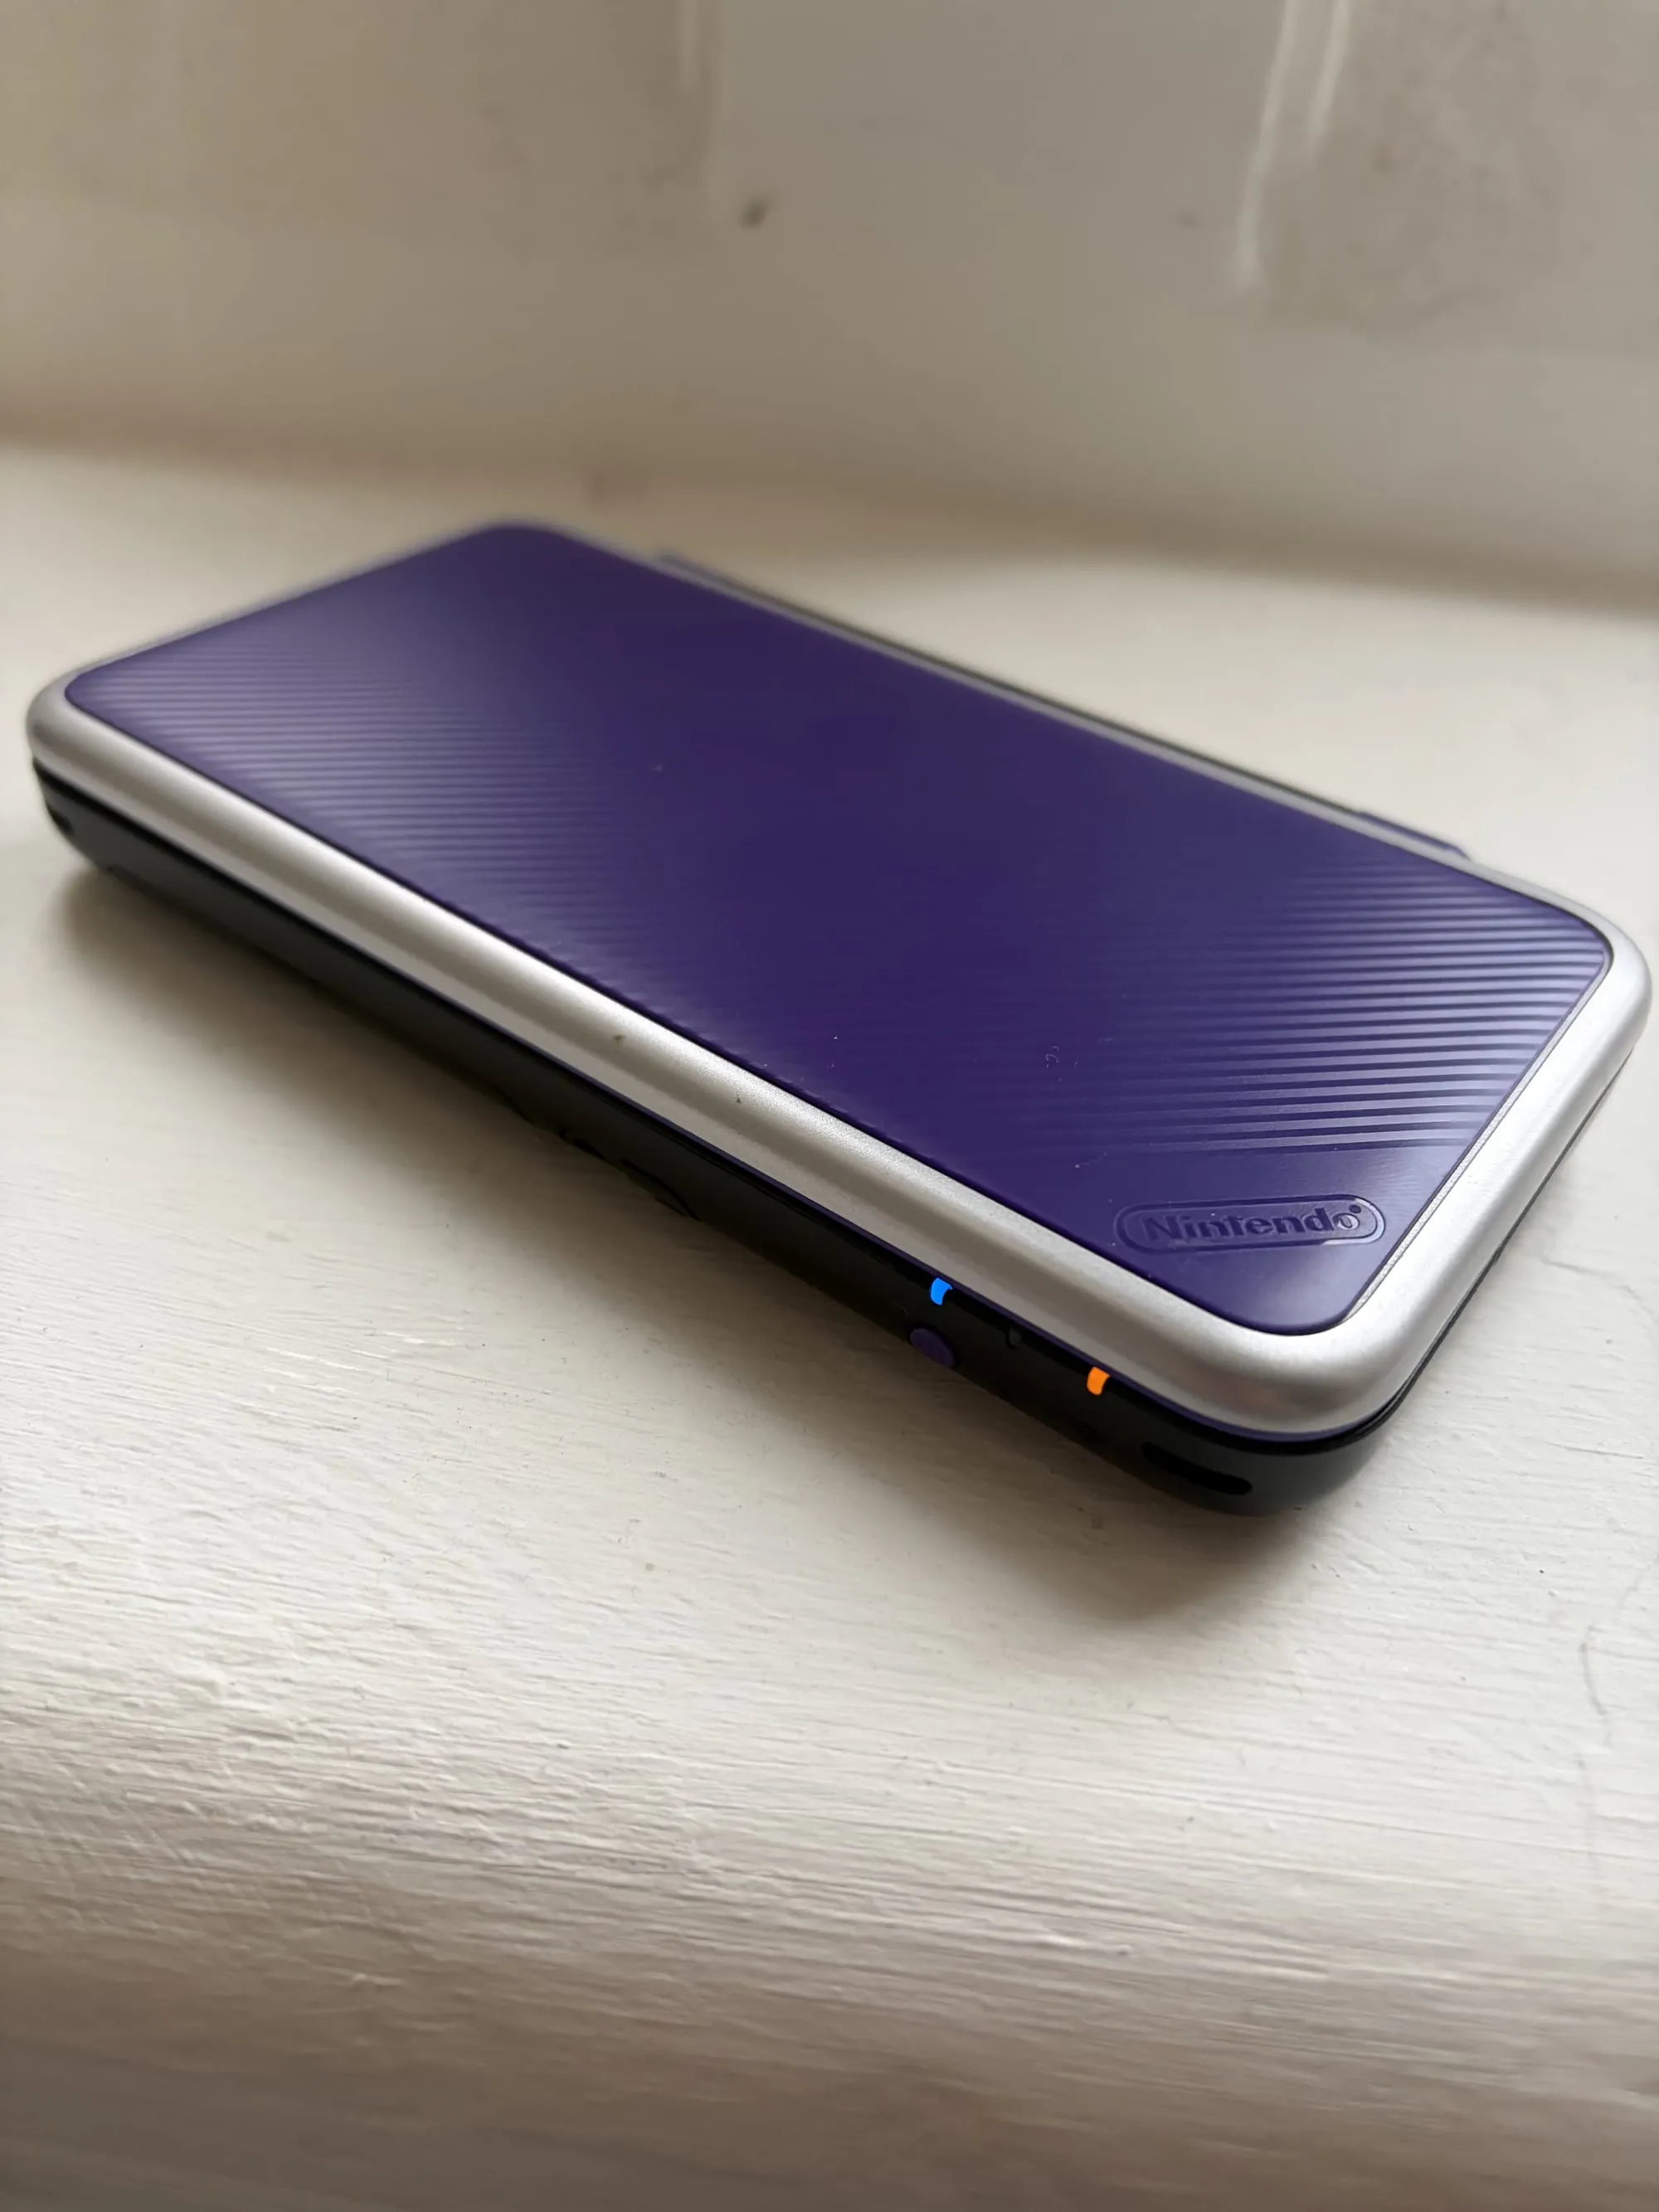
Once I had it all back together, as mentioned earlier, I found it didn't snap together properly and was really gutted! To salvage the project, I swapped the bottom part of the shell back to the original as this was where the problem was. The top screen I left in the new shell as I was a bit traumatised by nearly breaking it and had slightly broken the original shell. I completely disassembled the bottom part again, and rebuilt it in the old shell, but keeping the new purple front buttons and triggers. In the end I have quite a cool looking black and purple console. I'm not a huge fan of the silver on the top screen, but with the original being blue, I felt the silver matched the aesthetic better.
Battery Swap
The new battery hadn't arrived in time for when I started on the shell swap, so I stuck with the old battery and installed the new one when it arrived, luckily not much disassembly is required for the install. It's the same size so fits in the same battery slot, but increases the capacity from 1,300 mAh to 2,000 mAh. That's ~1.5x larger so it should help a lot with battery life, plus with the console being at least a few years old, the old battery has probably lost some capacity from when it was new.
USB C Mod
My final mod for now, is swapping the charging port to a USB C connector. This is probably one of the best quality-of-life improvements as it means when travelling there's not an extra power adapter to carry round, and means you can charge the console from a power bank.
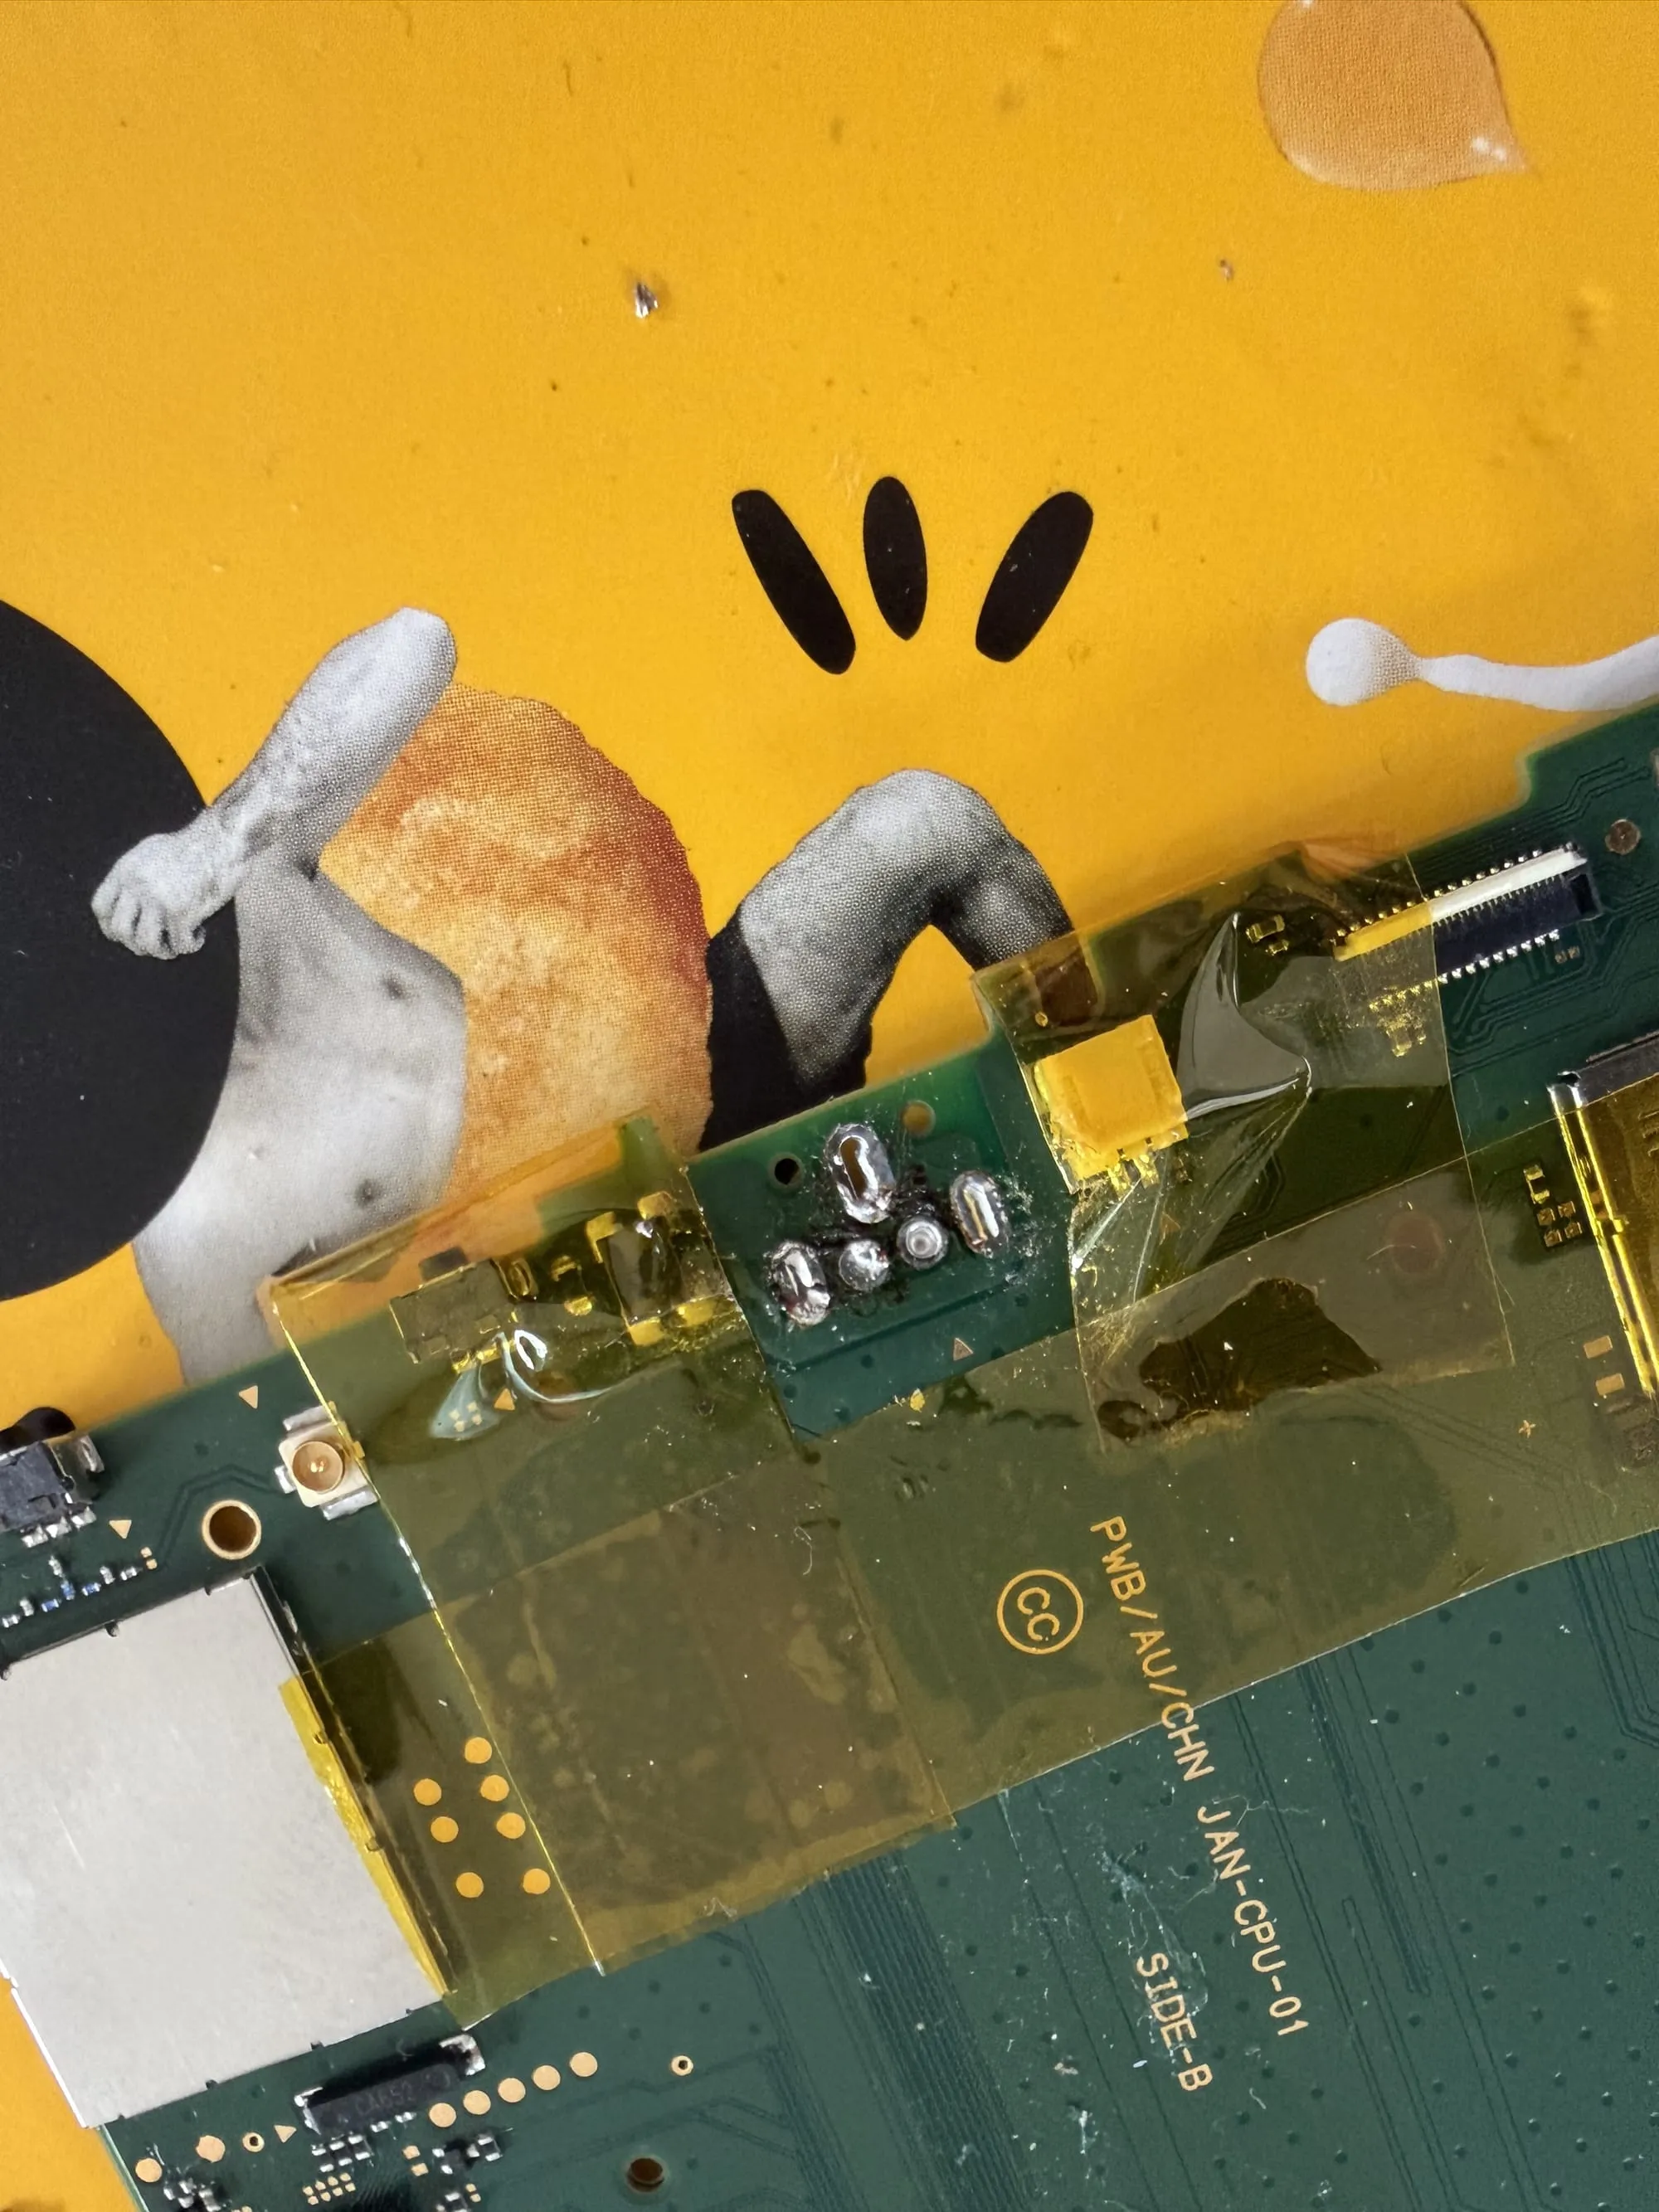
To begin, I removed the motherboard from the 2DS and applied some Kapton tape to the components around the connector, just to protect them from solder and heat. I used a bit of a cereal box as a soldering mat just to catch any solder bits and flux.
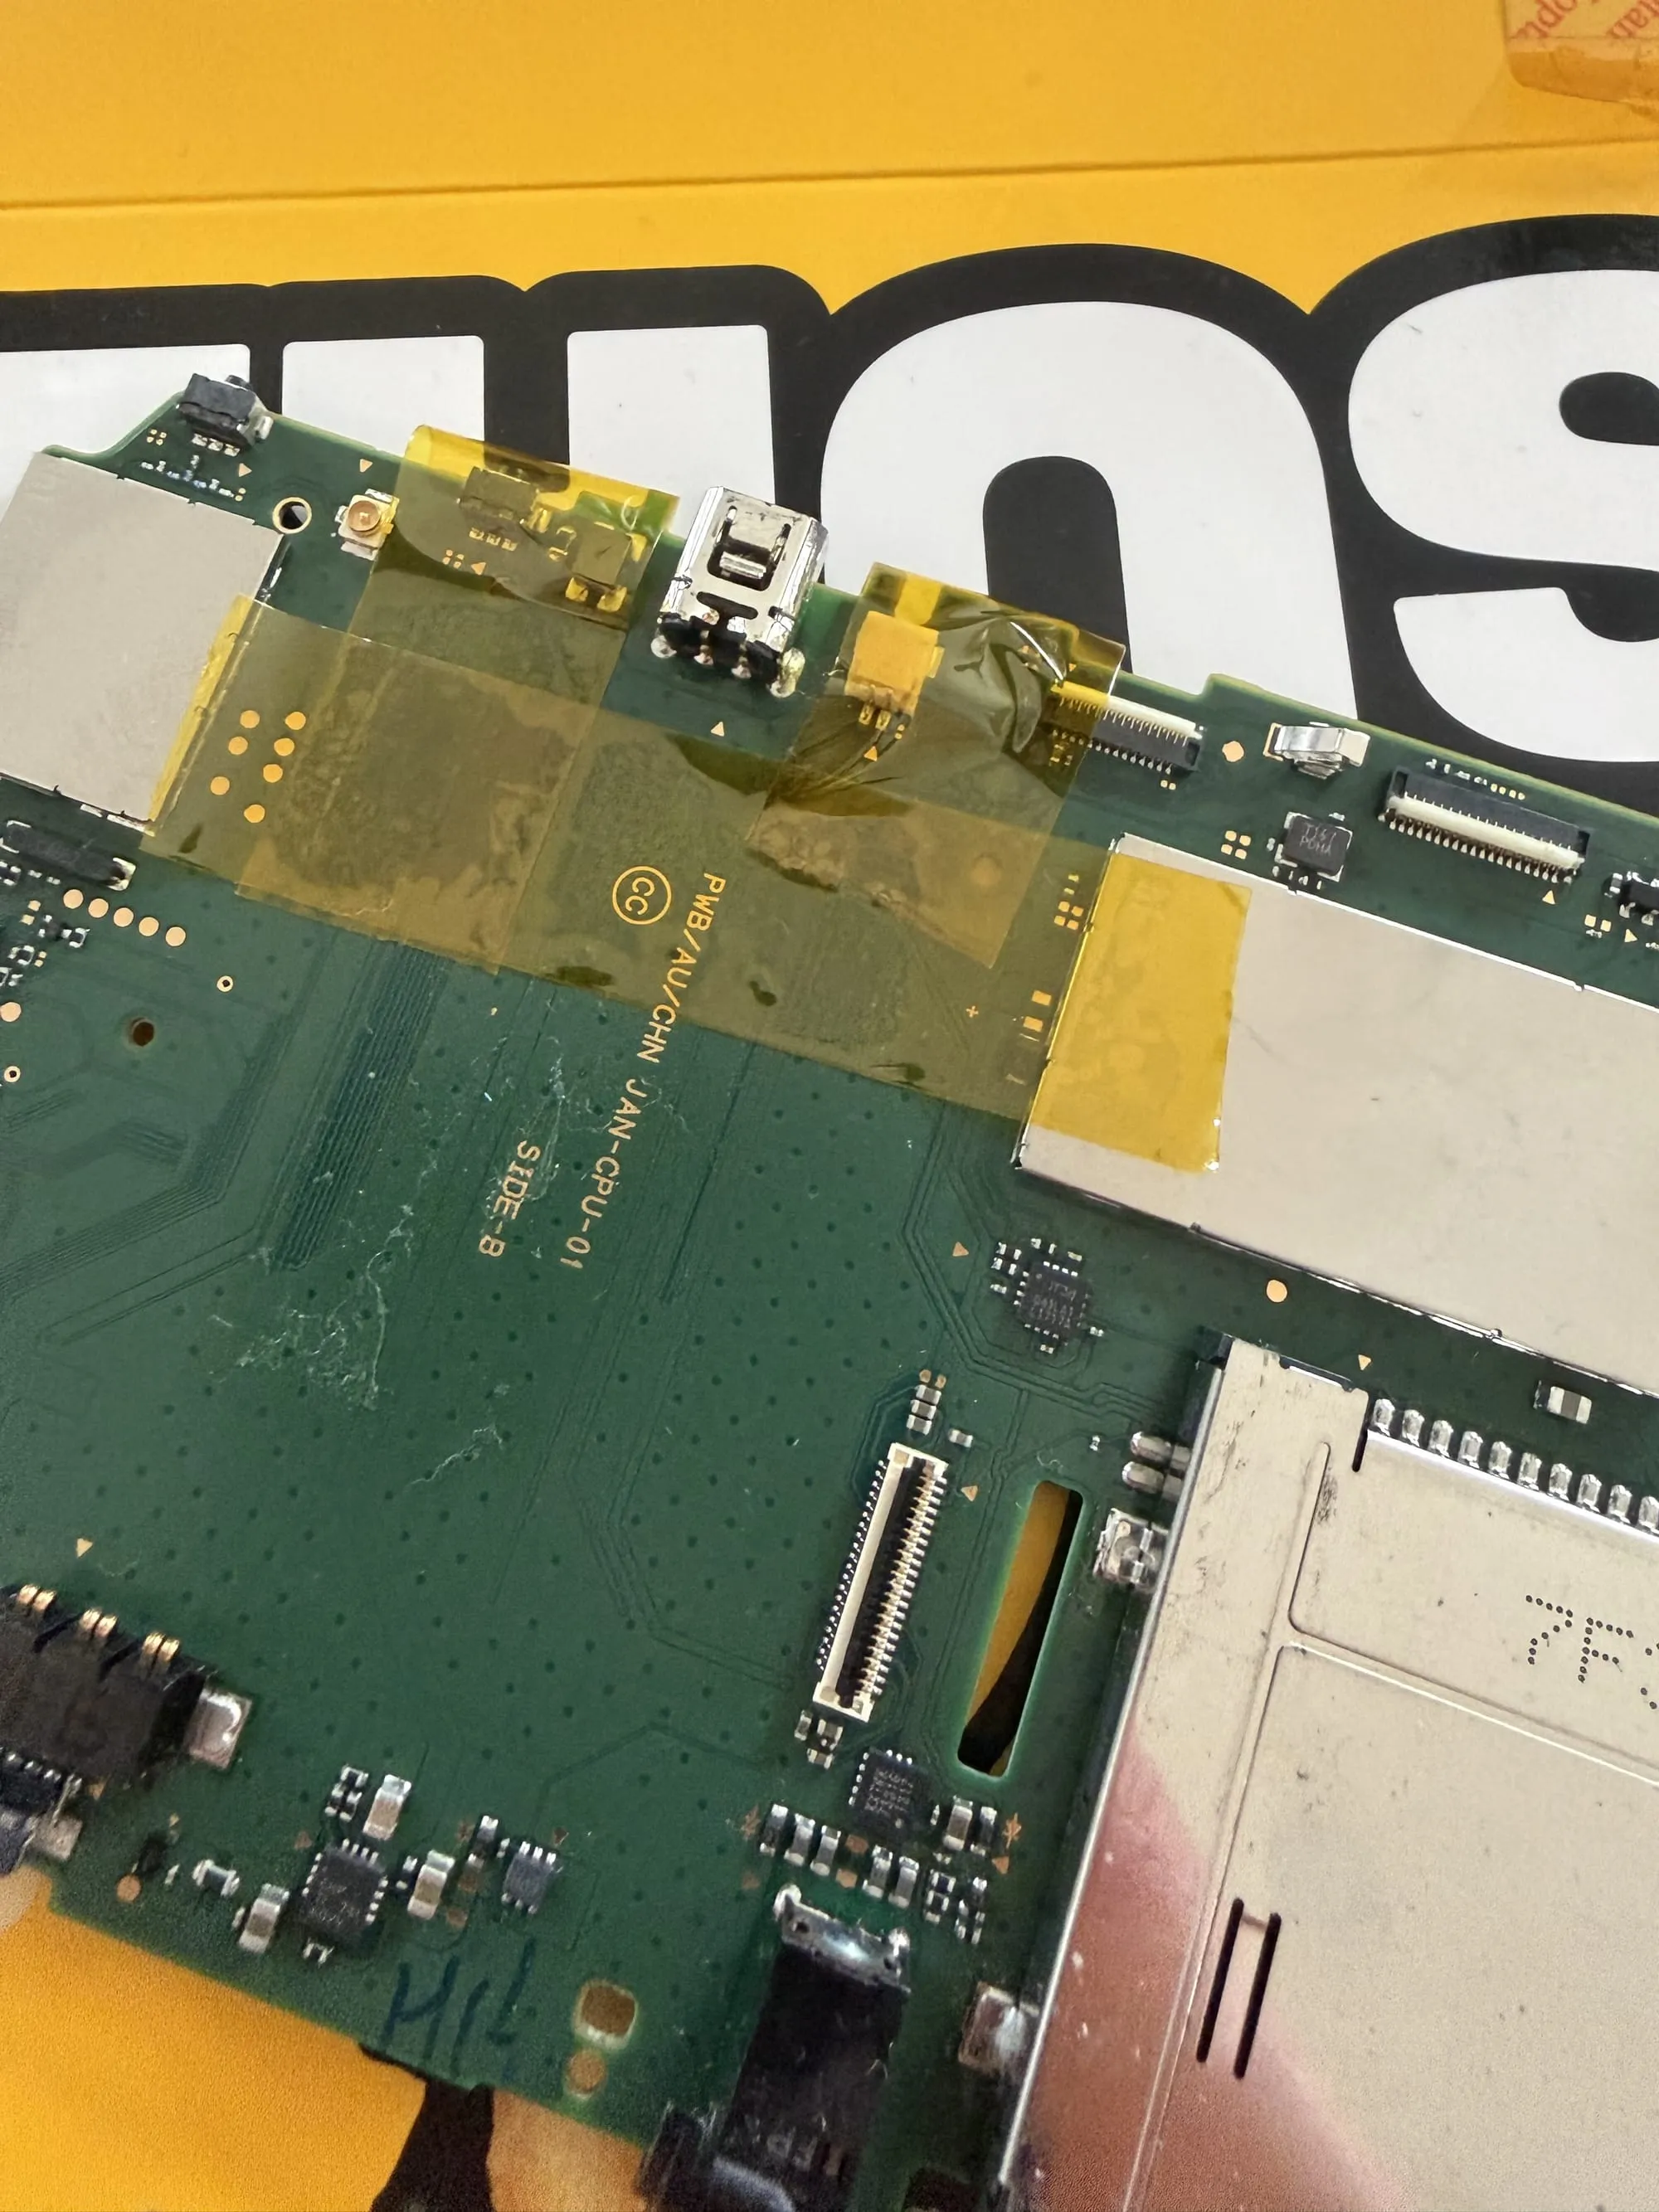
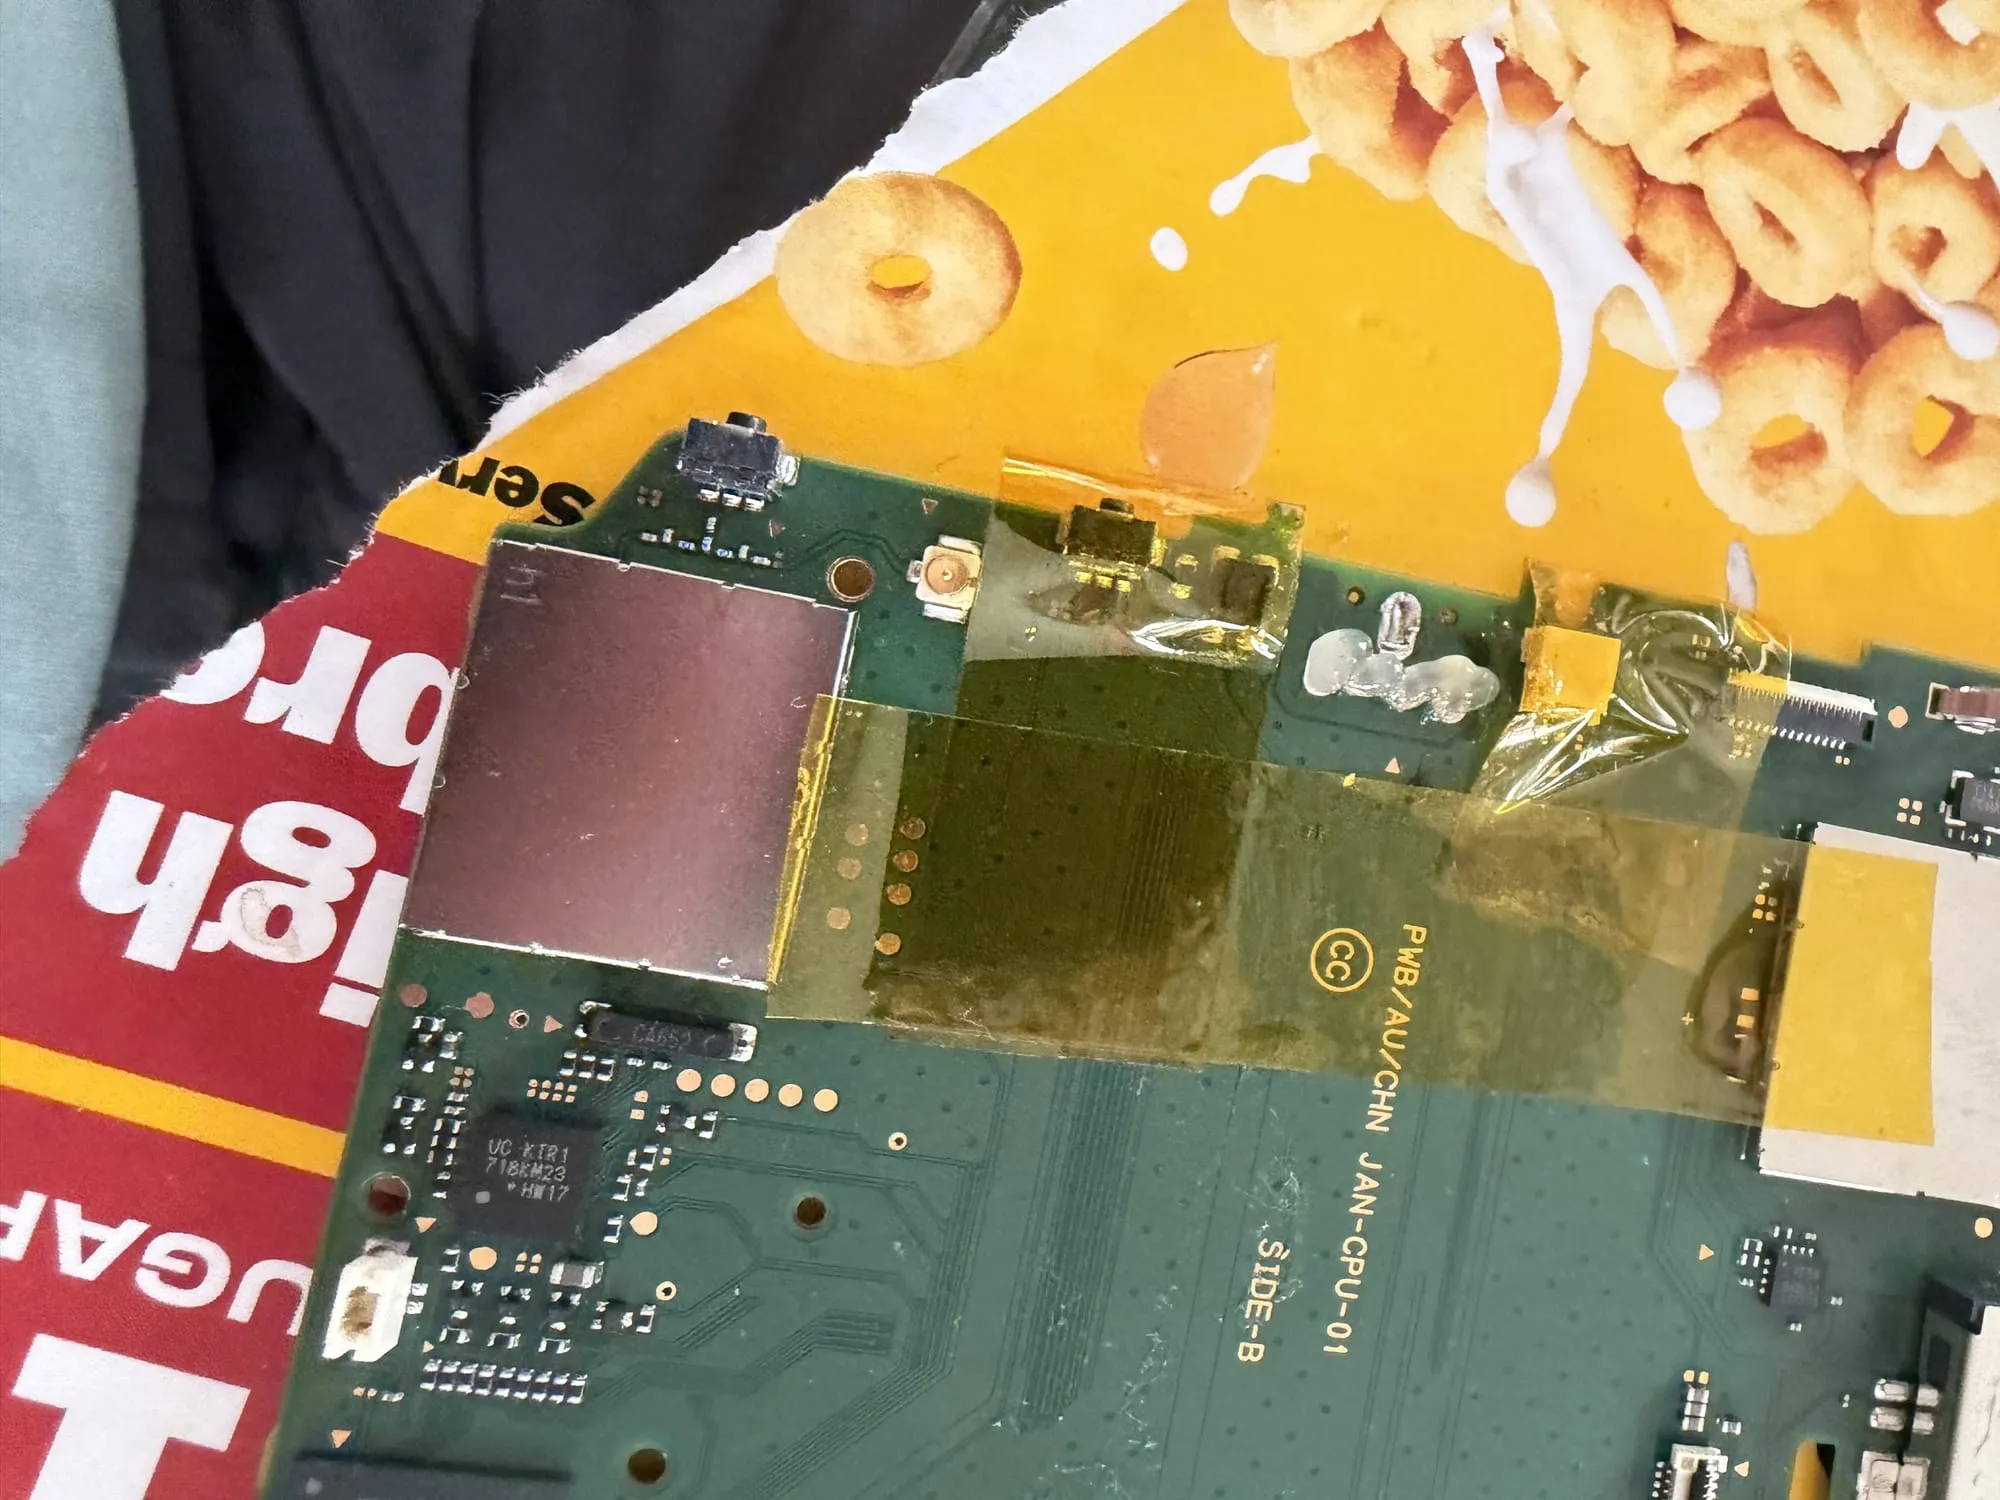
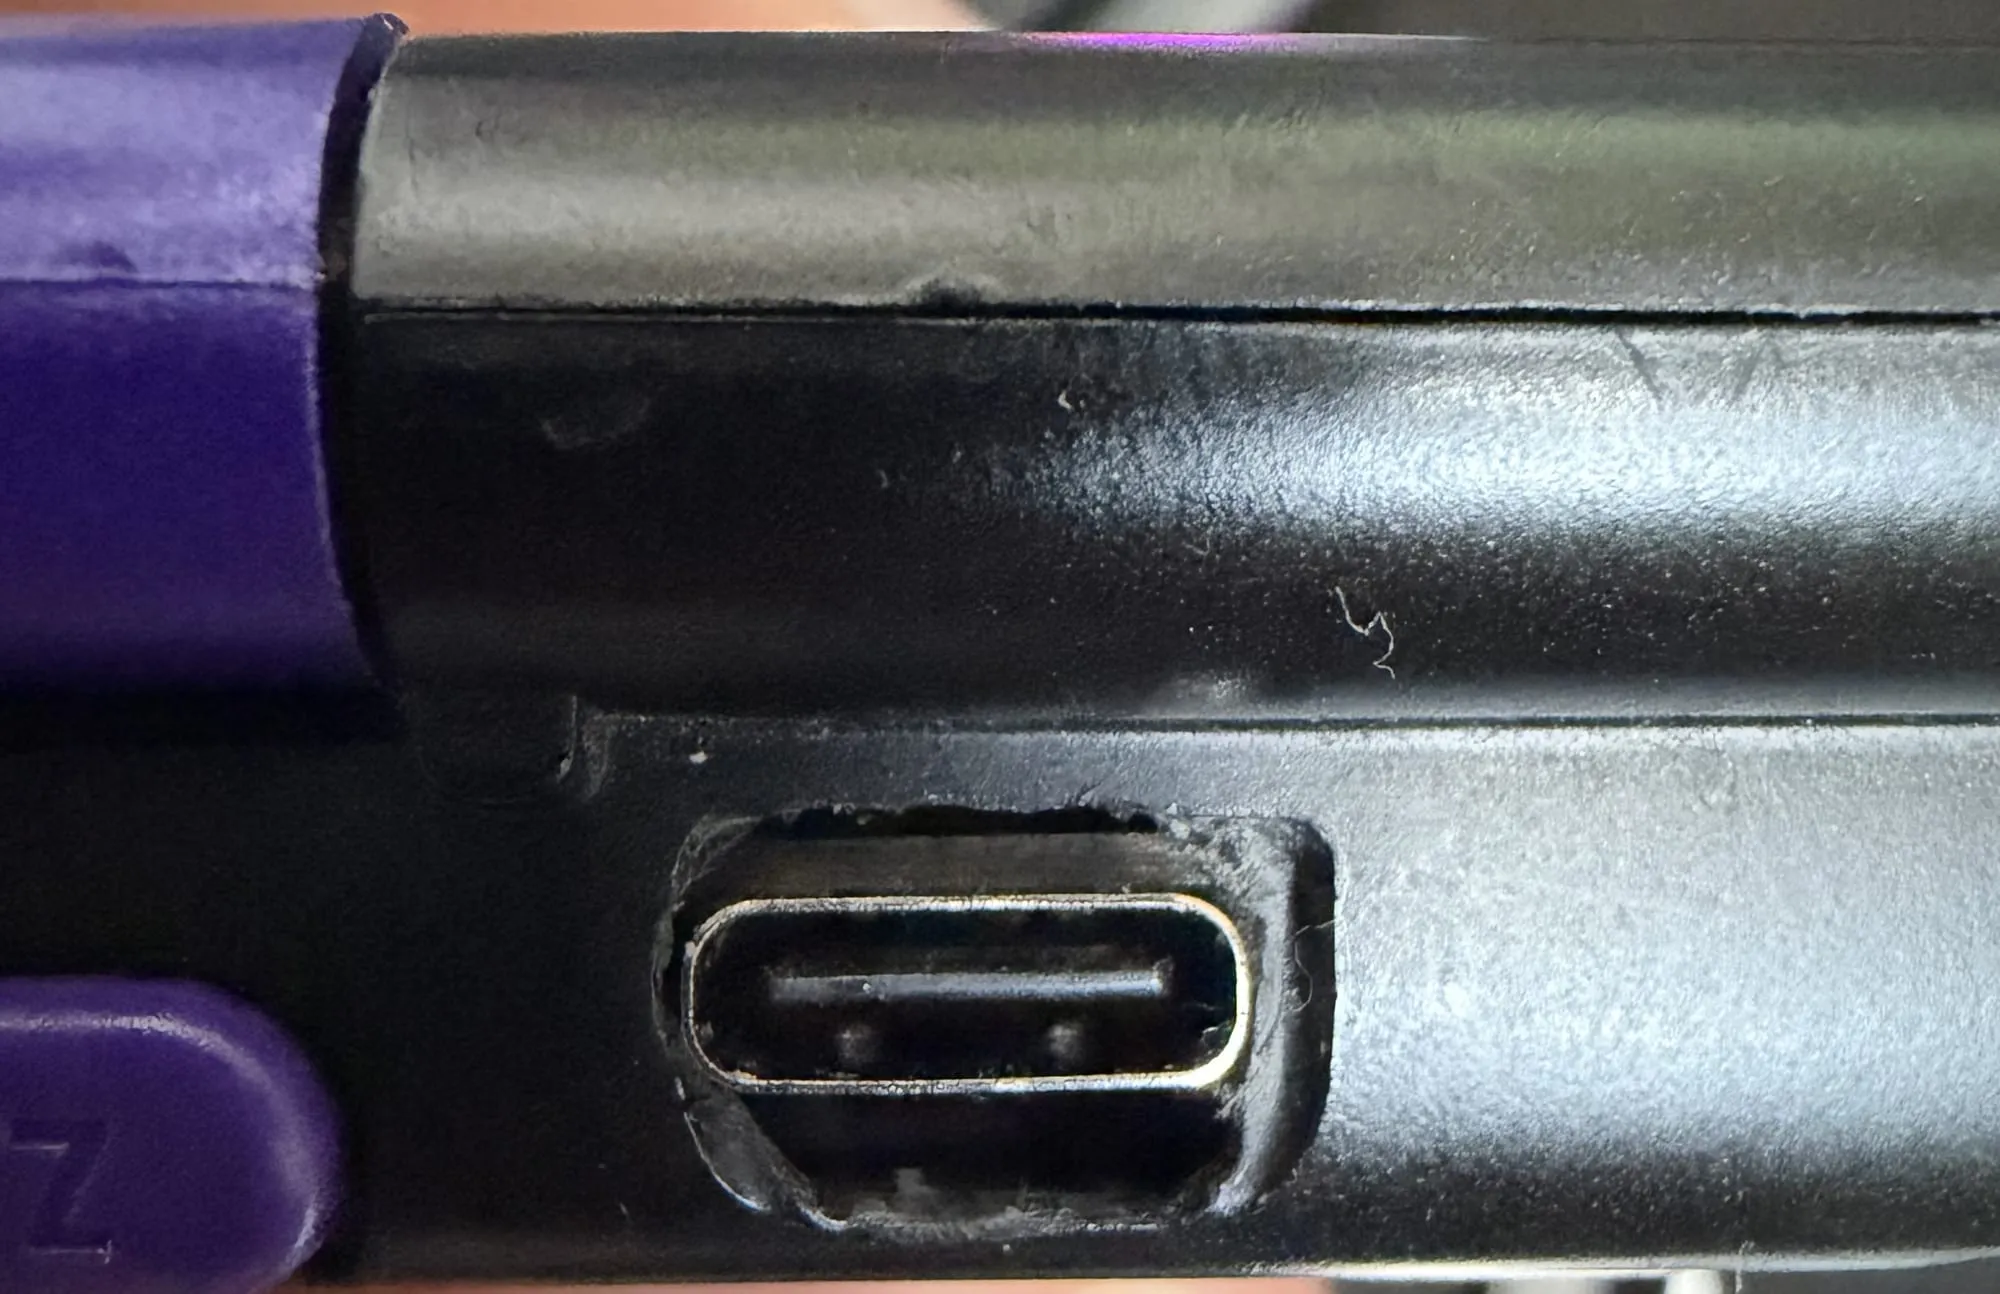
With the port taped off, I used a mixture of solder wick and a solder sucker to take off the old port. A hot air gun would have been a massive help here, but unfortunately I don't have one. I cleaned up the excess solder with more solder wick and cleaned off the area with isopropyl alcohol to remove the black bit shown below.
At this point, I double checked the connections to sanity check the part I bought and that I was putting it on the right way. I used a multimeter with one side on the game card port shield, and the other on each pad of the connector to see which pads were ground. I found the small arrow on the port points to the pin which carries voltage.
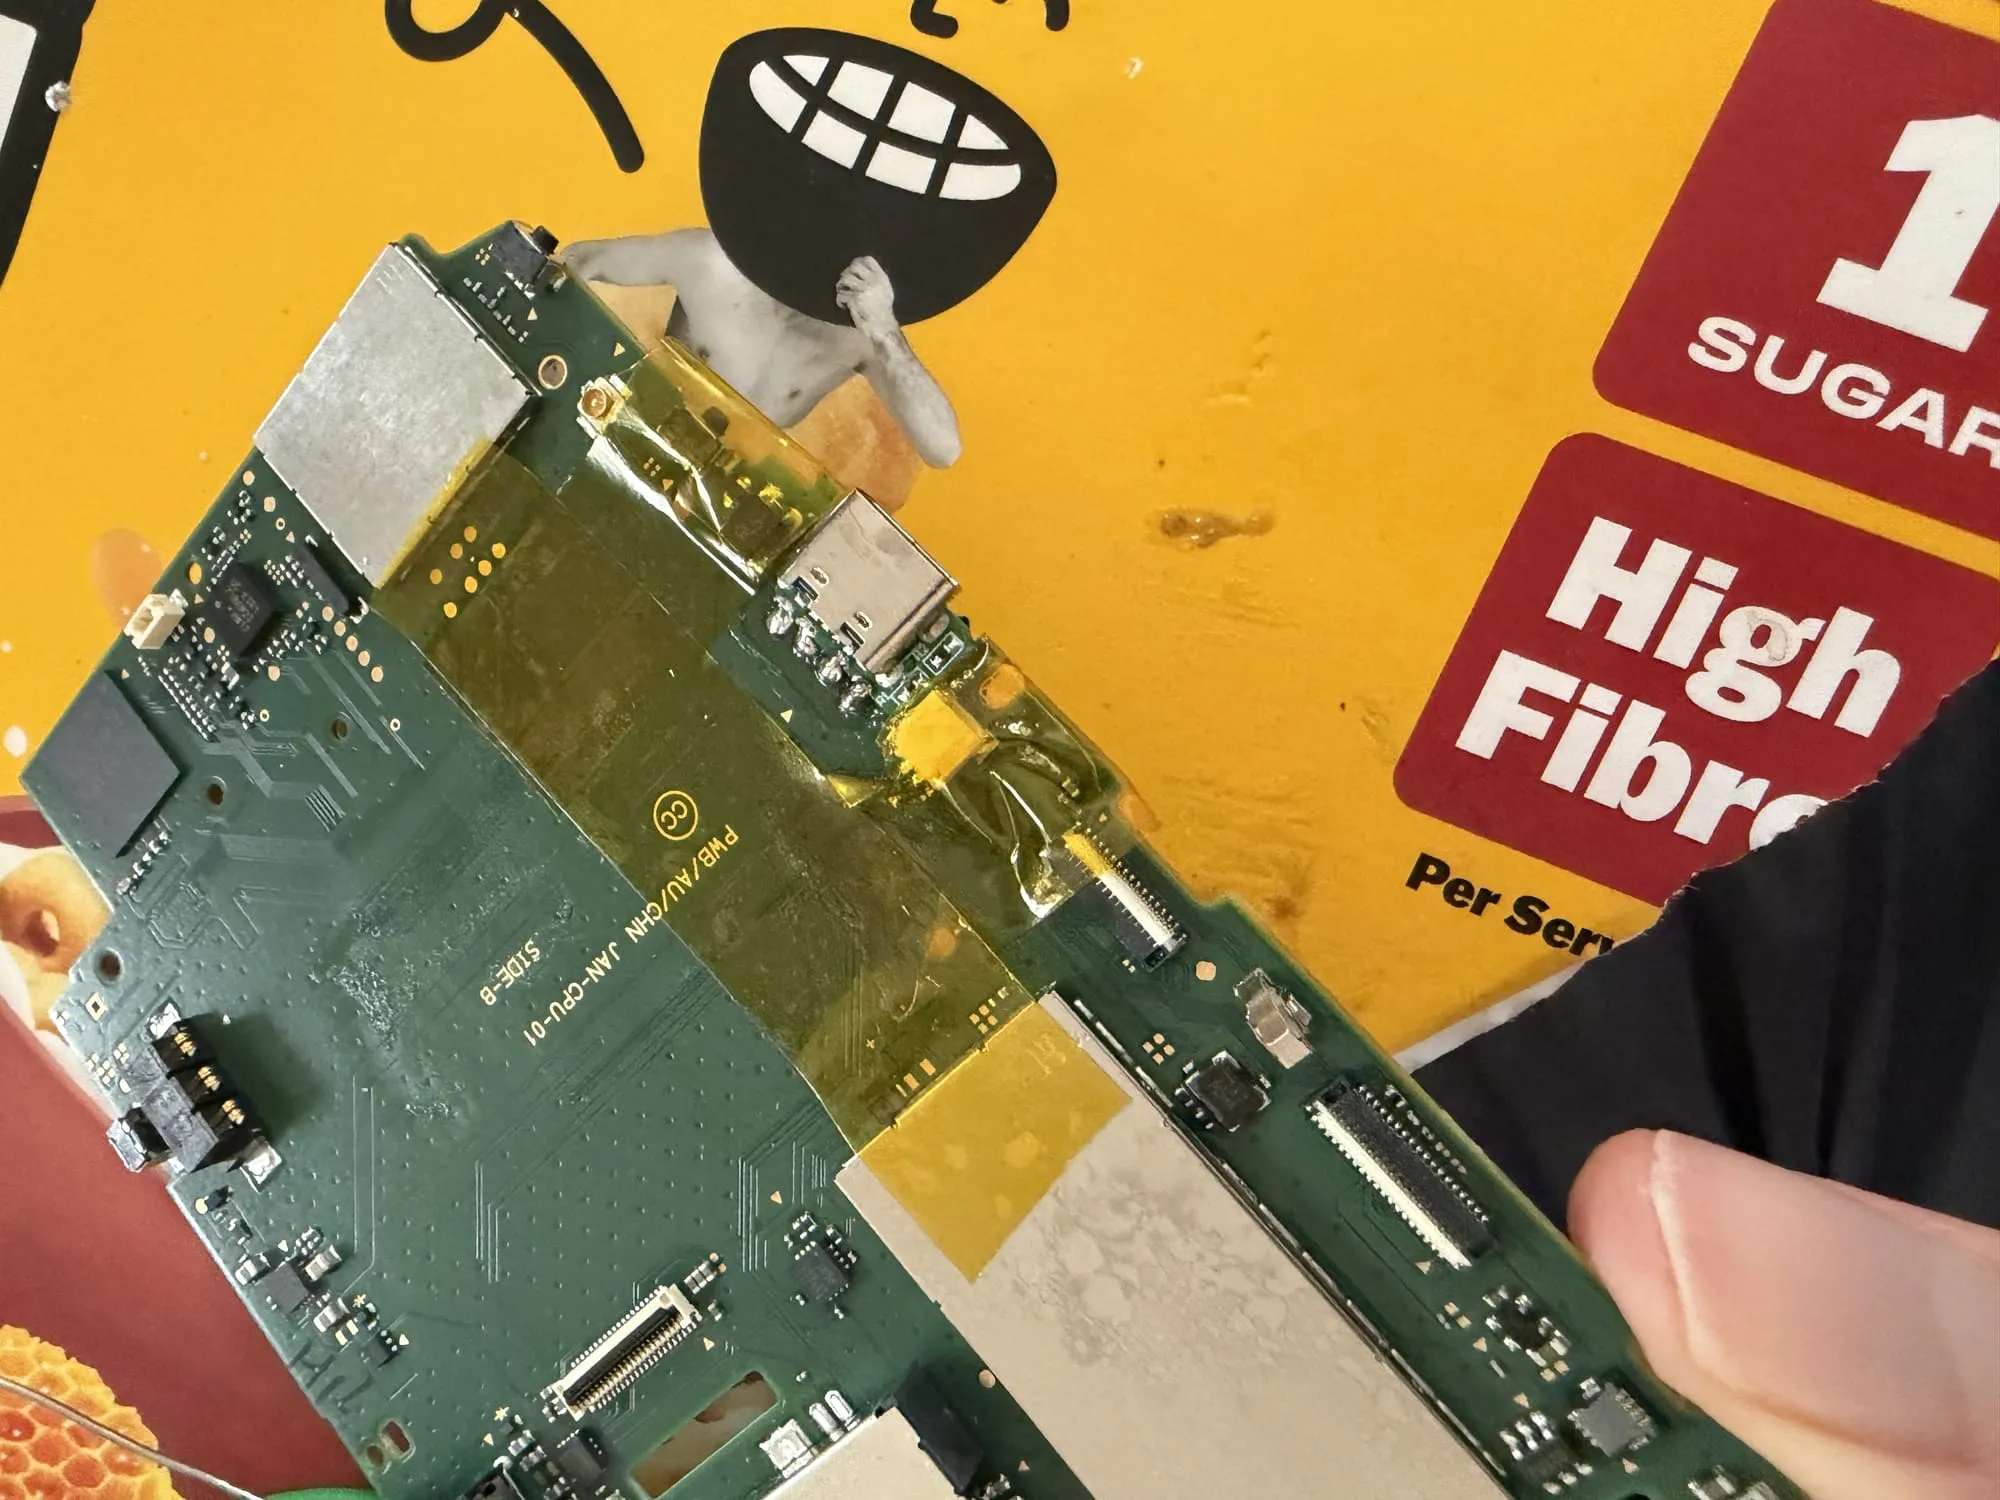
Next I applied some flux to the pads to help with the soldering and installed the port. I did some checking with the multimeter again to check for shorts, and I did find that the power and ground pins were shorted, although couldn't see just by looking, so I reflowed the joints which fixed the problem.
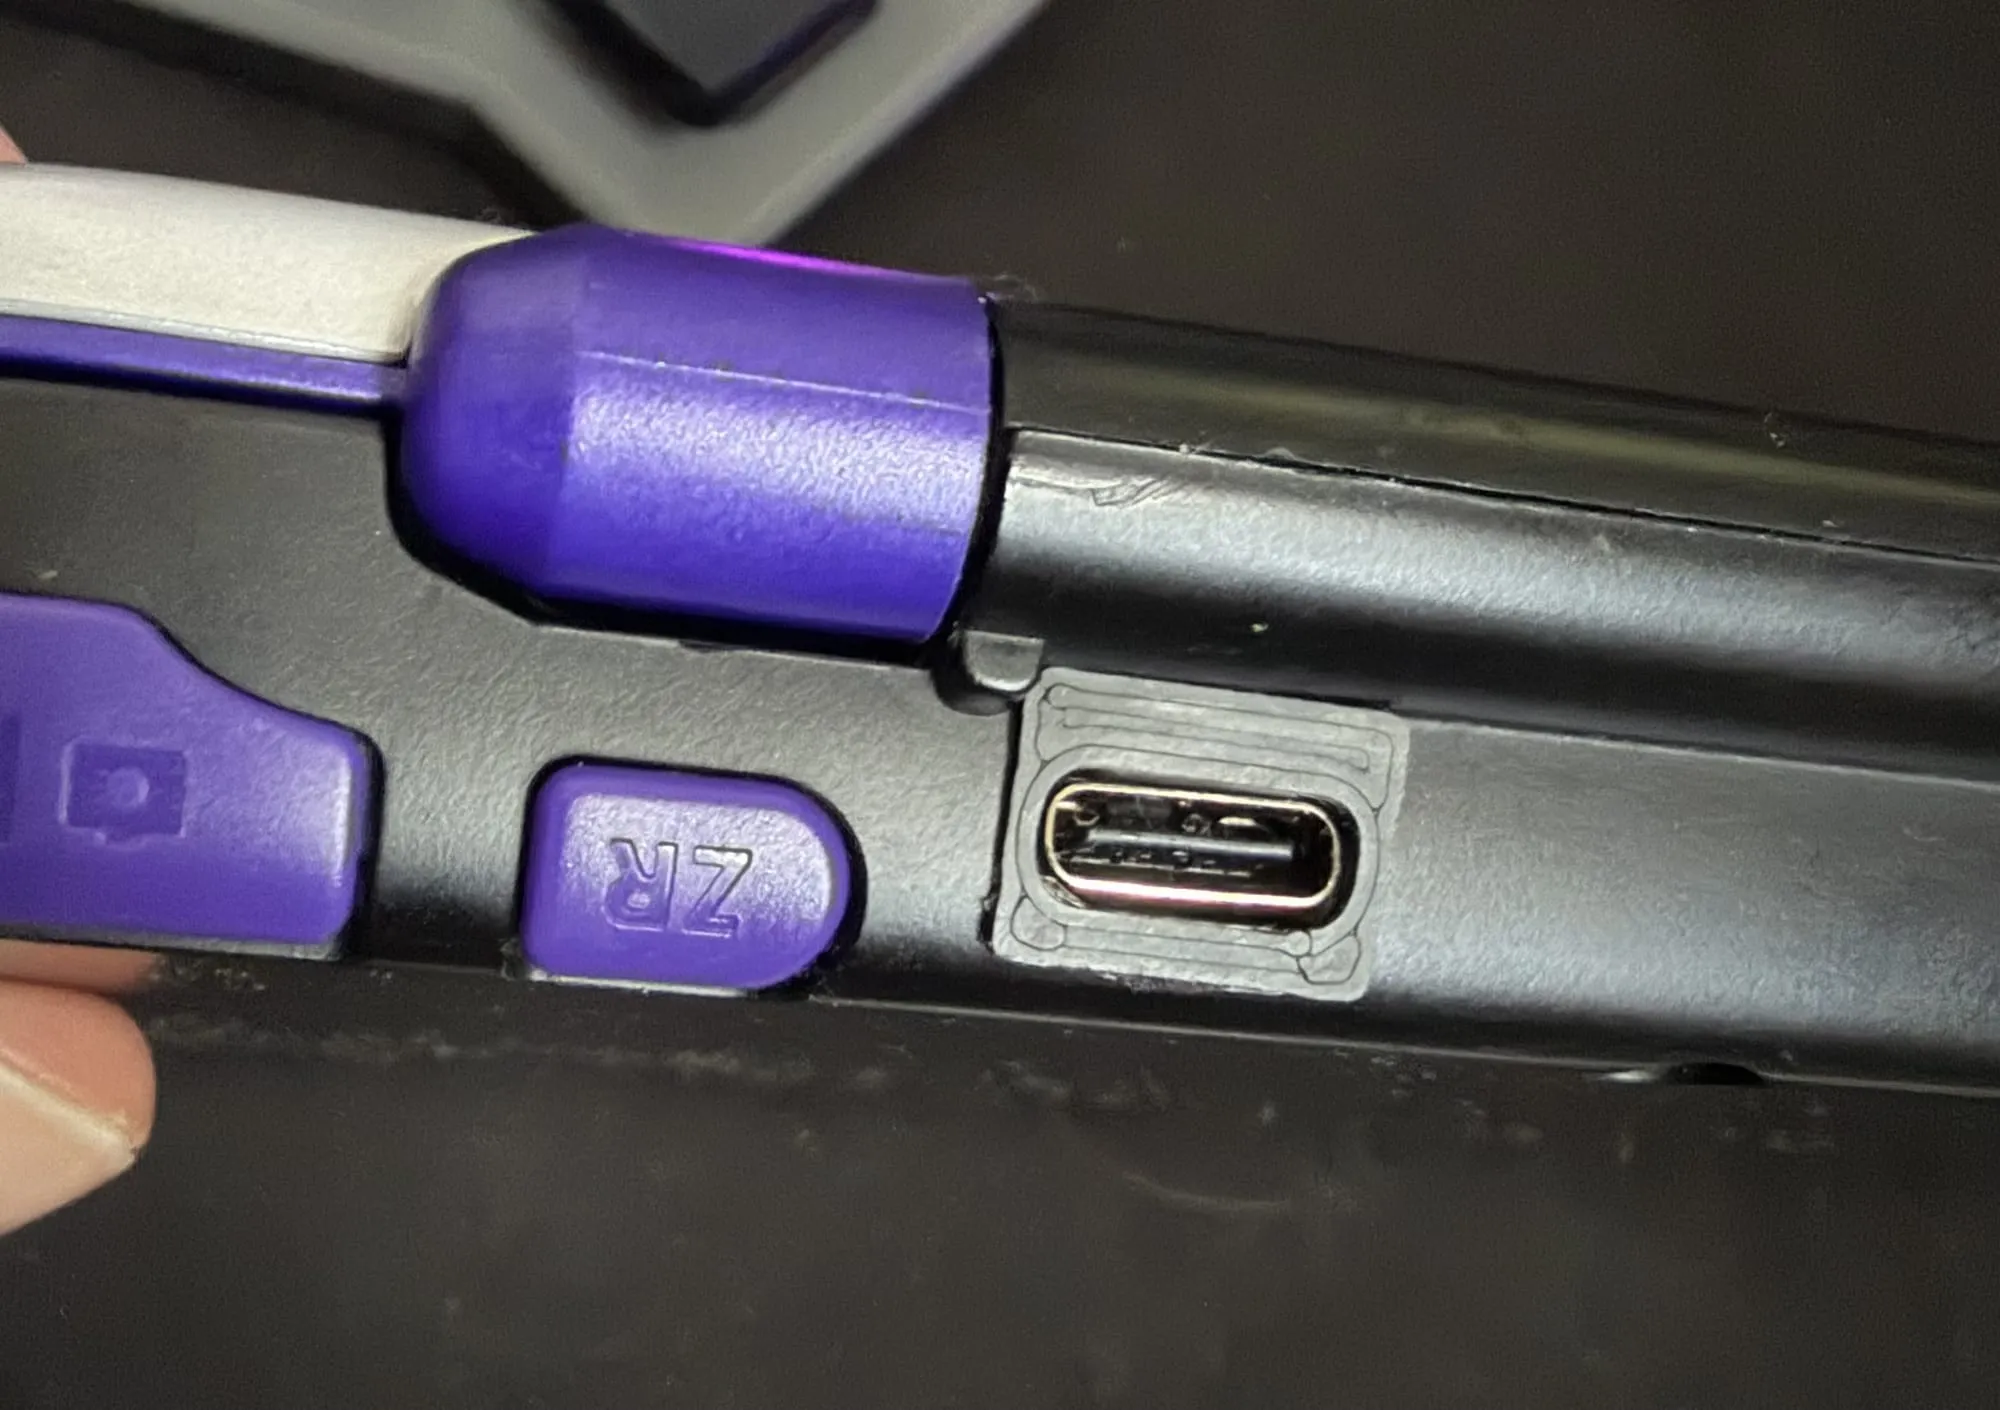
With the port installed, I had to do some modification to the battery bracket as the USB C port is wider than the original charging port. I shaved off the part of the bracket that sits around the charging port. You can see where I did this below with the original left bracket and new bracket on the right. I also had to gently sand down the port on the bottom shell just so the new port would fit properly.
With the new port being a lot thinner than the original, there's a bunch of gap round it vertically which is a bit of a shame. I've seen people install the port elsewhere on the board, like next to the SD card slot, or in place of the IR LED, but I thought I'd just go for the full swap.
I was able to design a small 3D printed cover for the port just to clean it up a little.
Here's a video of me plugging in the console for the first time with the USB C port. As with all builds, it's bad luck to put it back together before testing, hence the bottom shell being off.
Fin
With that, my mini-project on modding a 2DS XL is all wrapped up.
Having done a shell swap on my original Switch Joycons in the past, it makes for quite a fun project, but in this case it was a bit traumatic with the not so good quality replacement shell, and the difficulty of removing the screens and hinge. Supposedly the 2DS XL is one of the most difficult DS models to disassemble so I can't recommend doing a shell swap at all.
However, the USB C port is a pretty straightforward mod if you're comfortable with soldering.
I did also buy a Bluetooth audio module which I may install later on so that I can connect Bluetooth headphones for playing on the go. But for now, I've got a unique looking 2DS XL now which will make the perfect travel console for trips.