Yesterday, I was downloading Visual Studio and then I thought to myself: What if I could write desktop apps with Node.JS, HTML and CSS?. After a bit of Googling around I found something called Electron.
Electron is made by GitHub and it's Atom editor uses it. Essentially it is an iframe in a window. But of coarse nothing is as simple as that. It also manages the processes.
This tutorial was written for Windows but I'm sure it's not too hard to replicate on Linux (or other)
Installing Node.JS
First your going to want to Download Node.JS. Download the one on the right.

Then once you've installed, go to a command line WIN-R then type cmd. Then type
node -vand you should get something back like
v6.2.0And also you might want to get Git here for Windows (Linux, Mac).
Writing an App
Firstly, navigate to where ever you want your app to live:
mkdir "My Electron Apps"
cd "My Electron Apps"
Clone the quick start repository:
git clone https://github.com/electron/electron-quick-startNavigate to the folder where it cloned to:
cd electron-quick-startInstall the node packages: (This may take a while)
npm installStart the application:
npm startand you should see this:
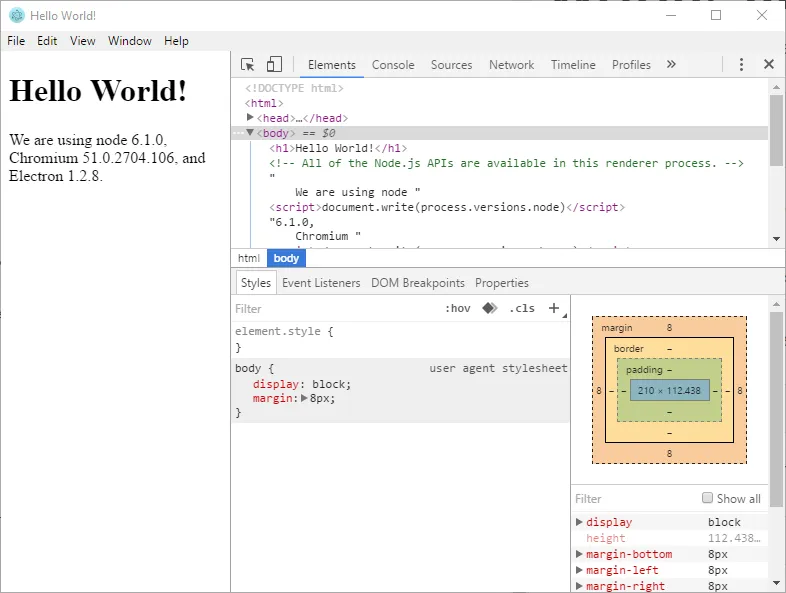
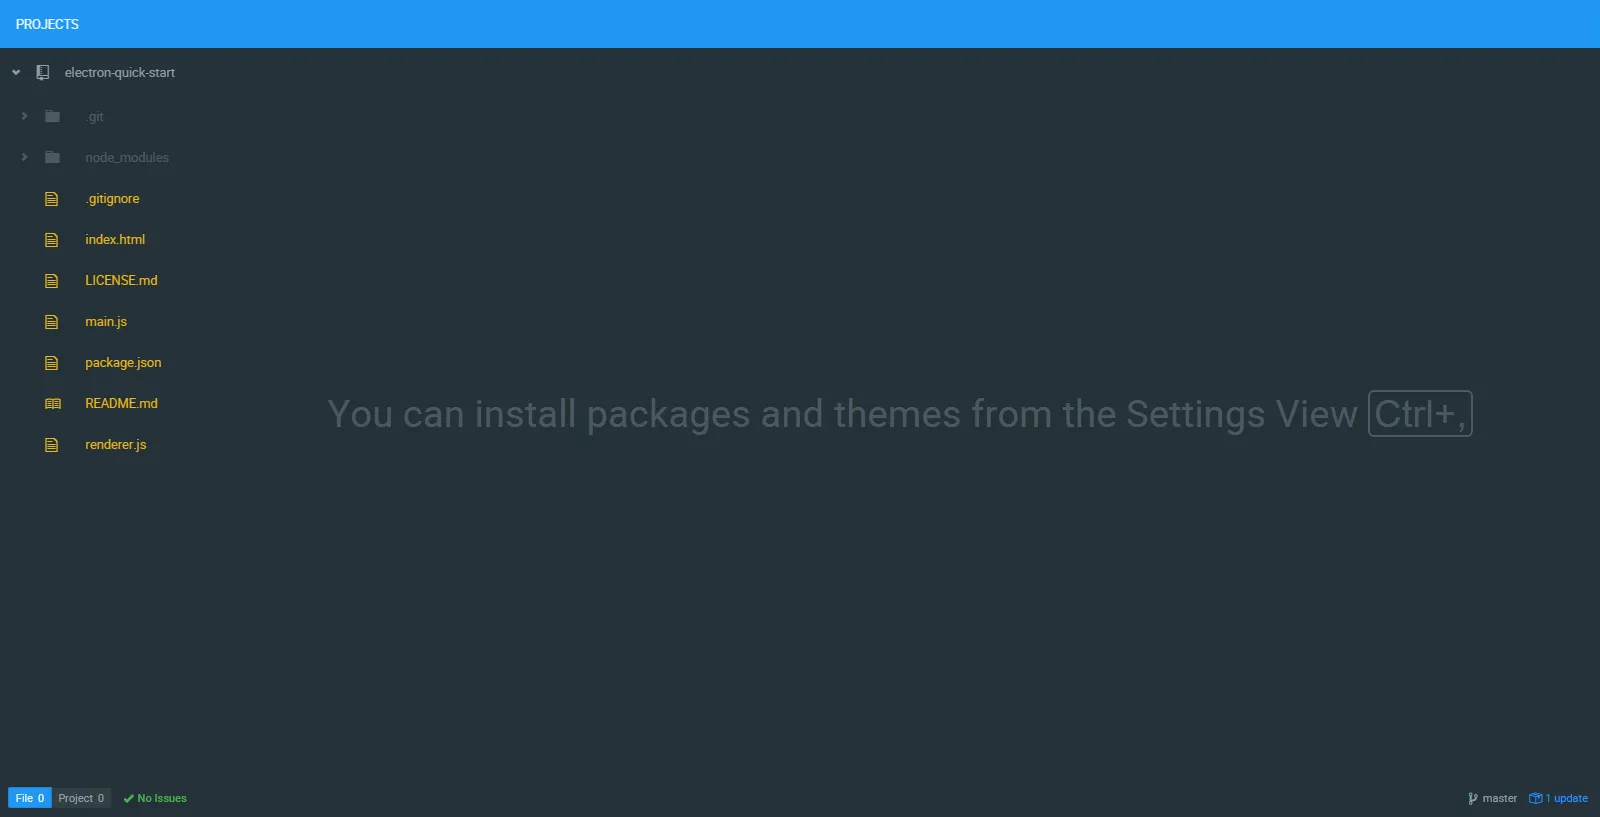
Now let's dive into the code and make some changes. I am using Atom to edit these files.
Opening index.html shows the HTML shown in the main screen and it looks like it has Node inline.
<!DOCTYPE html>
<html>
  <head>
    <meta charset="UTF-8">
    <title>Hello World!</title>
  </head>
  <body>
    <h1>Hello World!</h1>
    <!-- All of the Node.js APIs are available in this renderer process. -->
    We are using node <script>document.write(process.versions.node)</script>,
    Chromium <script>document.write(process.versions.chrome)</script>,
    and Electron <script>document.write(process.versions.electron)</script>.
  </body>

  <script>
    // You can also require other files to run in this process
    require('./renderer.js')
  </script>
</html>
OK, now let's try and add a library and see if it works. Go back to the command line and type:
npm install request --save--save make the package manager save the library to the dependencies so if someone else wanted to use your app it would automagically install for them.
After it's installed, you can now include it into the project. Go to index.html then at the bottom there is a <script> tag that looks like this:
<script>
  // You can also require other files to run in this process
  require('./renderer.js')
</script>- Add
var request = require('request')to include the request library. - Add
request('http://random.cat/meow', function (error, response, body) { })to fetch the cat image. - Then inside the request function add
if (!error && response.statusCode == 200) { }which will check that there are no errors like the site being down. - Then inside the if statement add
var jsonObj = JSON.parse(body)which will parse the output from the website and make it easy to extract the image URL. - Then underneath the last line add
var image = document.getElementById('myImage')which will search the file for an element with the id of 'myImage'. - Then, again underneath the last line add
image.setAttribute("src", jsonObj.file)which will set the image URL of the image tag to the image of the cat.
All that code should look like this:
<script>
  // You can also require other files to run in this process
  require('./renderer.js')
  var request = require('request')

  request('http://random.cat/meow', function (error, response, body) {
    if (!error && response.statusCode == 200) {
      var jsonObj = JSON.parse(body)
      var image = document.getElementById('myImage')
      image.setAttribute("src", jsonObj.file)
    }
  })
</script>
Make sure to add the img tag to the HTML like so:
<h1>Hello World!</h1>
<!-- All of the Node.js APIs are available in this renderer process. -->
<img id="myImage">
We are using node <script>document.write(process.versions.node)</script>,
Chromium <script>document.write(process.versions.chrome)</script>,
and Electron <script>document.write(process.versions.electron)</script>.
the whole index.html should look like this:
<!DOCTYPE html>
<html>
<head>
<meta charset="UTF-8">
<title>Hello World!</title>
</head>
<body>
<h1>Hello World!</h1>
<!-- All of the Node.js APIs are available in this renderer process. -->
<img id="myImage">
We are using node <script>document.write(process.versions.node)</script>,
Chromium <script>document.write(process.versions.chrome)</script>,
and Electron <script>document.write(process.versions.electron)</script>.
</body>
<script>
// You can also require other files to run in this process
require('./renderer.js')
var request = require('request')
request('http://random.cat/meow', function (error, response, body) {
if (!error && response.statusCode == 200) {
var jsonObj = JSON.parse(body)
var image = document.getElementById('myImage')
image.setAttribute("src", jsonObj.file)
}
})
</script>
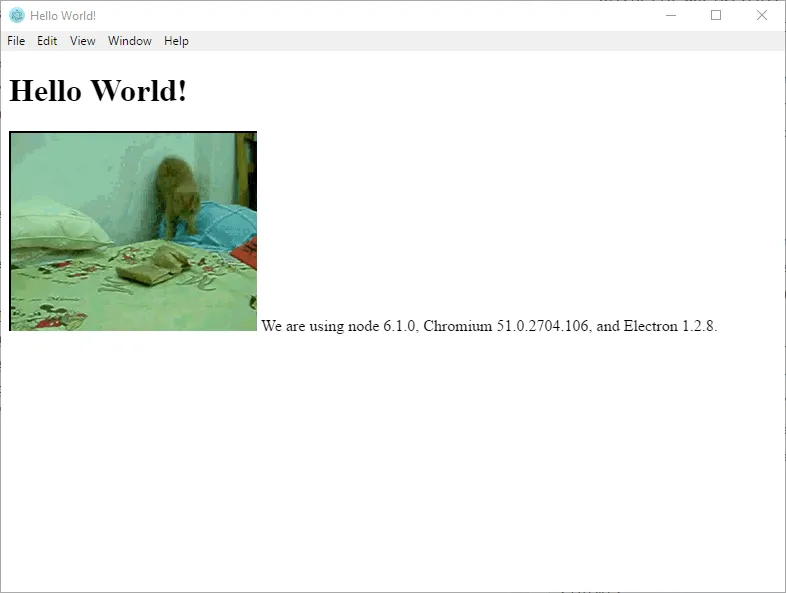
</html>Run it again by doing:
npm startand it works!
I think the JavaScript we put in could have gone into renderer.js but I didn't get it to work.
Now for awesome some new Node.JS apps huh?